
In this guide, we’ll walk you through the steps to purchase tickets for an event, transfer them to others, and redeem them for entry.
Step 1: Download the Vega App
To get started, download the Vega app from either the App Store (iOS) or Google Play Store (Android). You can find the app by searching “Vega Events.”
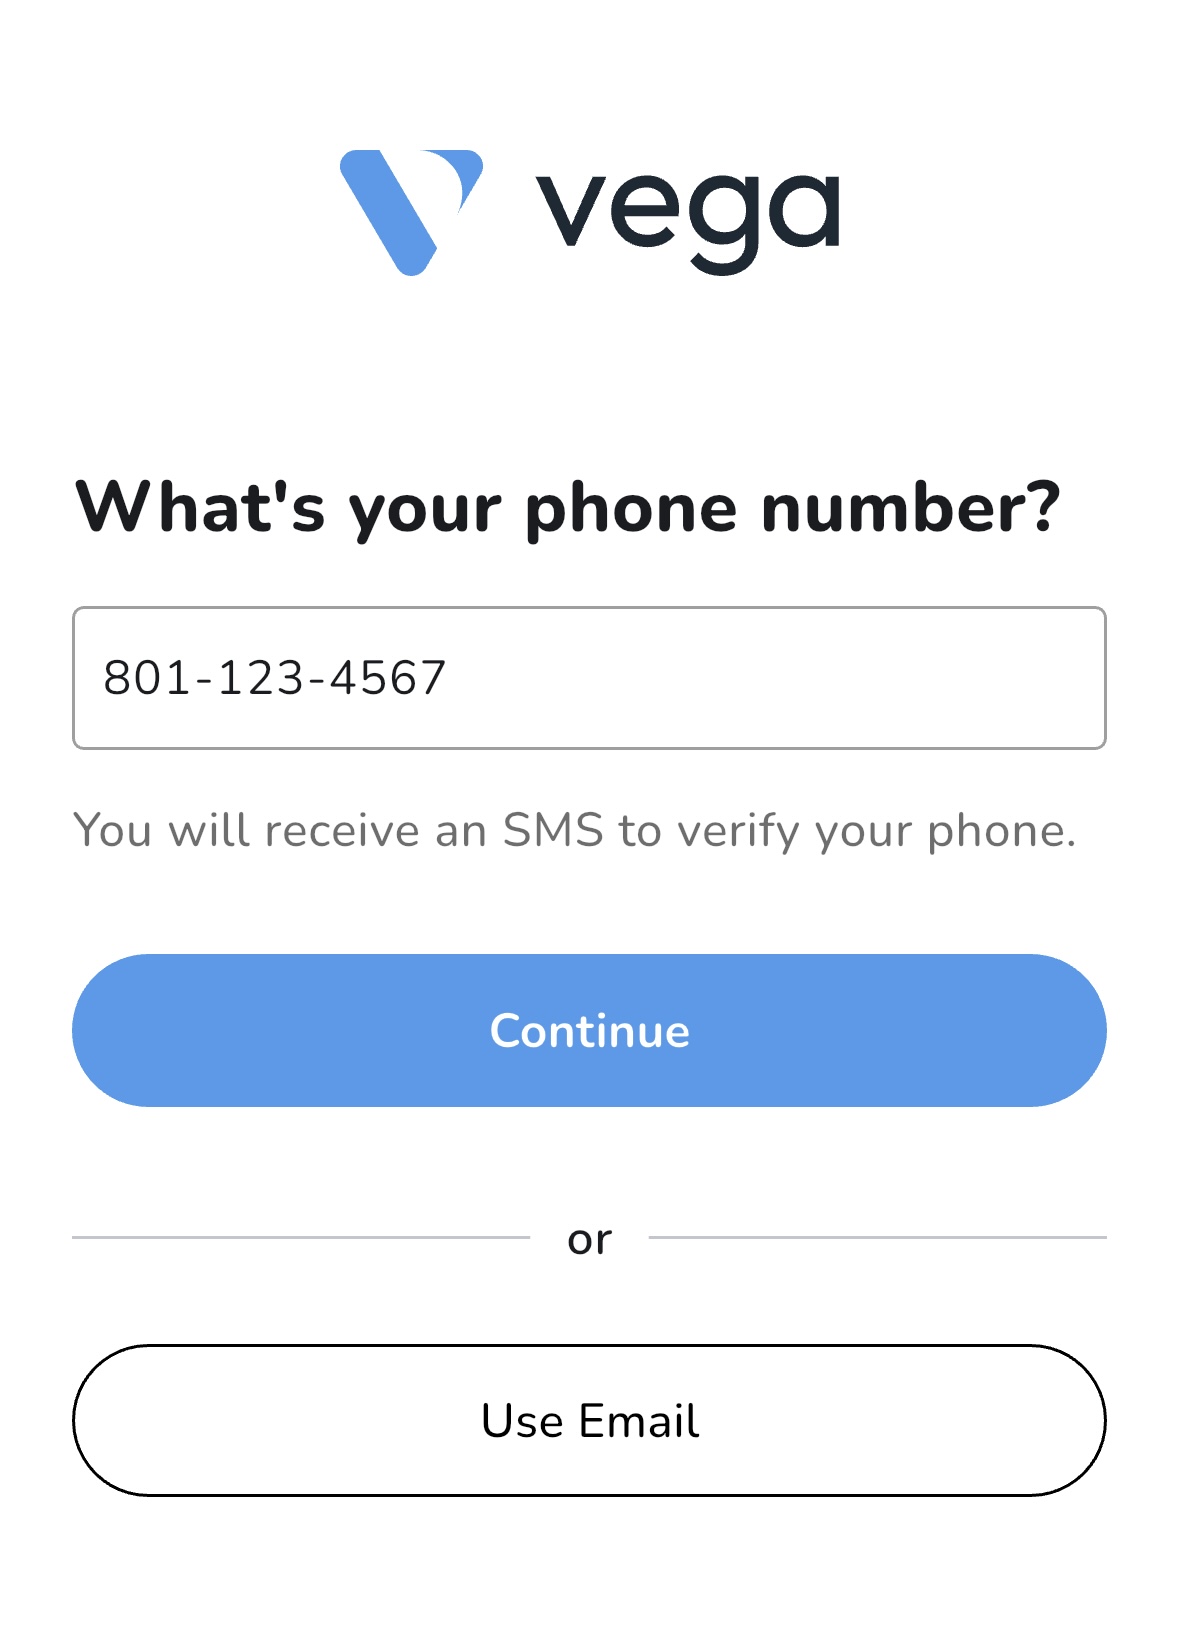
Step 2: Create Your Vega Account
After installing the app, sign up for a Vega account using either your phone number or email address. For the best experience, we recommend using your mobile number, but both options work.
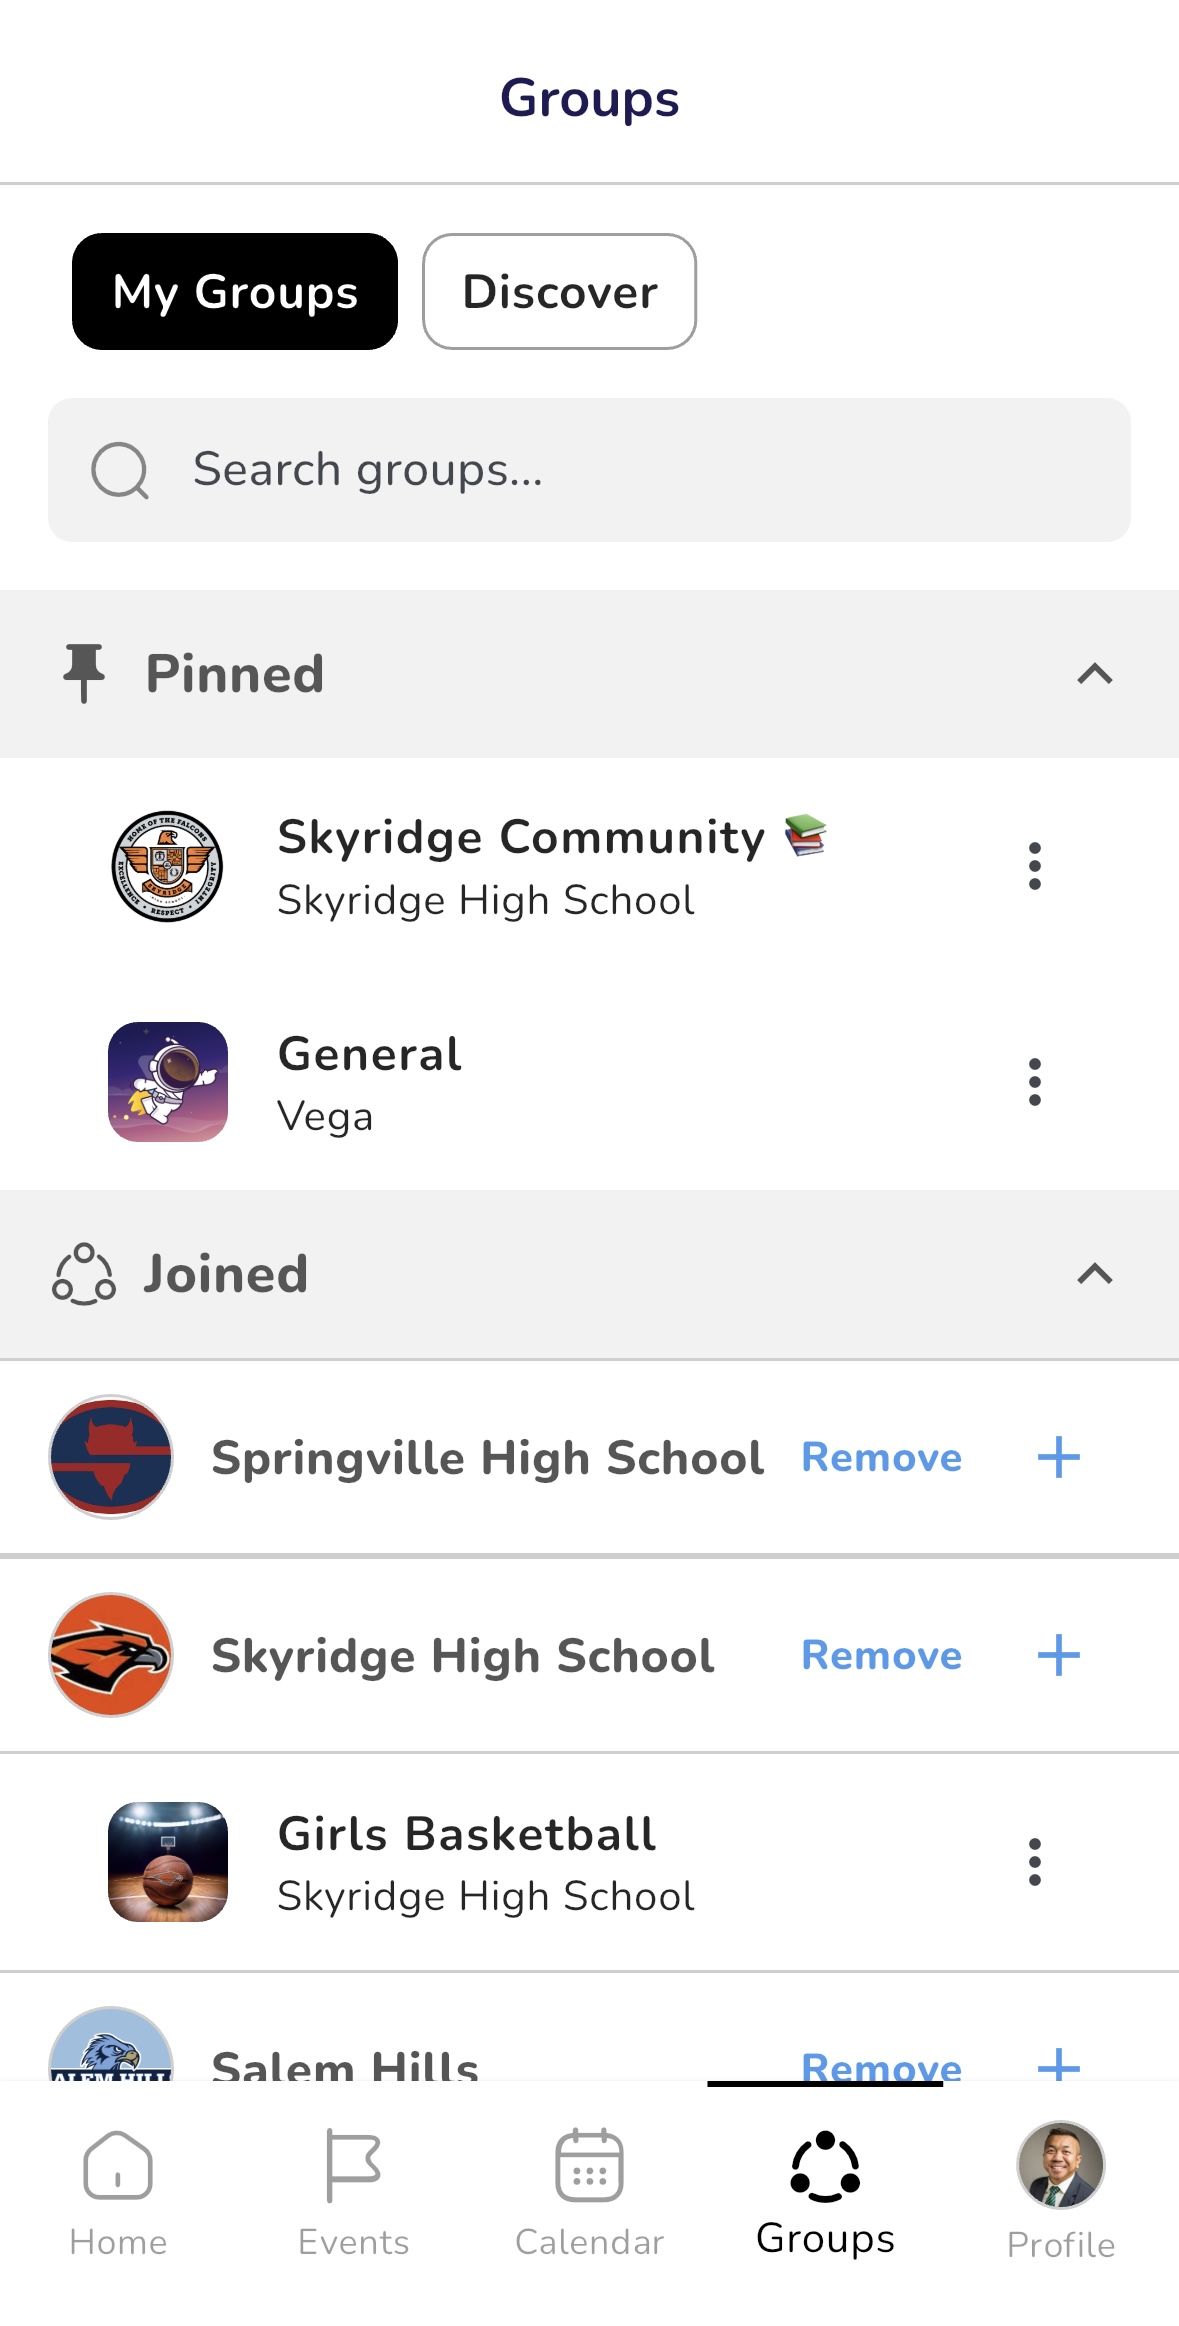
Step 3: Navigate to the Groups Menu
Once you’ve signed up, tap on the Groups page located in the taskbar at the bottom of the screen.
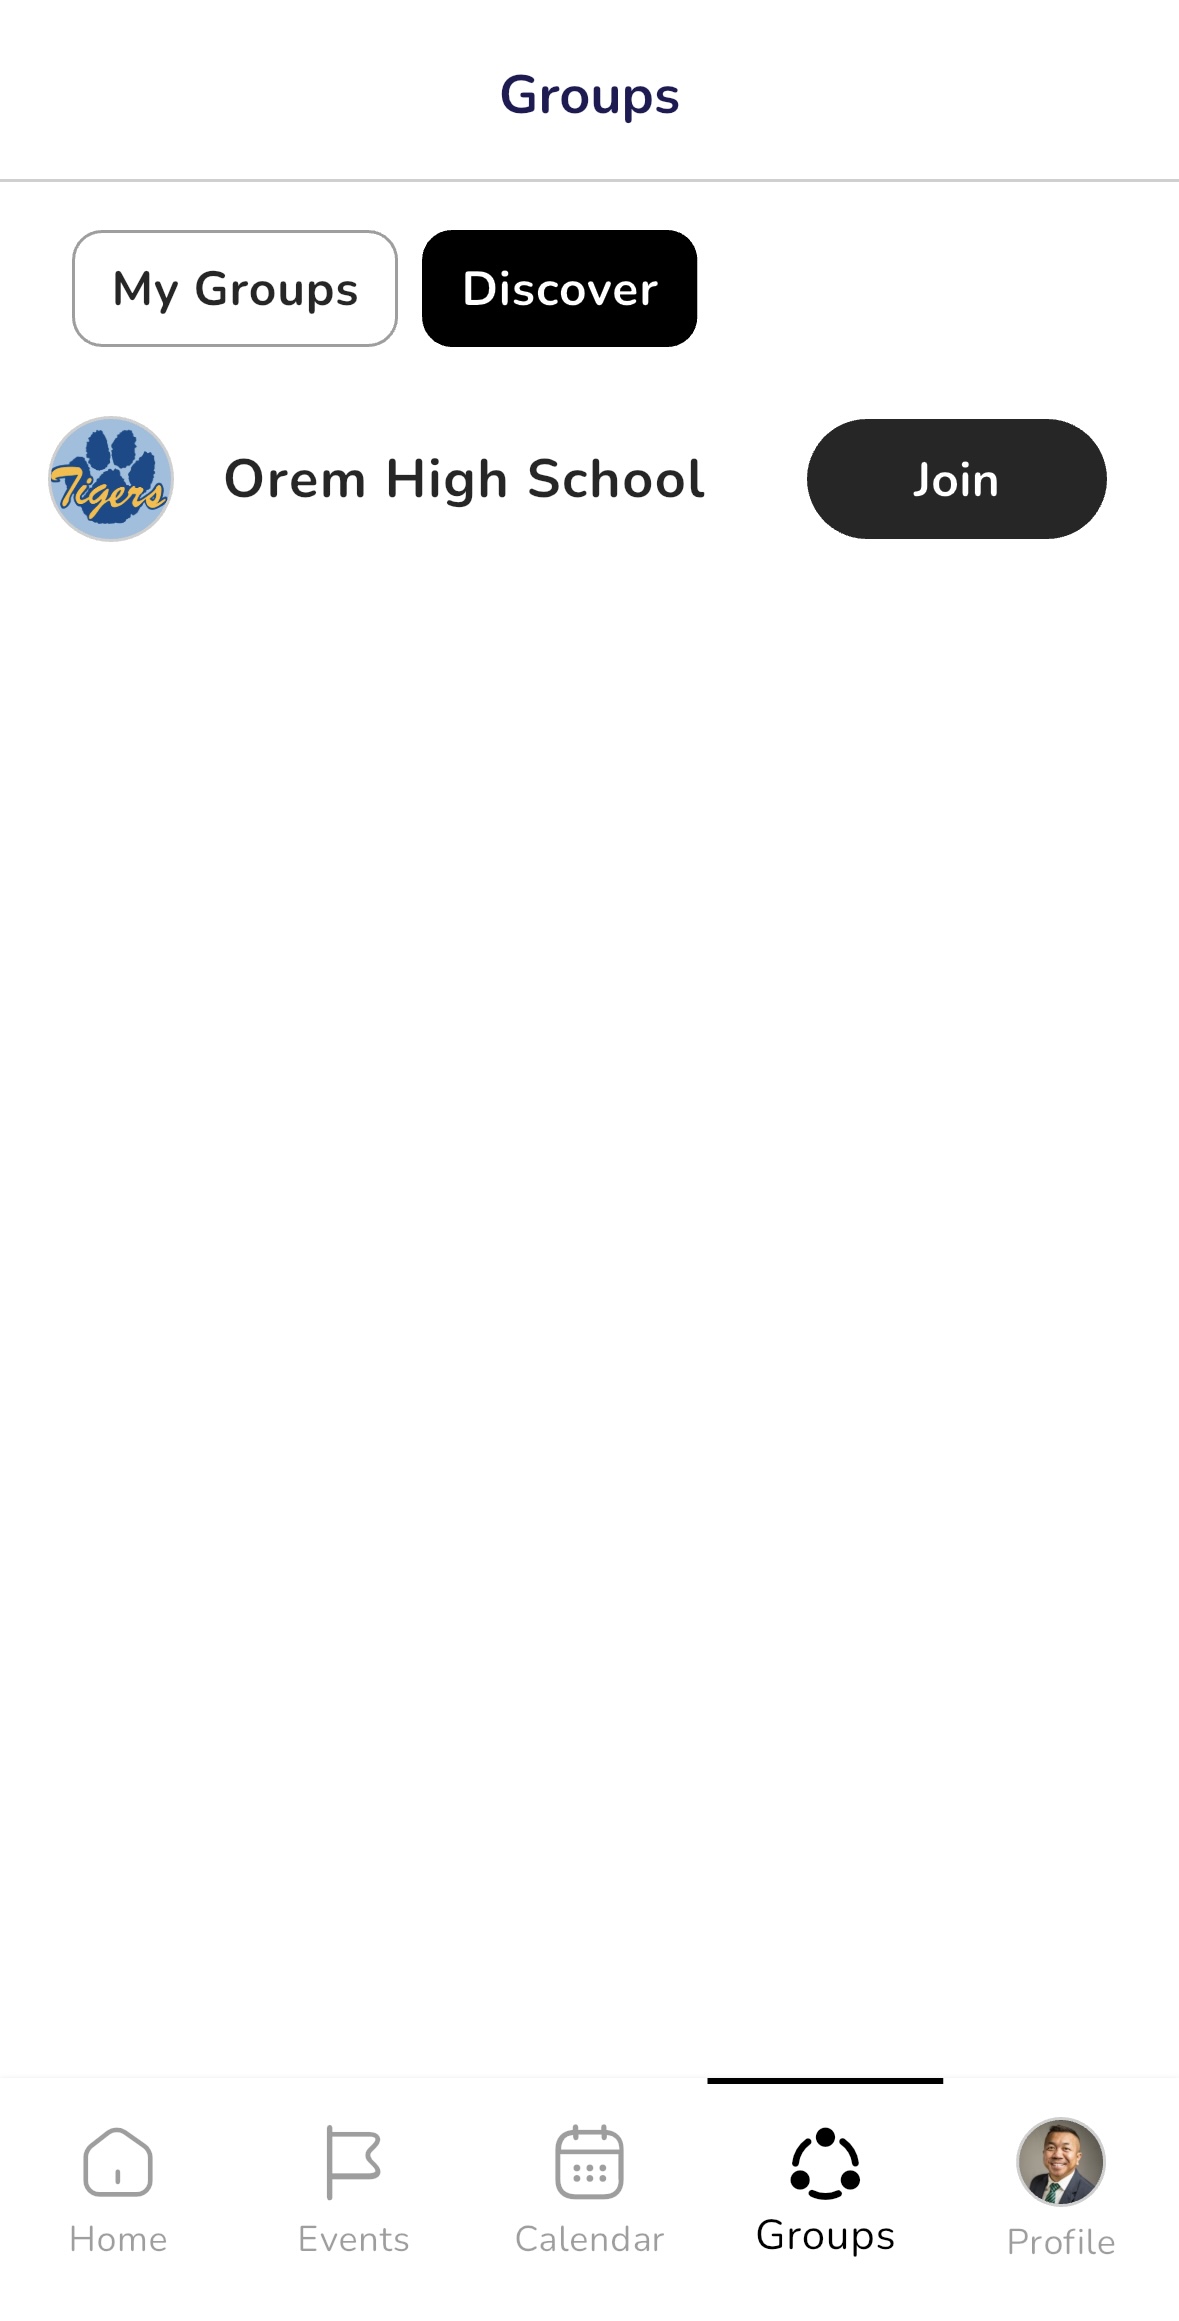
Step 4: Join a School or Organization
- On the Groups page, go to the Discover tab.
- Browse the list of available organizations.
- Select the organization or school you want to join.
- Tap Join.
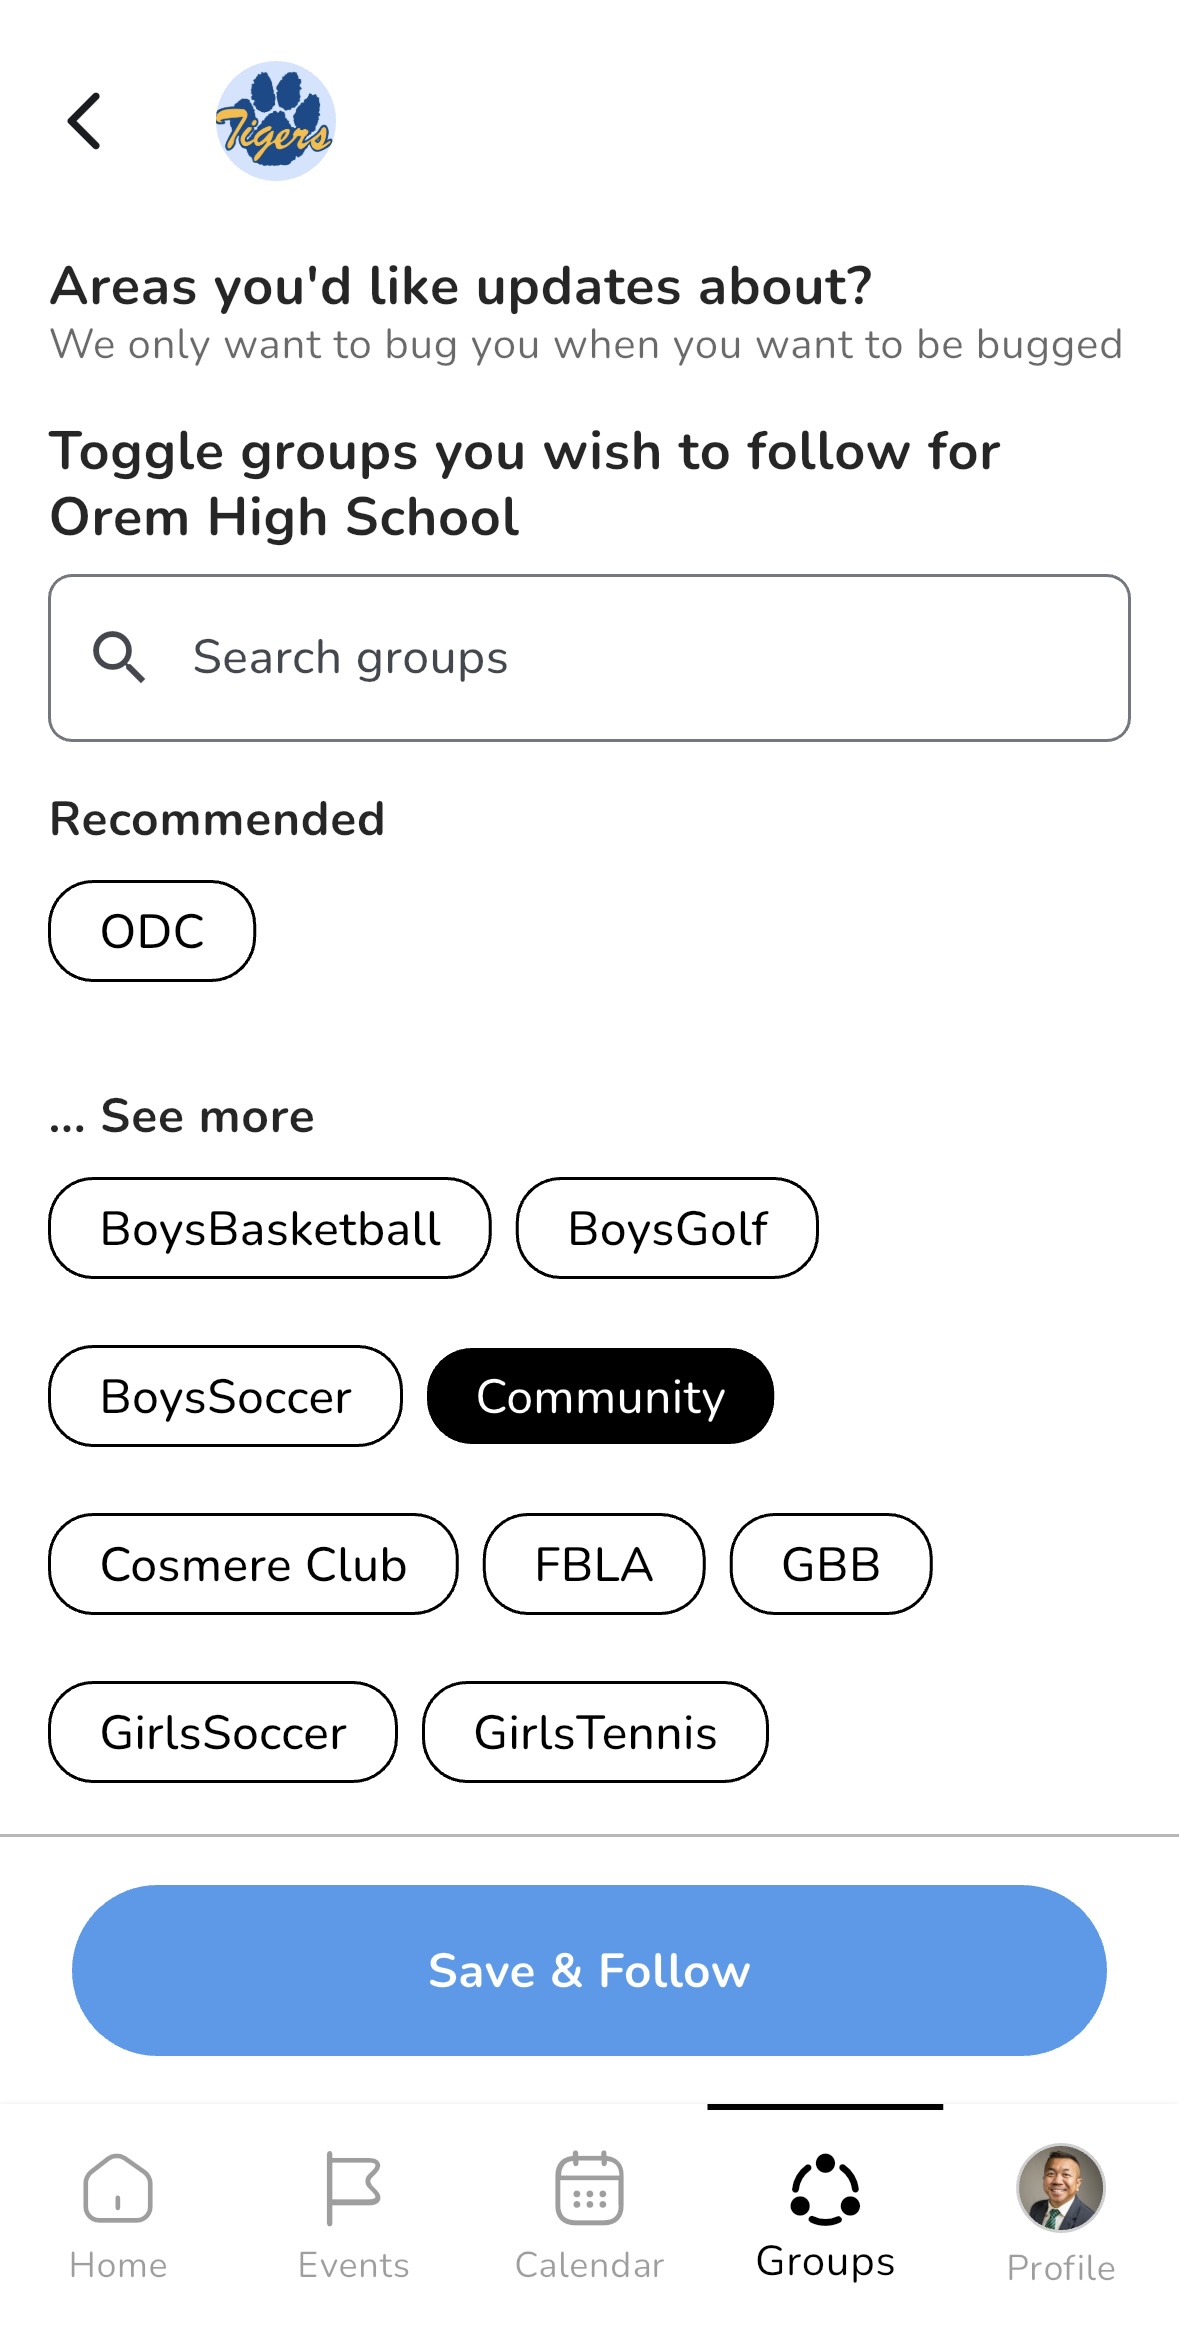
Step 5: Follow Groups Within the Organization
Once you’ve joined an organization, you’ll see a list of groups associated with it.
- Browse through the available groups.
- Select the group you’d like to follow. (For example, you might choose the Community group.)
- Tap Save & Follow to stay updated on events and announcements.
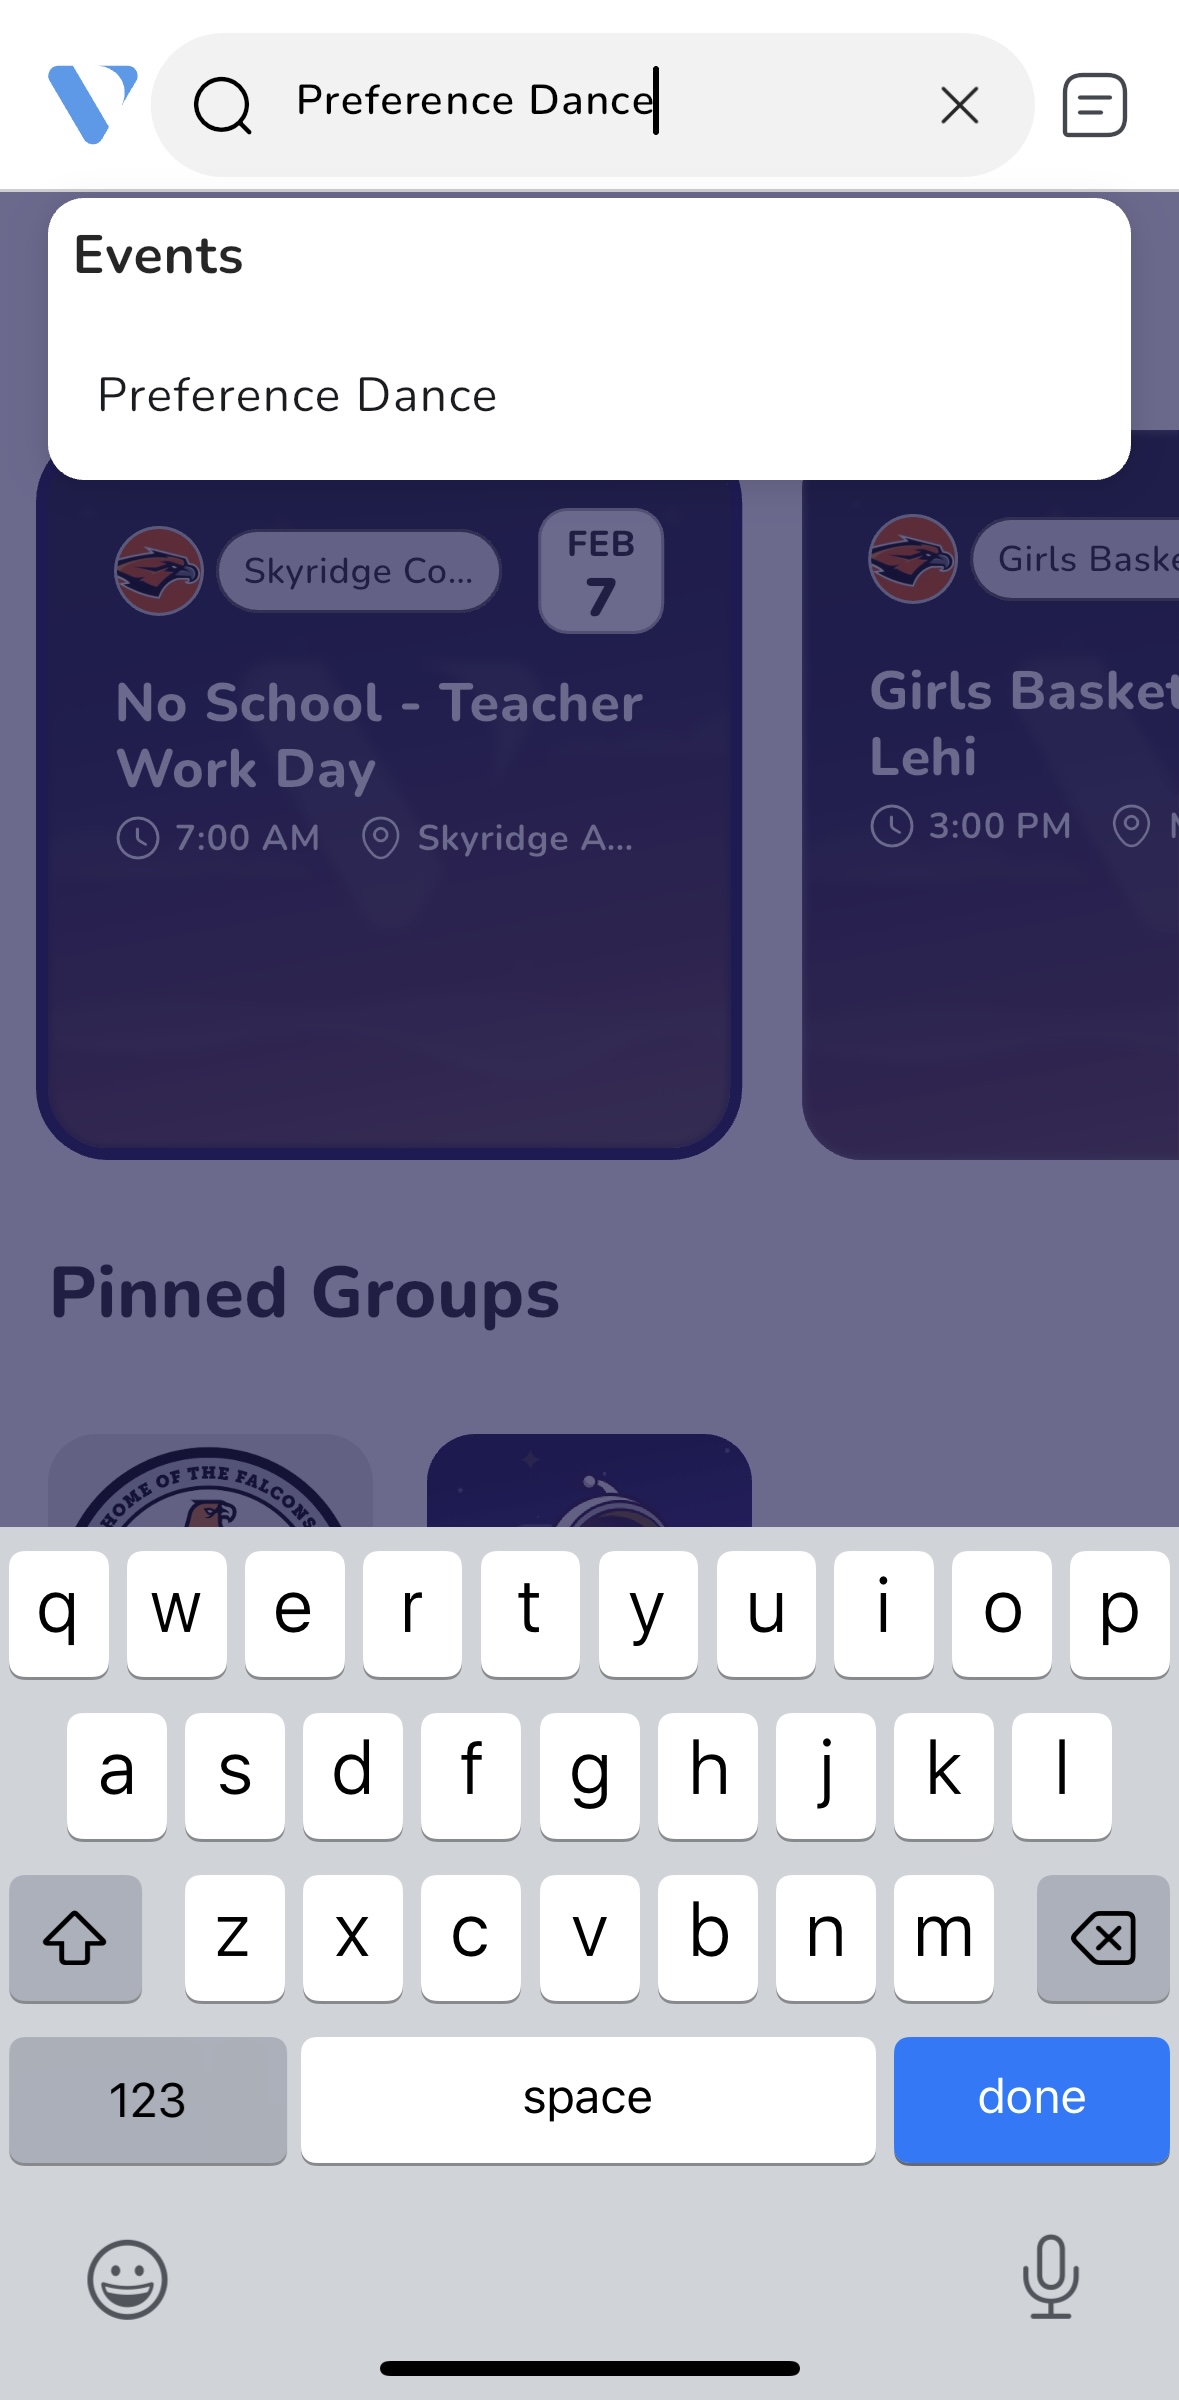
Step 6: Find the Event
- Navigate to the Home page using the bottom taskbar.
- In the search bar at the top, type the name of the event you want to purchase tickets for.
- Example: Searching for “Preference Dance” at Orem High School will display relevant results.
- If you are following the organization or group hosting the event, it may also appear in multiple places, including:
- Your Home page
- The Events page
- The Group page for the community or organization
- Select the event from the search results.
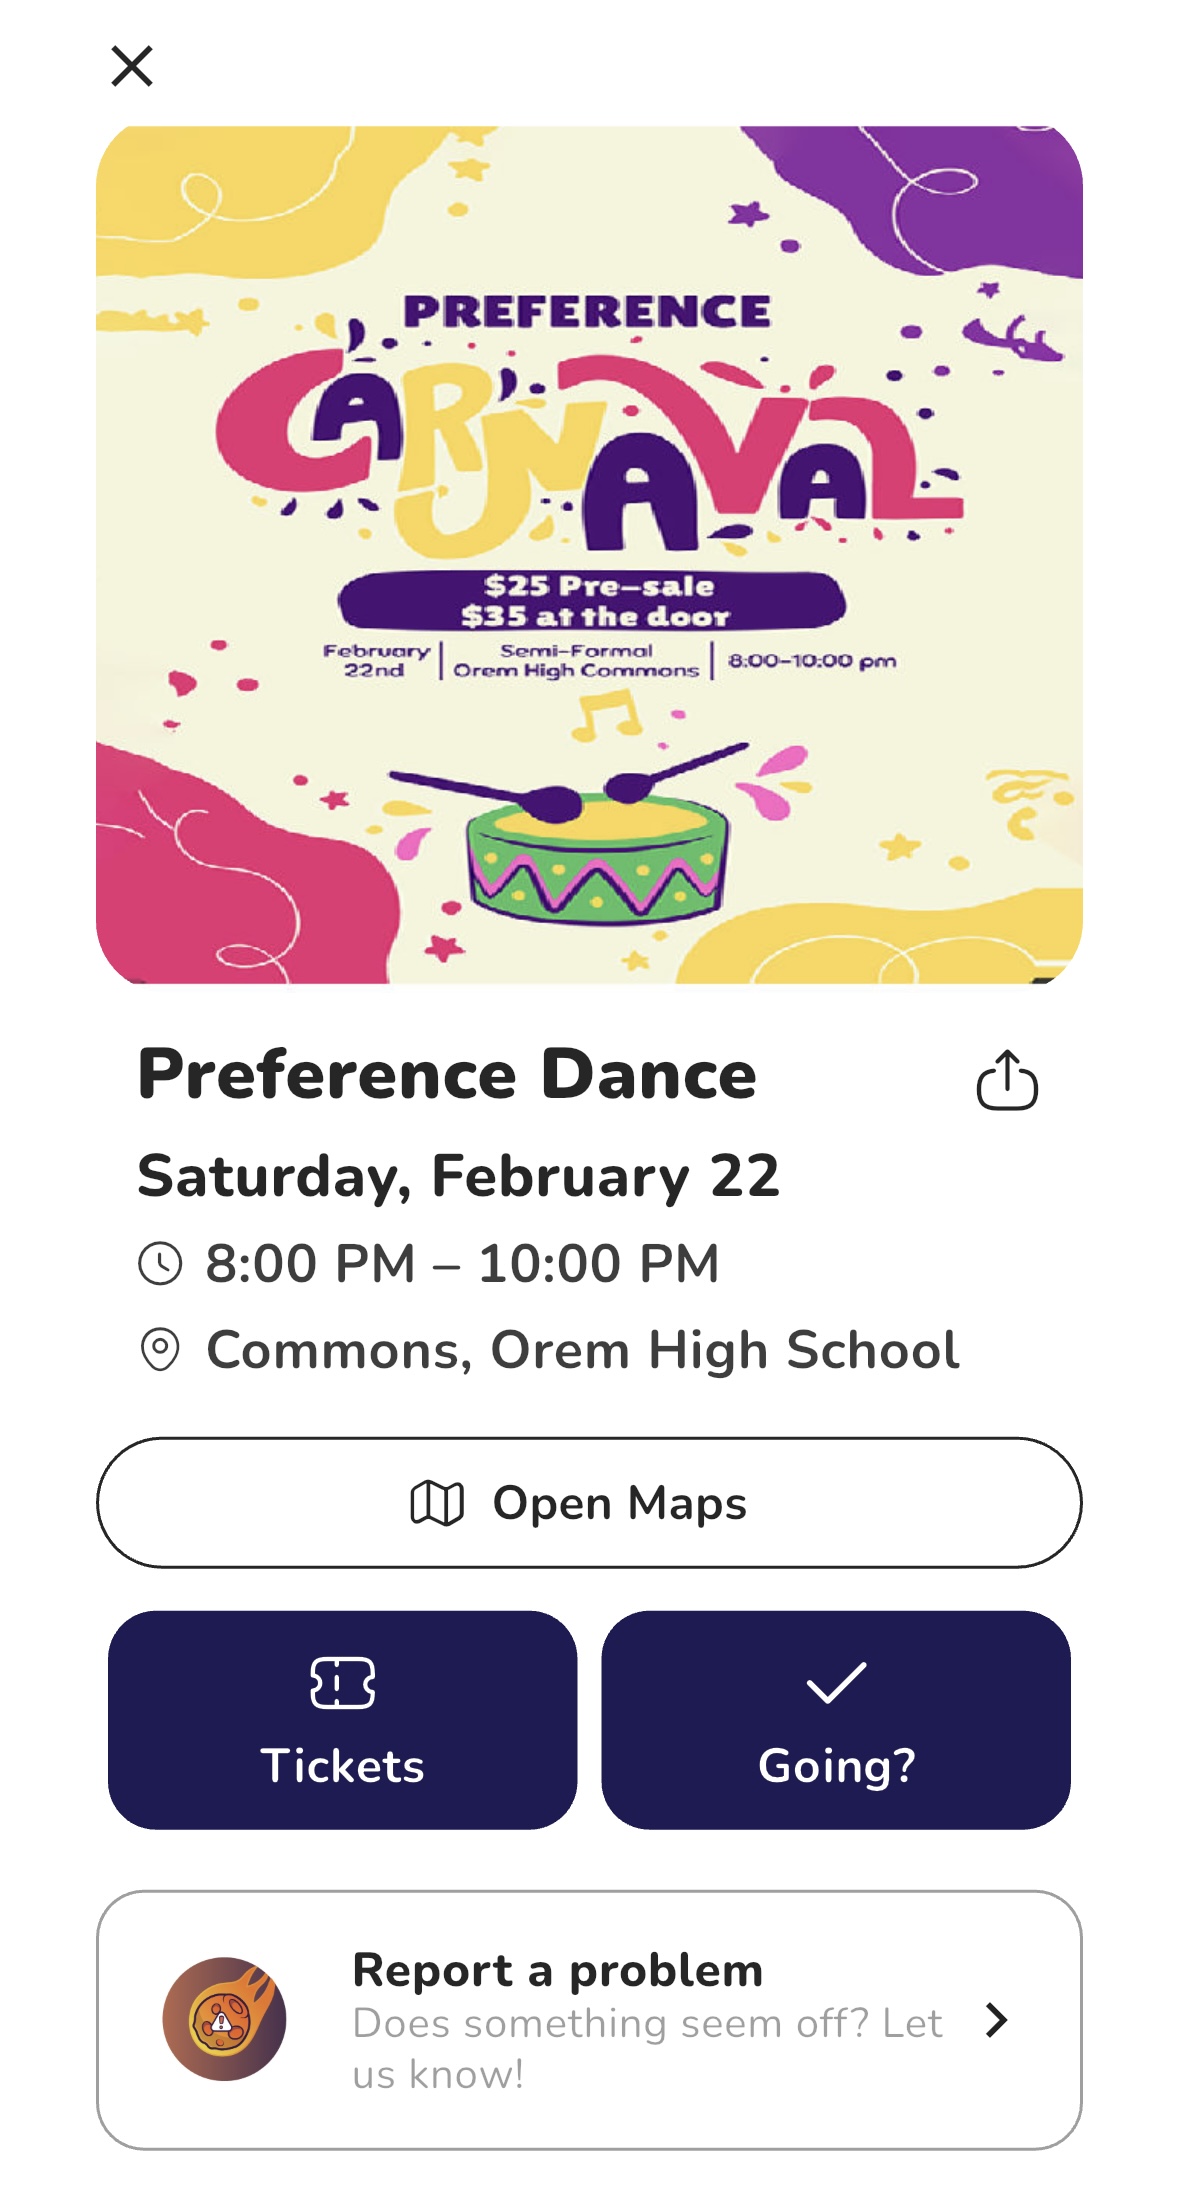
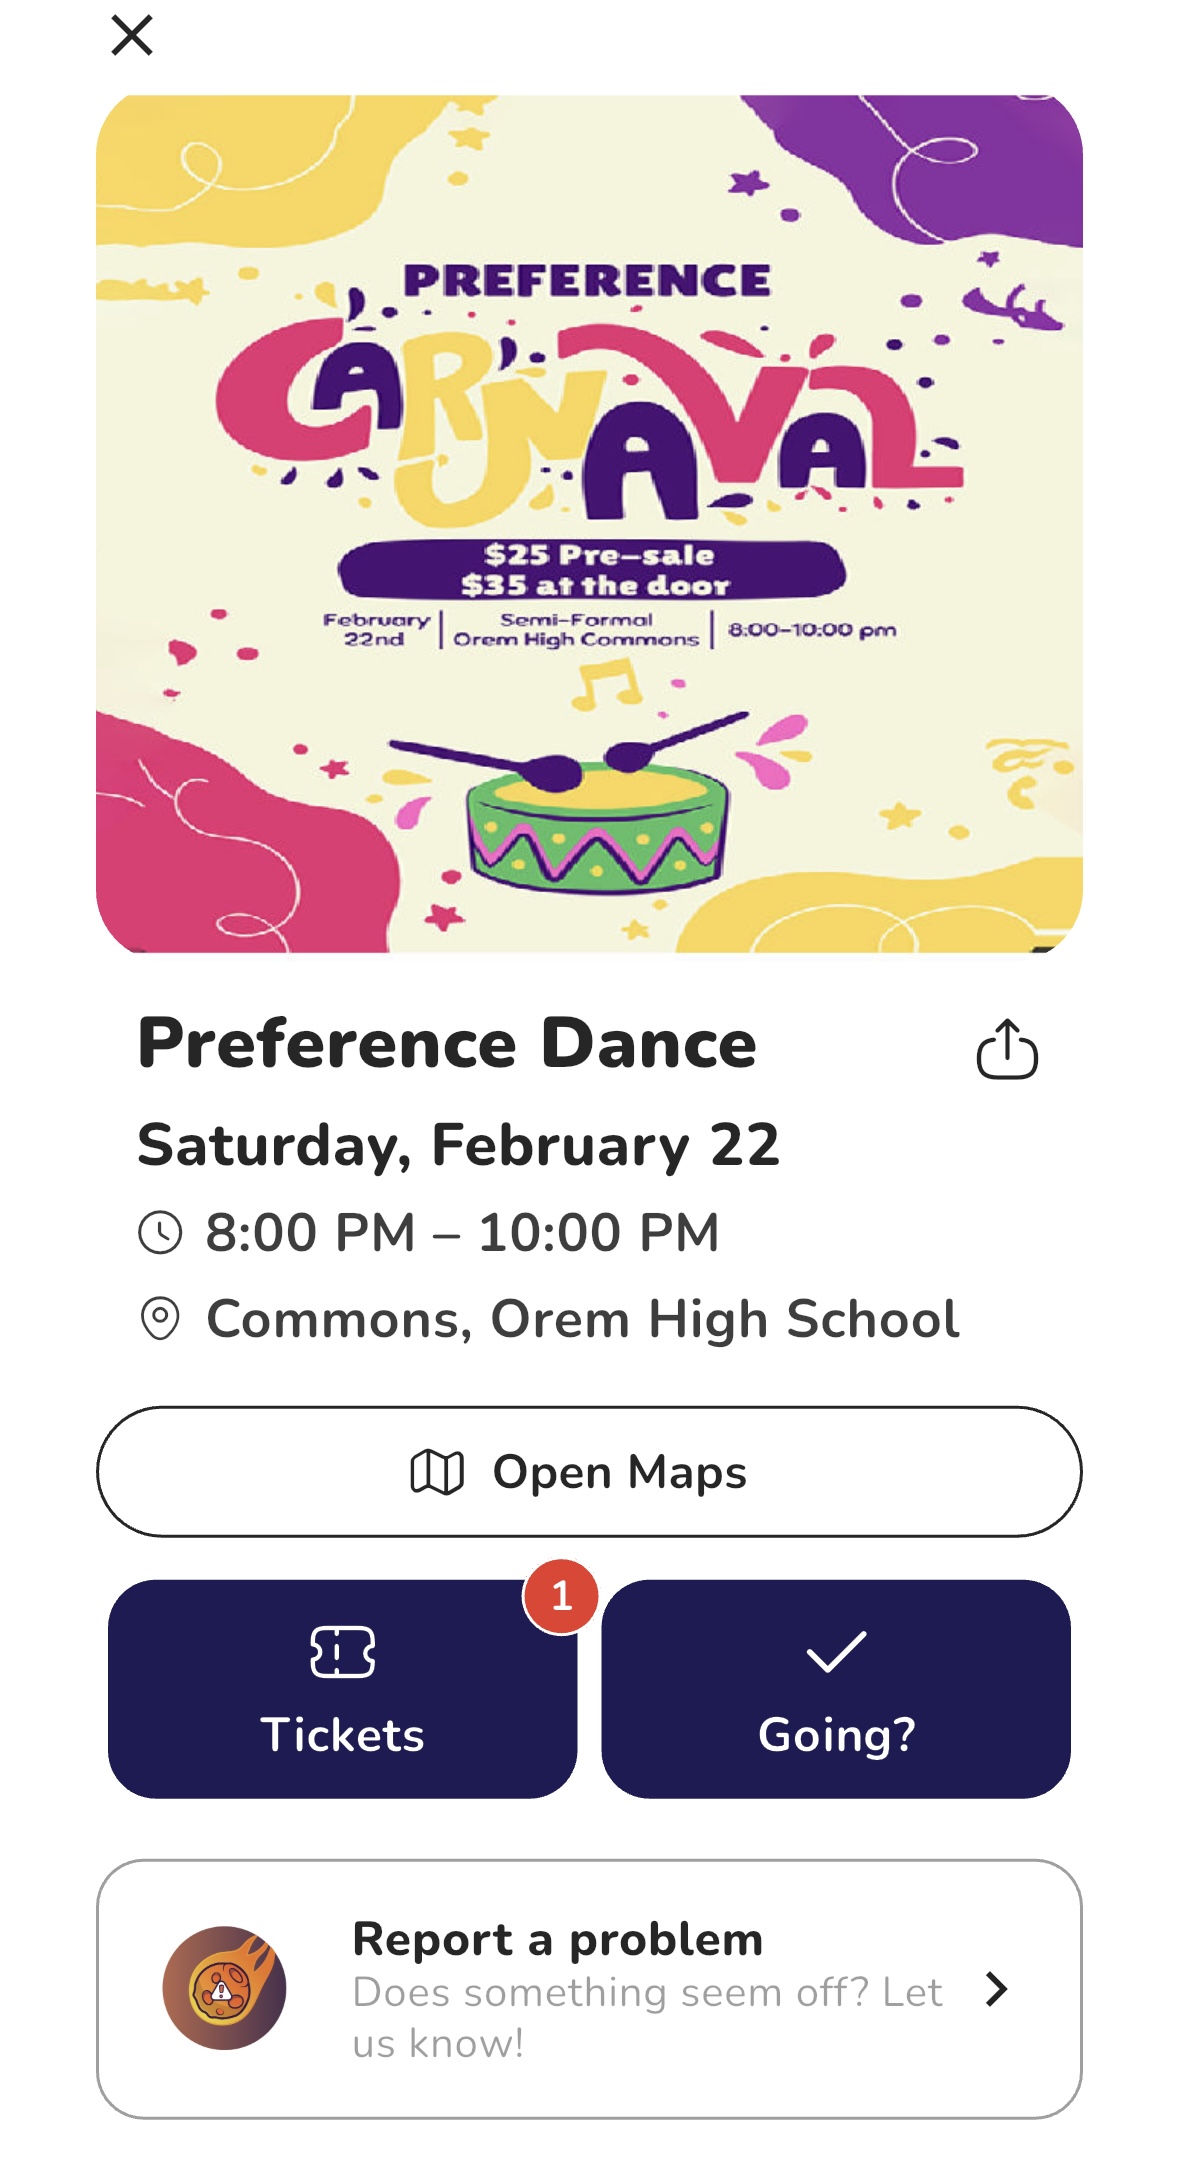
Step 7: Event Page
Once on the event page, tap Tickets to begin the ticket purchasing process.

Step 8: Add a Ticket
After tapping Tickets you’ll now see available ticket options. If you’re purchasing a couples ticket, select the option and add one ticket to your cart.
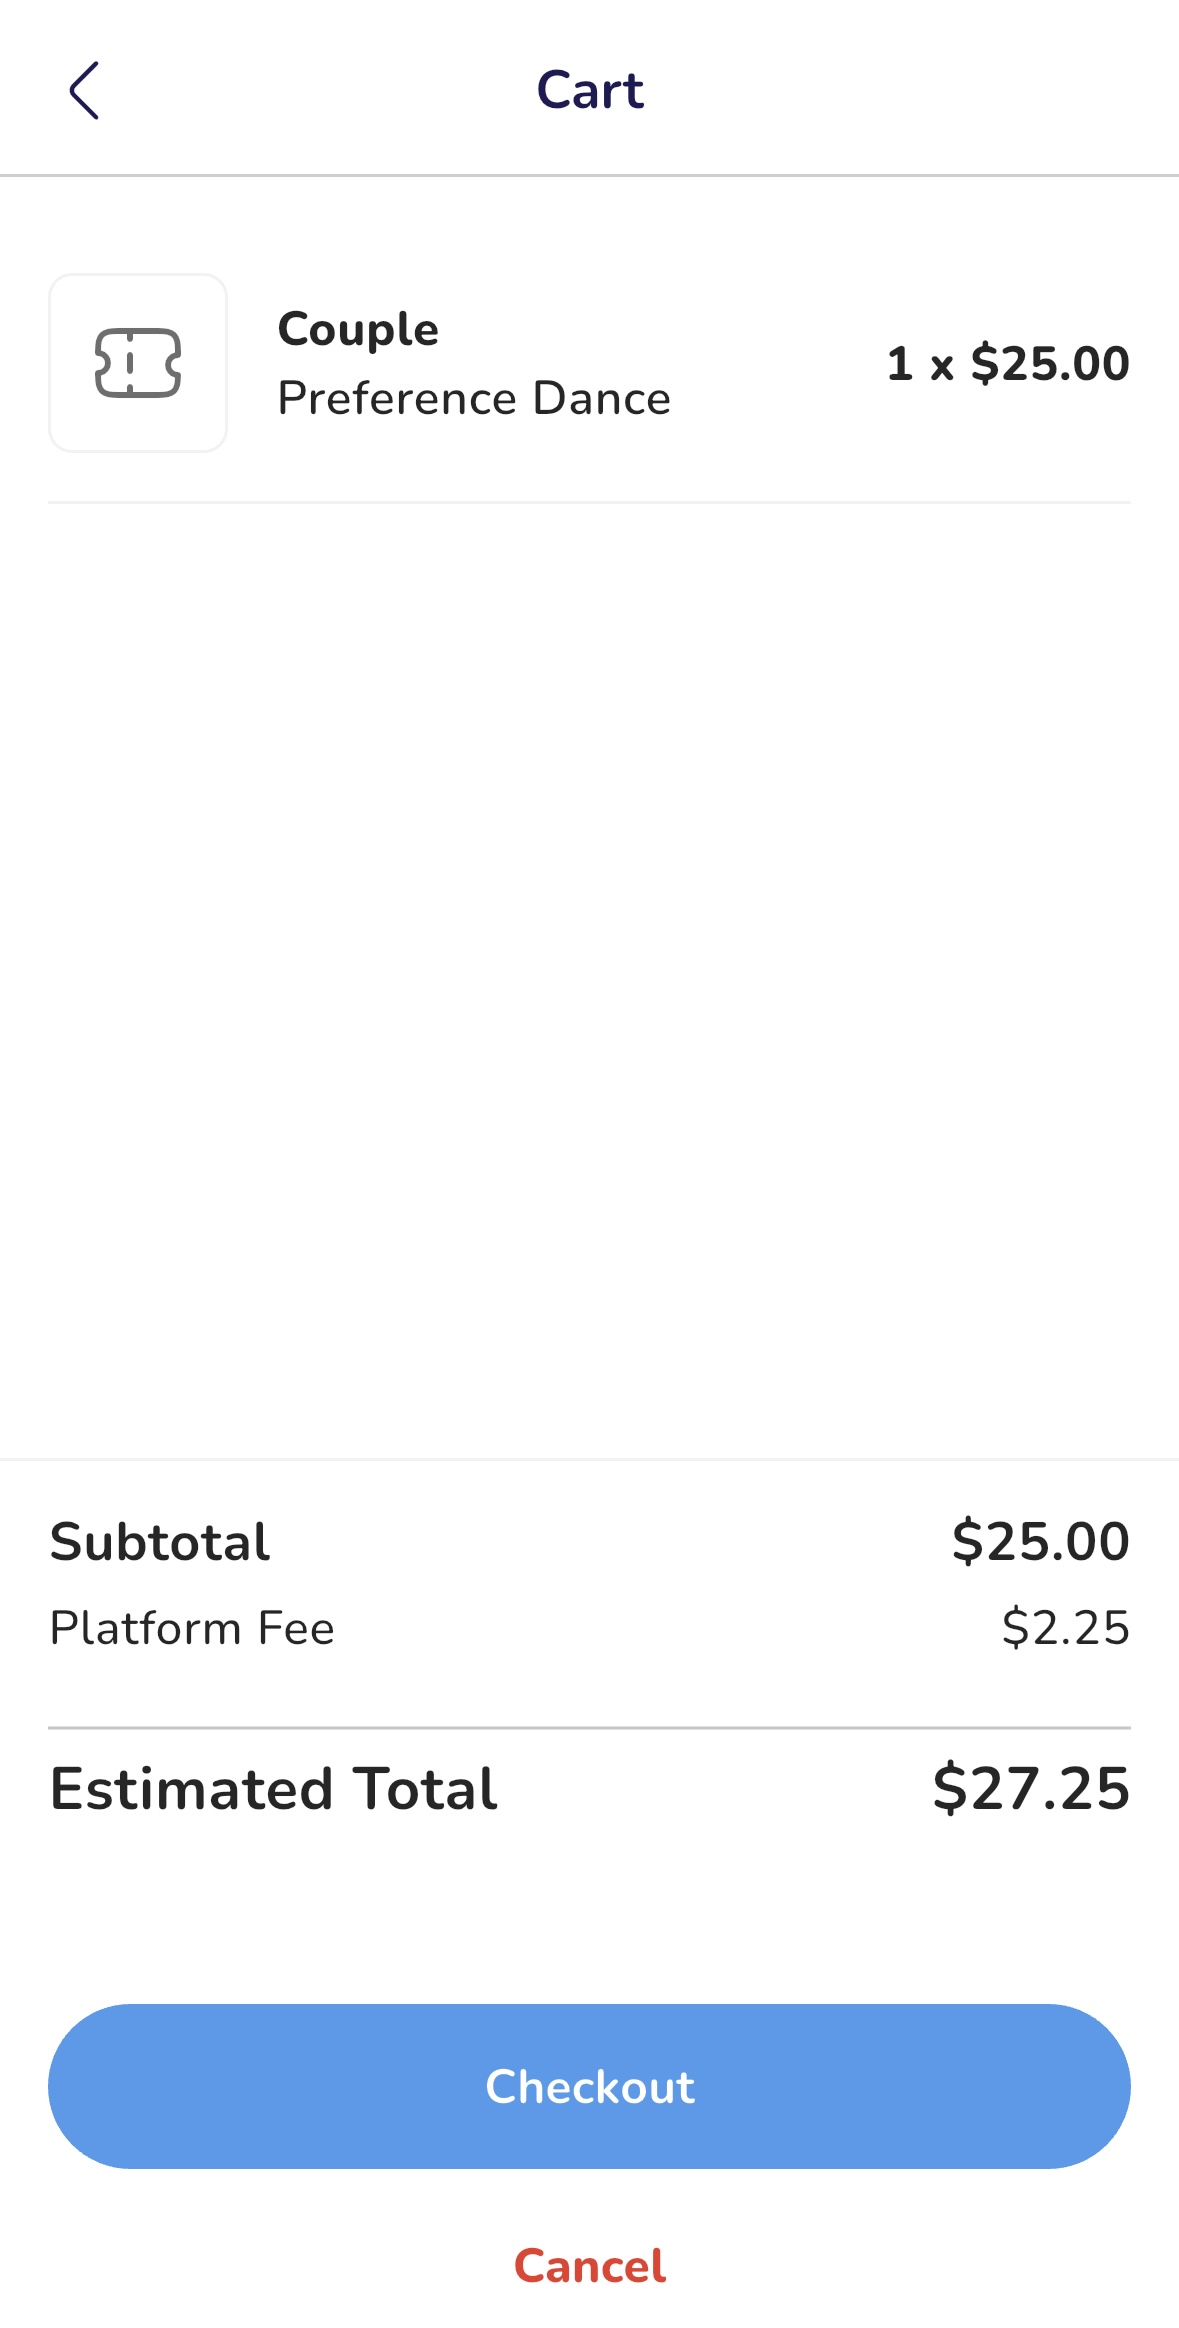
Step 9: Review Your Cart
- On the Cart page, review your order details.
- Here, you can verify:
- The ticket type and quantity
- The subtotal, any fees, and the total cost
- If everything looks correct, tap Checkout to proceed.
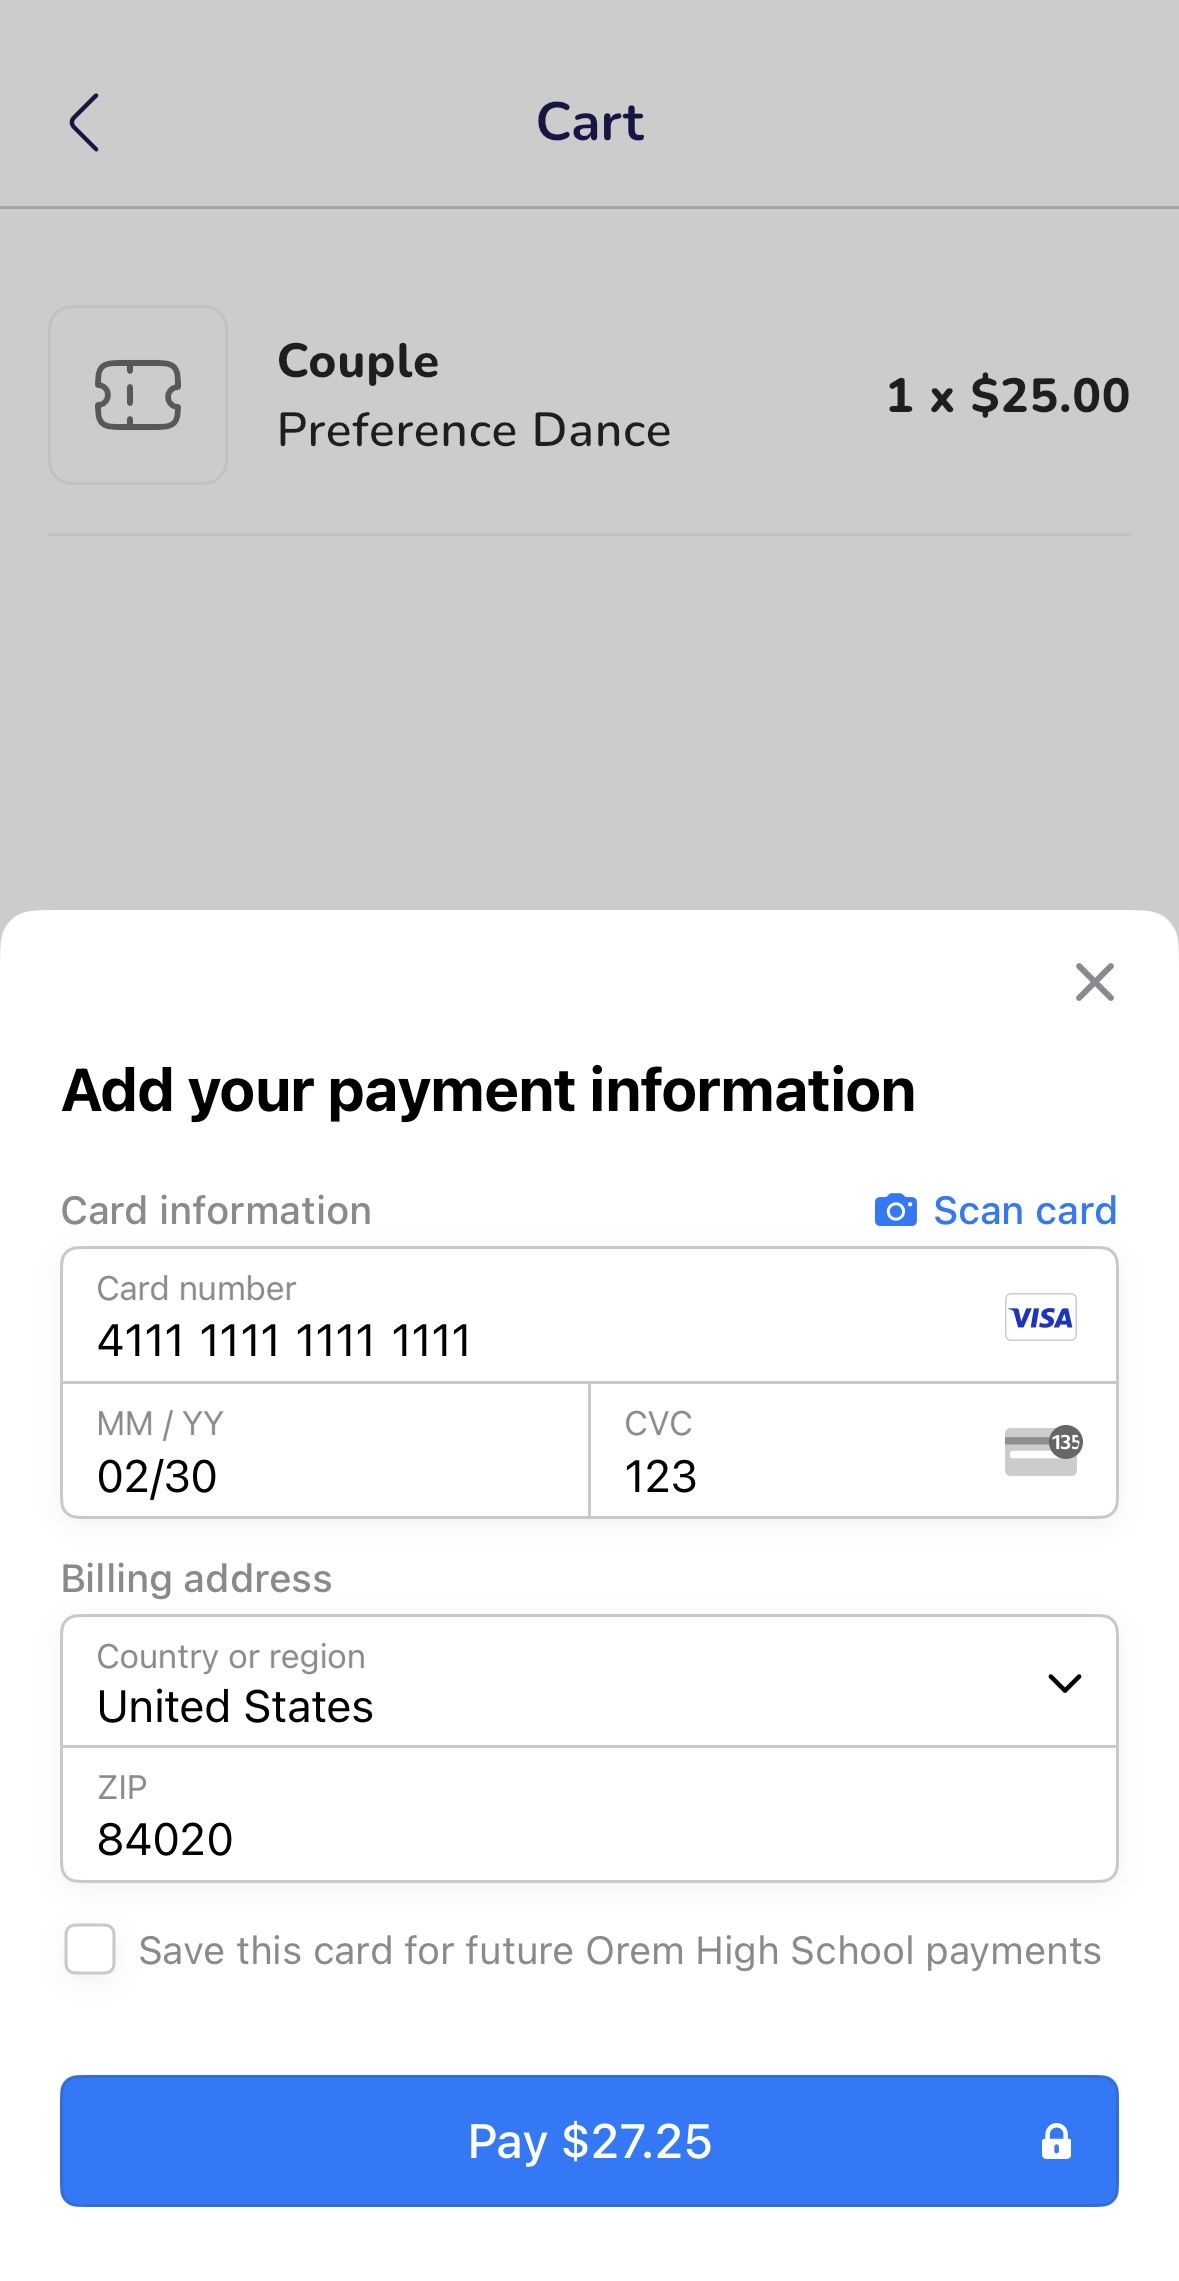
Step 10: Complete Your Purchase
- Enter your payment information to finalize the purchase.
- If desired, you can save your payment details for future purchases.
- Tap Pay to complete your transaction.

Step 11: Ticket Purchase Confirmation
Once your transaction is successful, you’ll see a Payment Successful confirmation message.

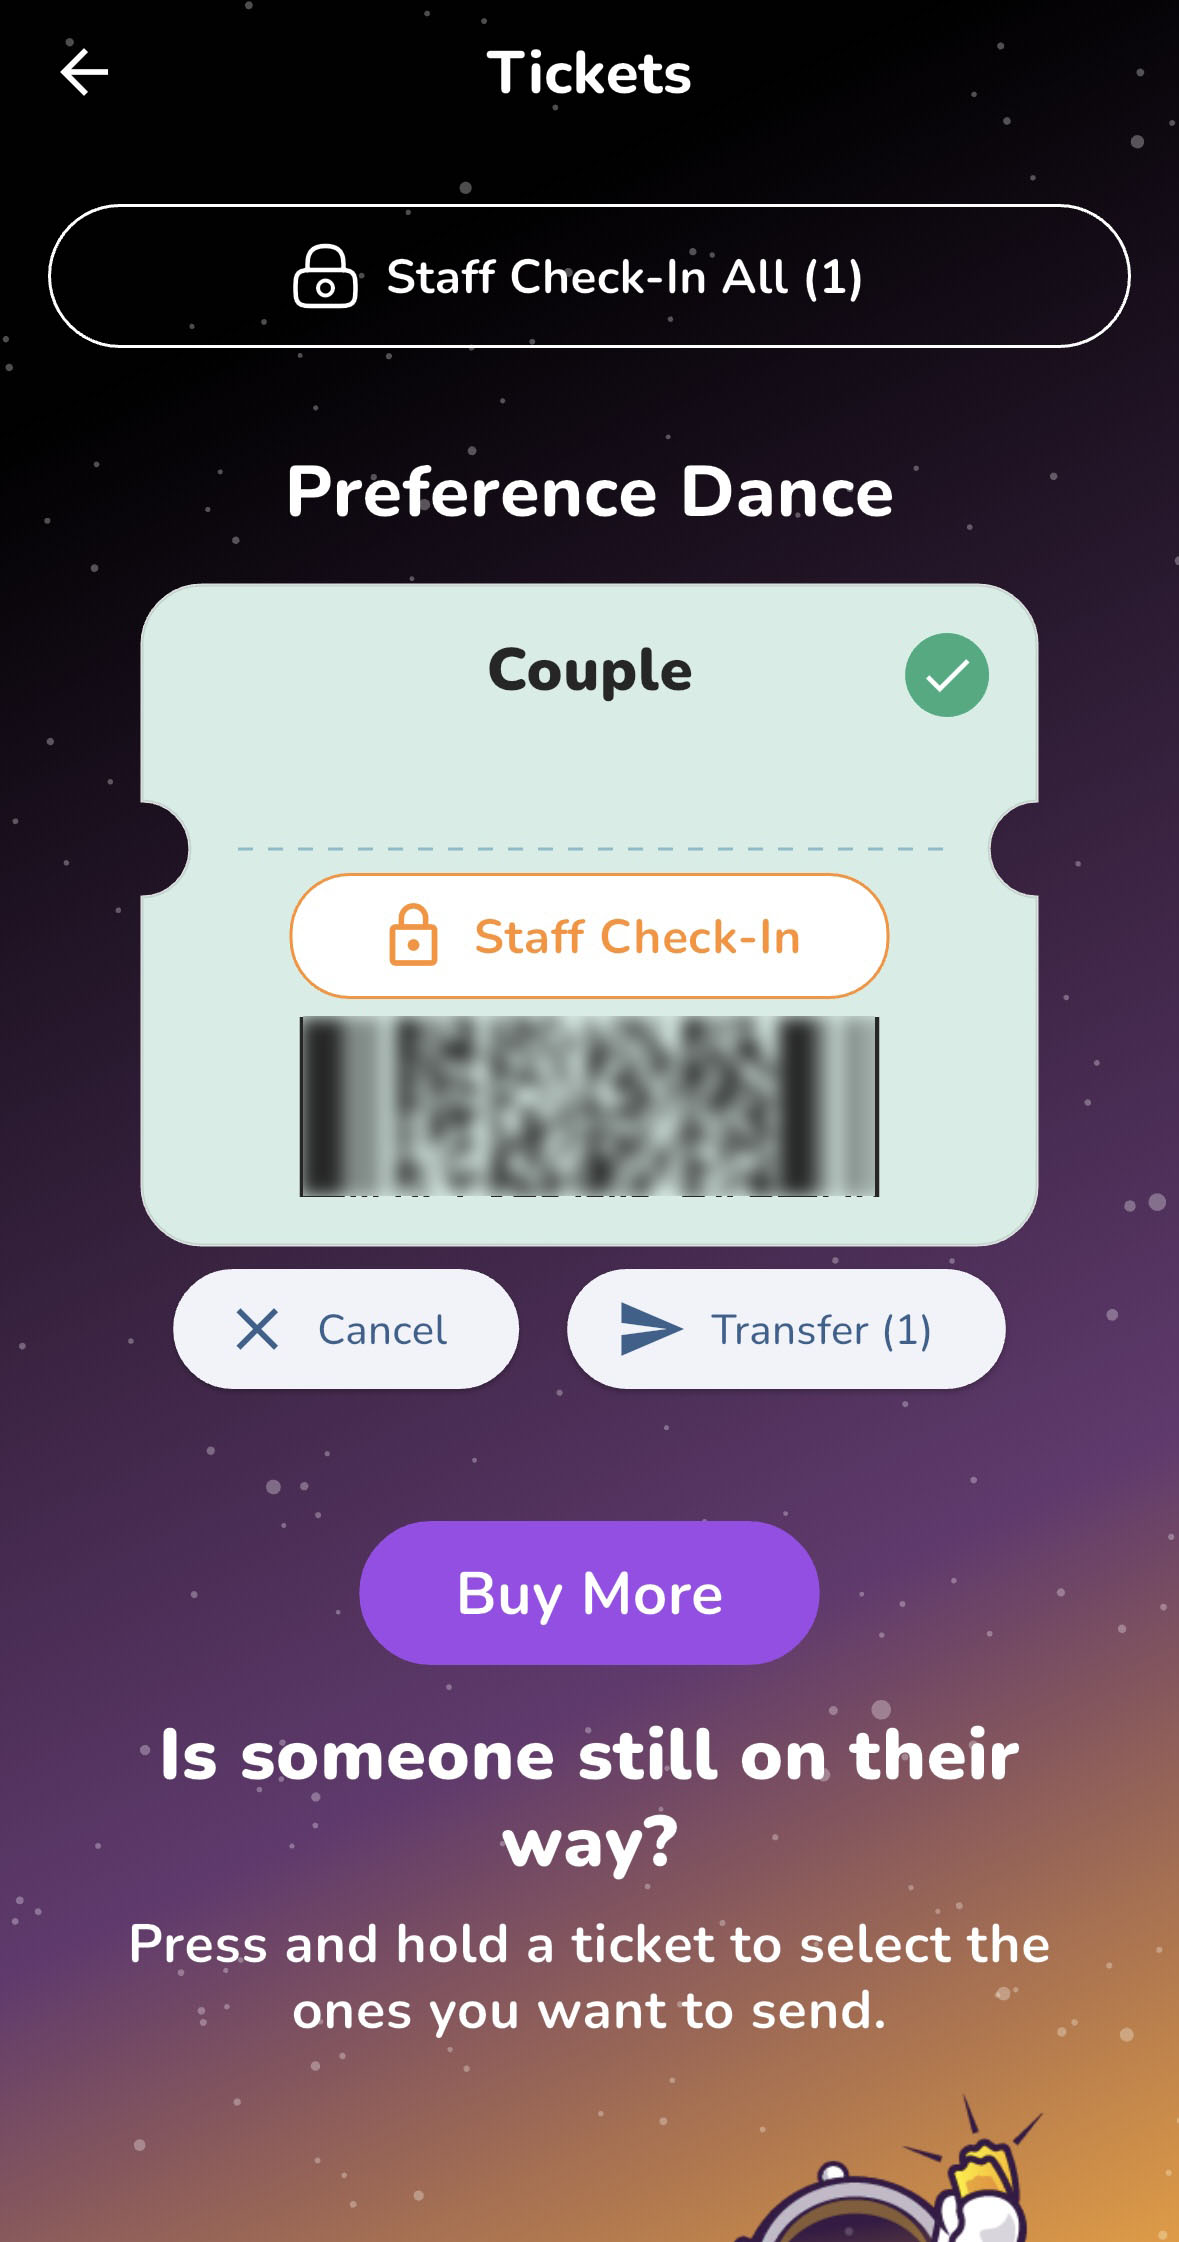
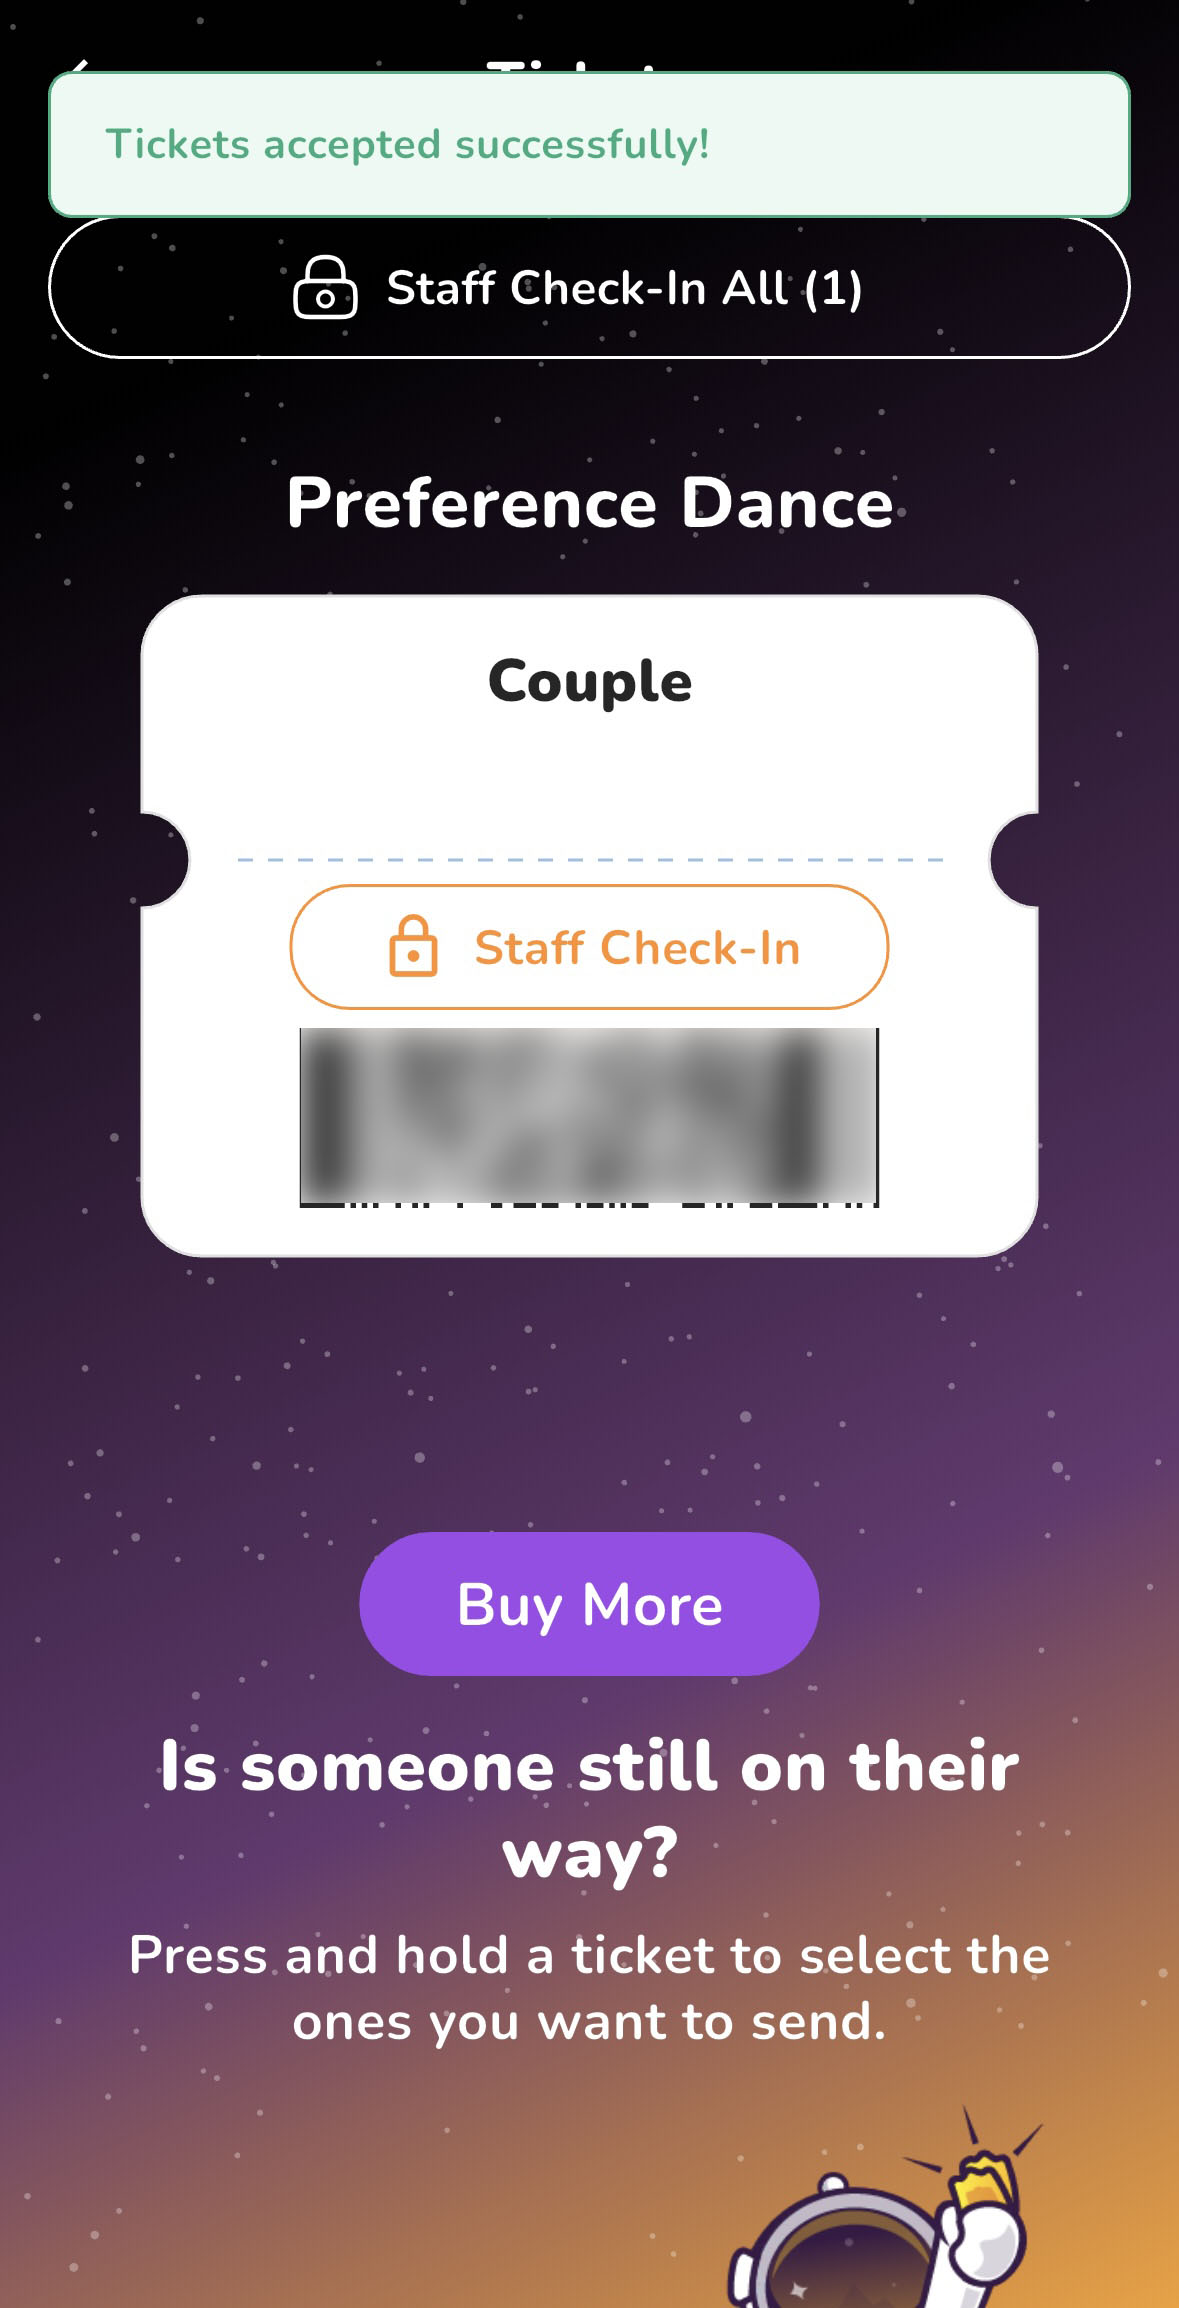
Step 12: Viewing Your Tickets
- Your tickets will be available on the Tickets page.
- If you purchased multiple tickets, they will all be listed.
- You’ll see a Staff Check-In button—do not tap on this. The event staff will use this to check you in.
- If you accidentally tap it, contact our support chat on our website for assistance.
- You can purchase additional tickets by tapping Buy More.
- Your ticket includes a QR code, which event staff can scan for entry.
Step 13: Accessing Tickets from the Event Page
Once purchased, your tickets will appear on the Event page, with a red notification indicating how many tickets you have.
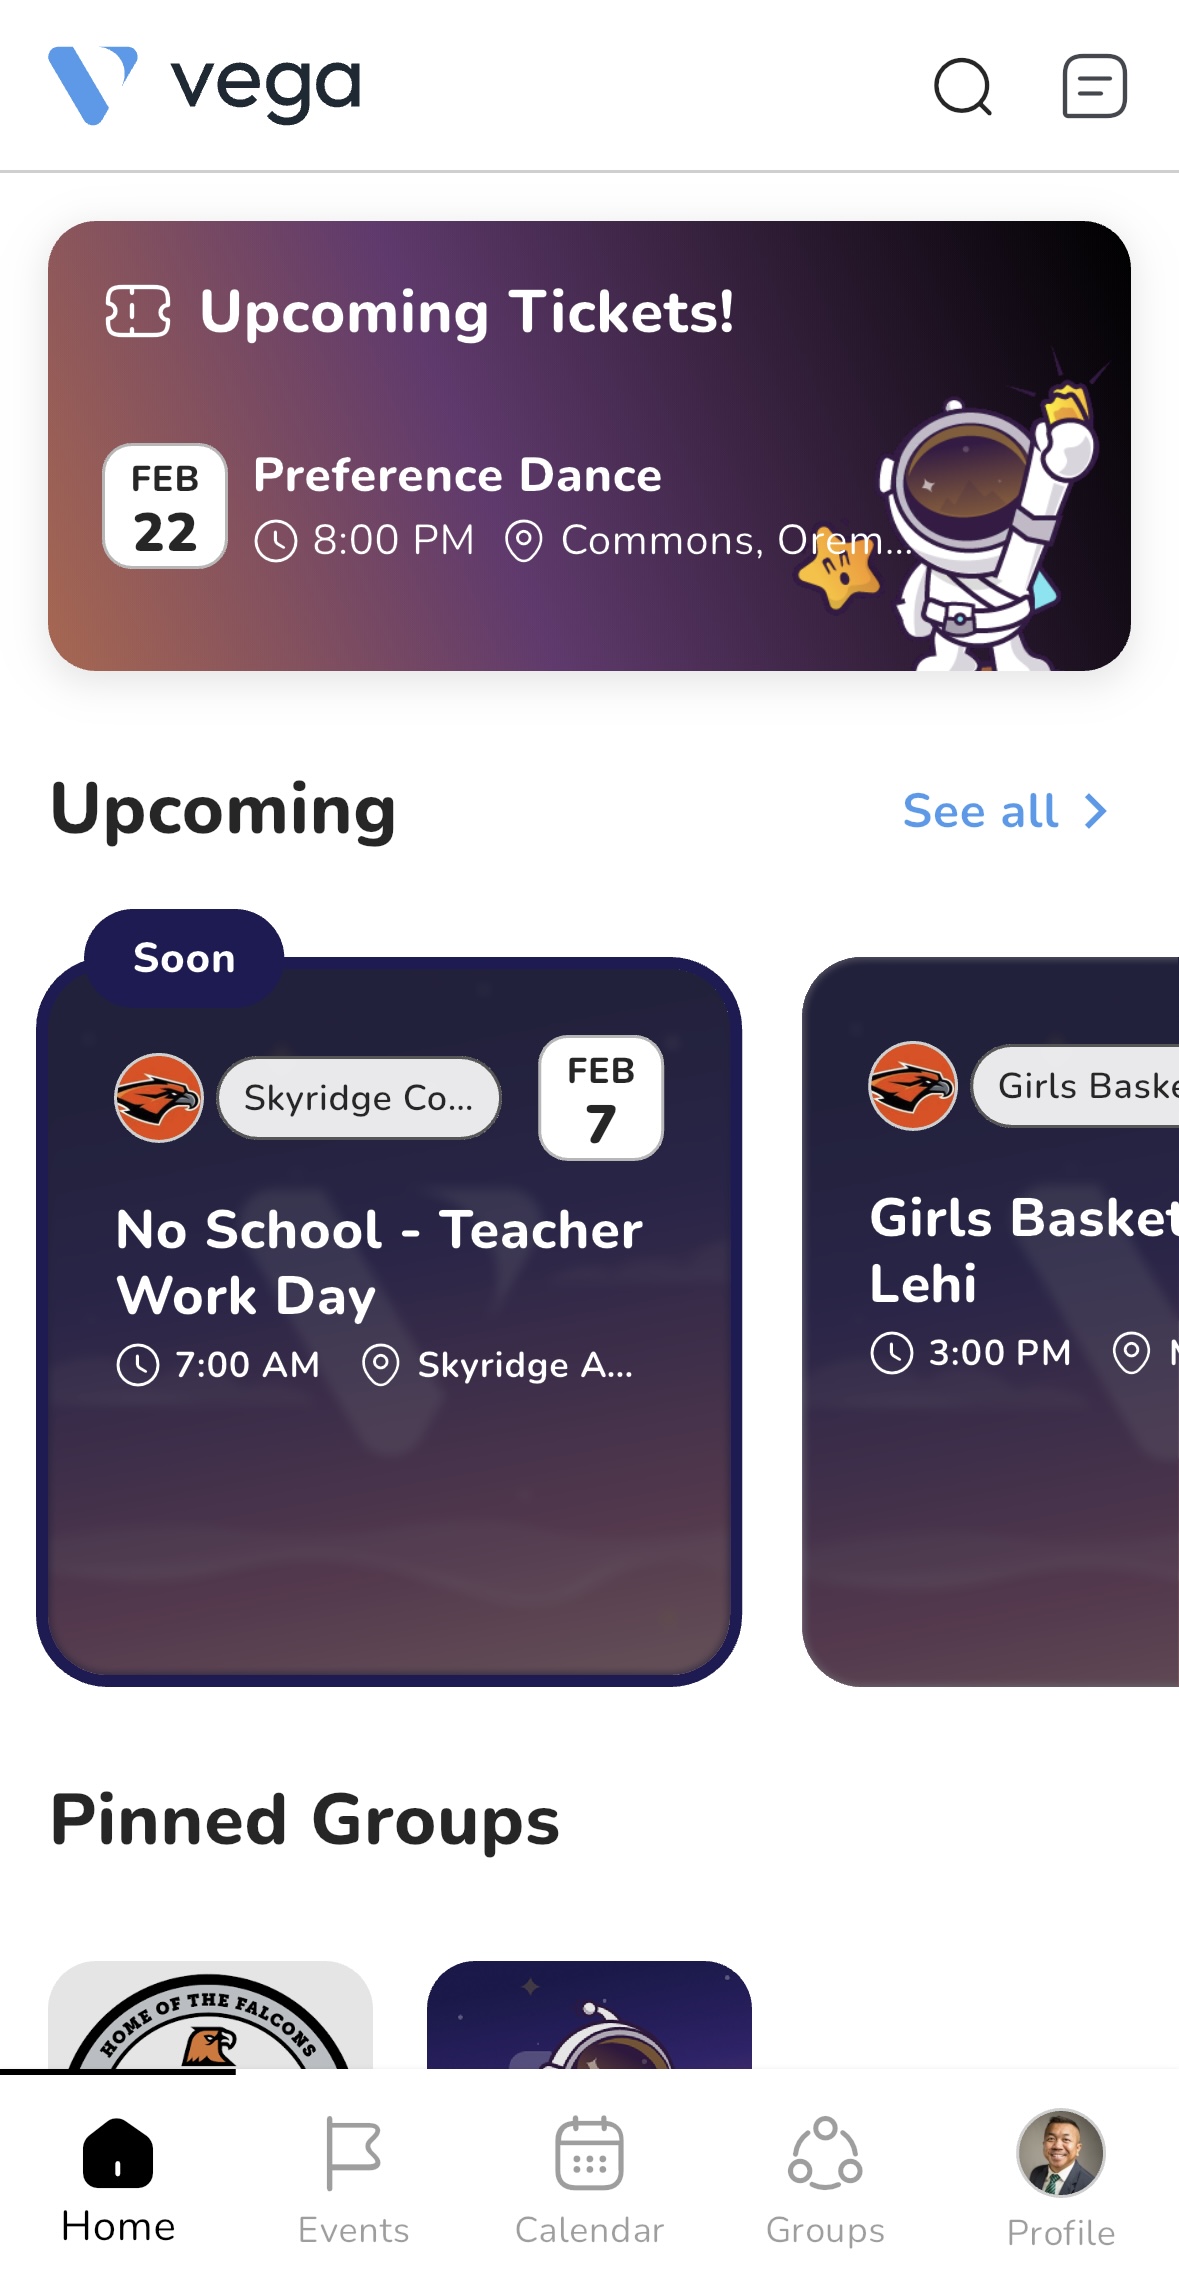
Step 14: Accessing Tickets from the Home Page
- Your event will now be pinned to the top of your Home screen.
- Tapping on this event will open your tickets for easy access.
Step 15: Transferring Tickets
- On the Tickets page, long-press the ticket you want to transfer.
- If you have multiple tickets, this will activate Select Mode, allowing you to select multiple tickets.
- Tap Transfer to send the ticket(s) to someone else.
- Example: A parent or guardian can transfer tickets to their student.
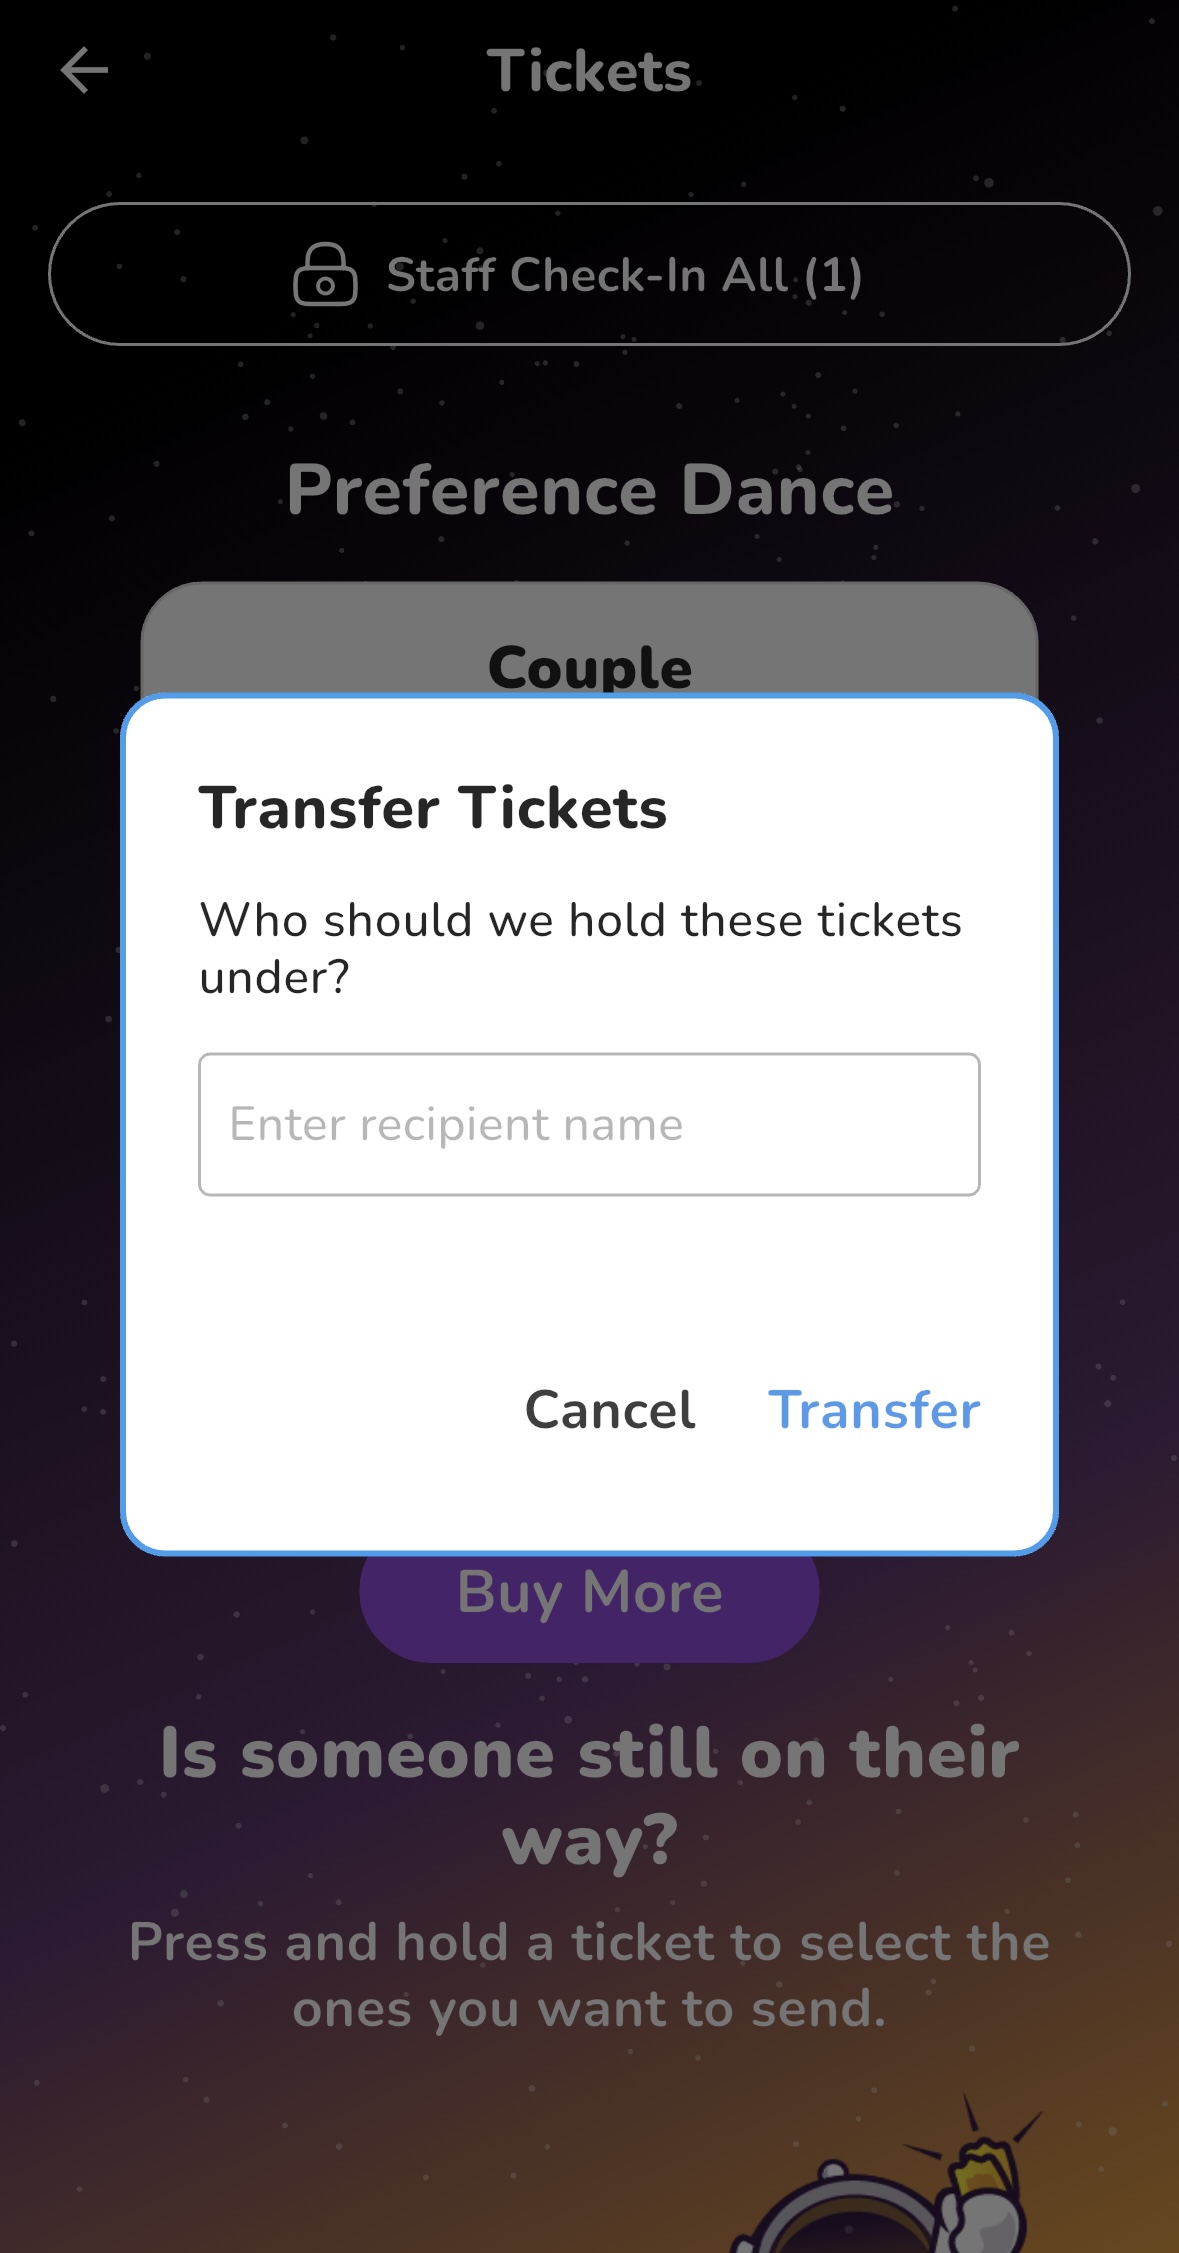
Step 16: Enter the Recipient’s Name
When transferring a ticket, enter the name of the person you are sending it to. This will add them to the guest list, allowing event staff to look them up if they do not have their ticket handy.
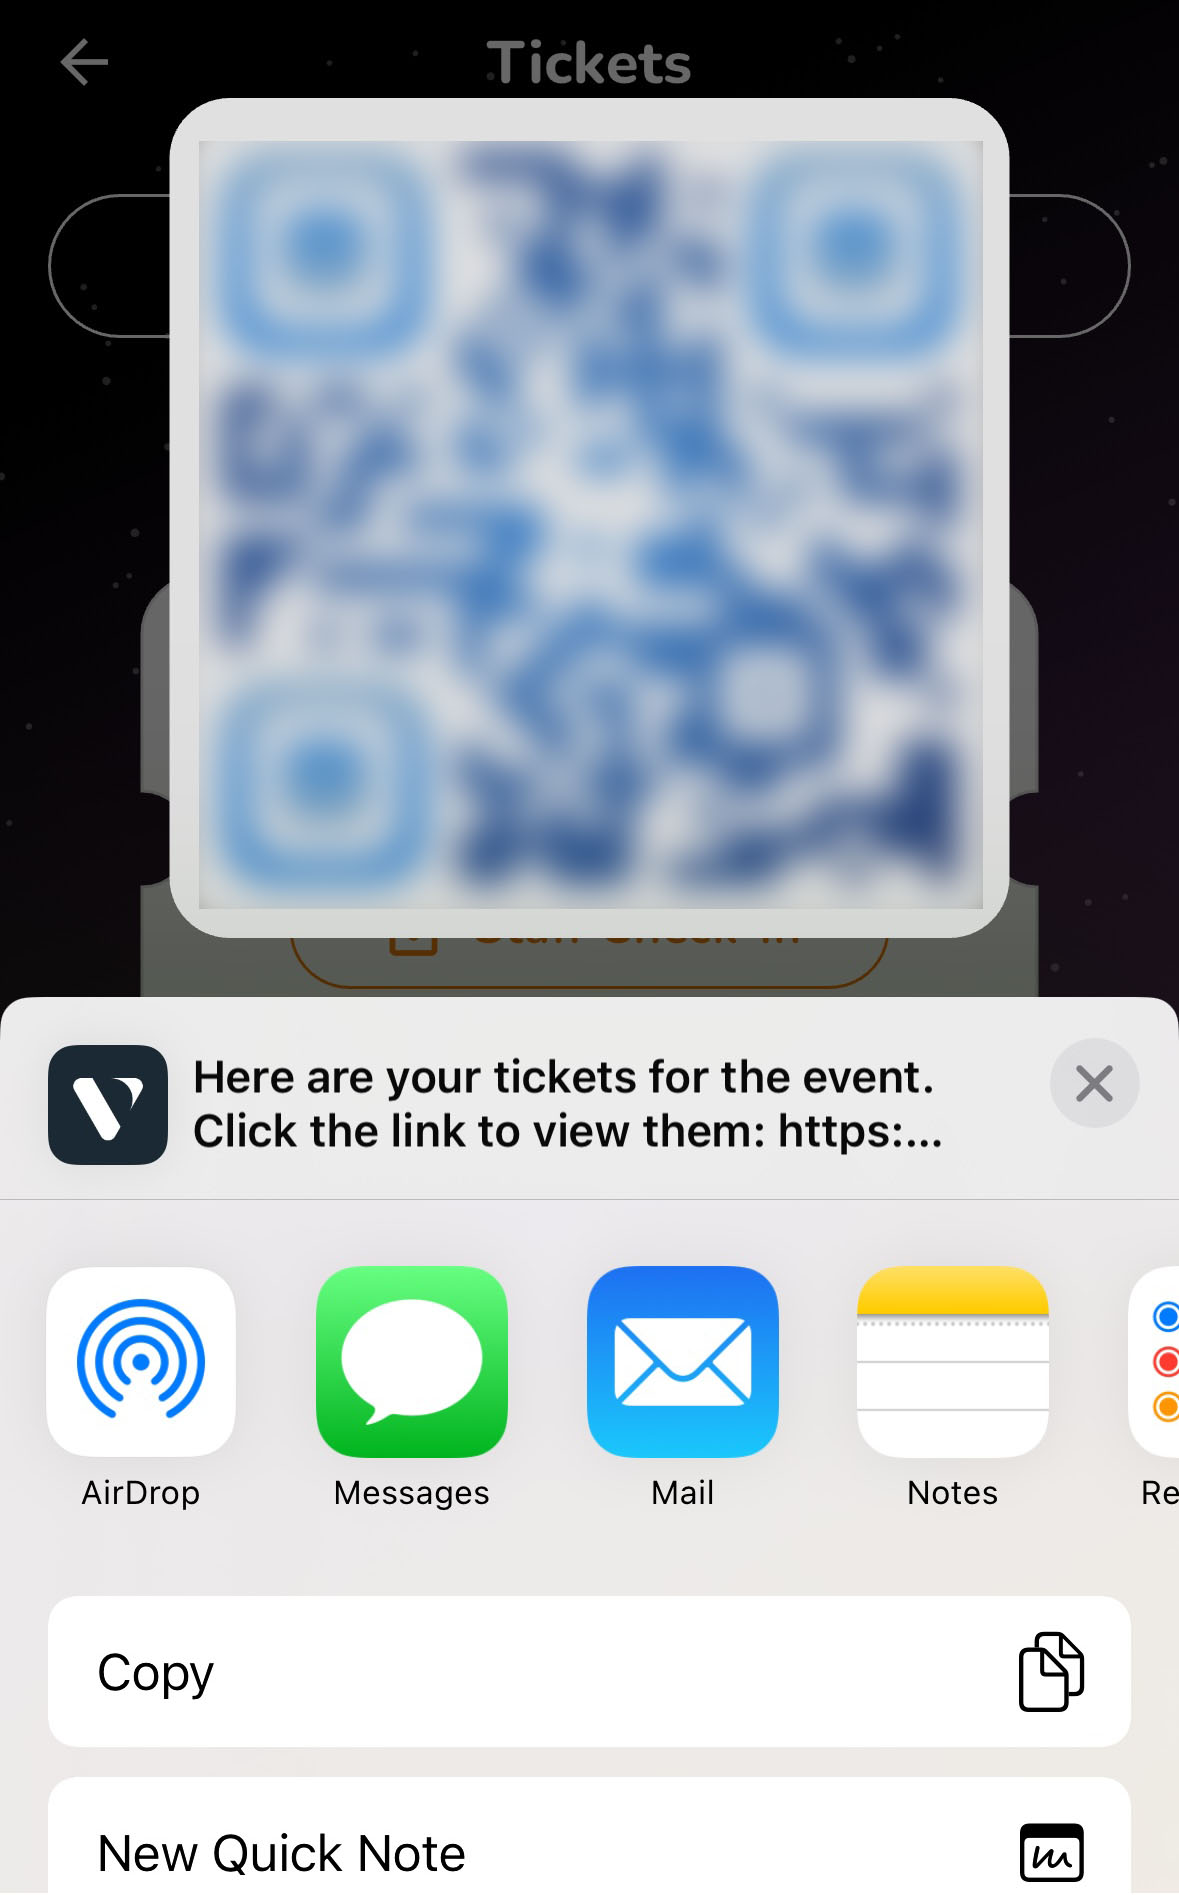
Step 17: Send the Ticket
From the share menu, you can send the ticket to the recipient in two ways:
- Share the QR code directly with them.
- Send the ticket link via text message, email, or any preferred messaging app.
Step 18: Ticket Removed from Your Home Page
Once the transfer is complete, the ticket will no longer appear on your Home page, as it is no longer in your possession.
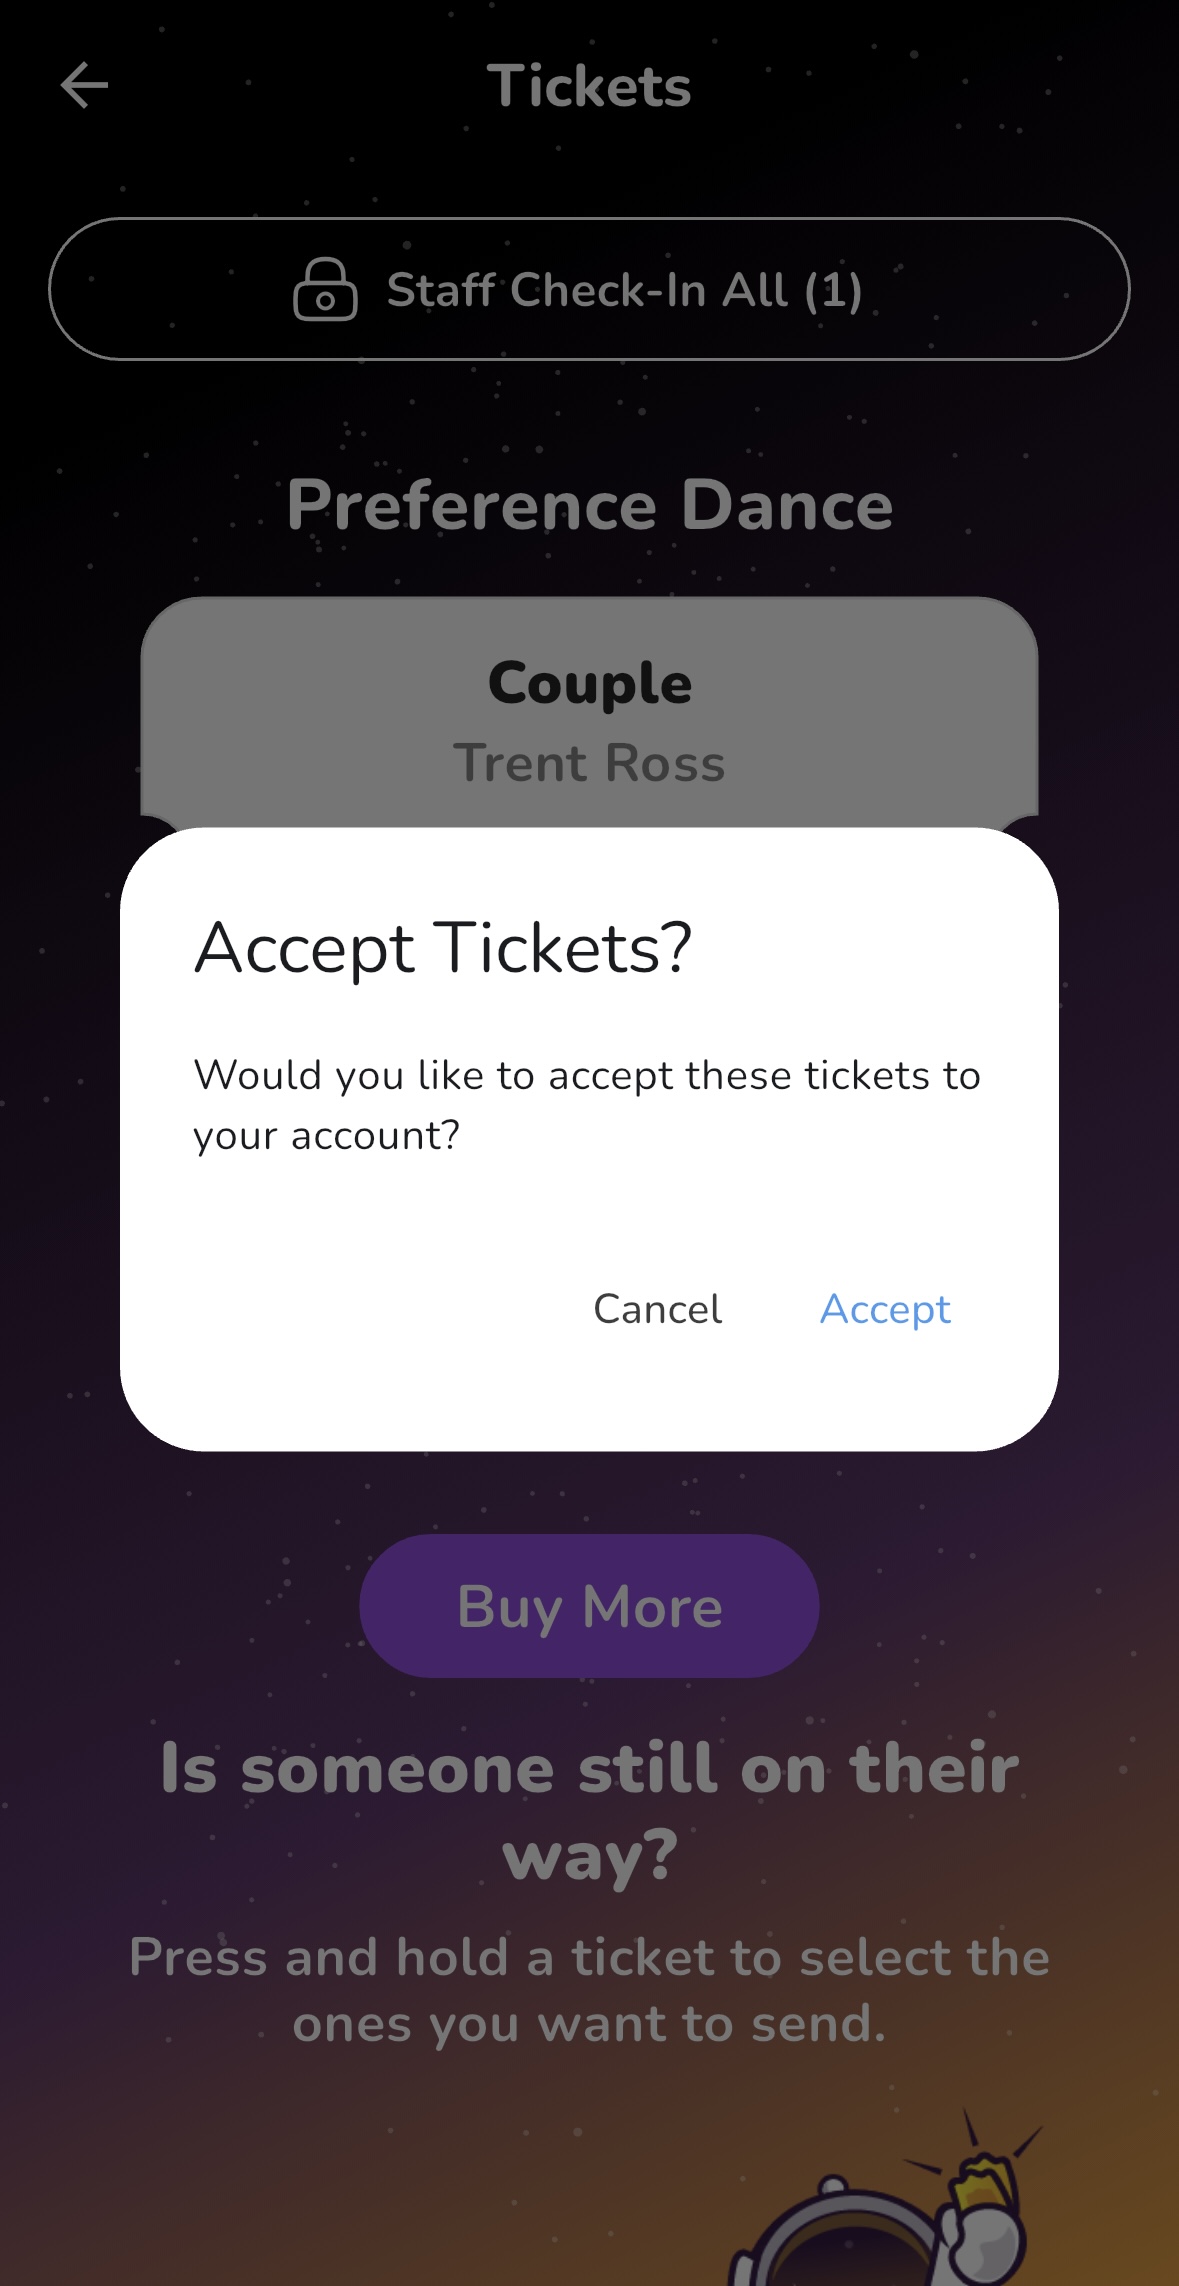
Step 19: Recipient Accepts the Ticket
- If you are transferring a ticket (e.g., a parent sending a ticket to a student), the recipient must tap the link they receive.
- The link will open in their Vega account.
- The recipient must have a Vega account and the Vega app installed to accept the ticket.
- On the ticket acceptance page, they will see an Accept button. Once tapped, the ticket is transferred to their account.
Step 20: Ticket Transfer Successful
The ticket has now been successfully transferred, and the recipient can use it for event entry.