Managing Spaces
Create venues and spaces in Vega Space Management: attach rooms or fields to events and keep addresses consistent for attendees and staff.
Spaces in Vega represent the physical venues where your events take place. Defining spaces once and reusing them across events saves time and keeps your event information consistent.
Creating a Space
- Navigate to Spaces in the admin sidebar. The left panel lists your locations, and selecting one shows all spaces grouped under it.
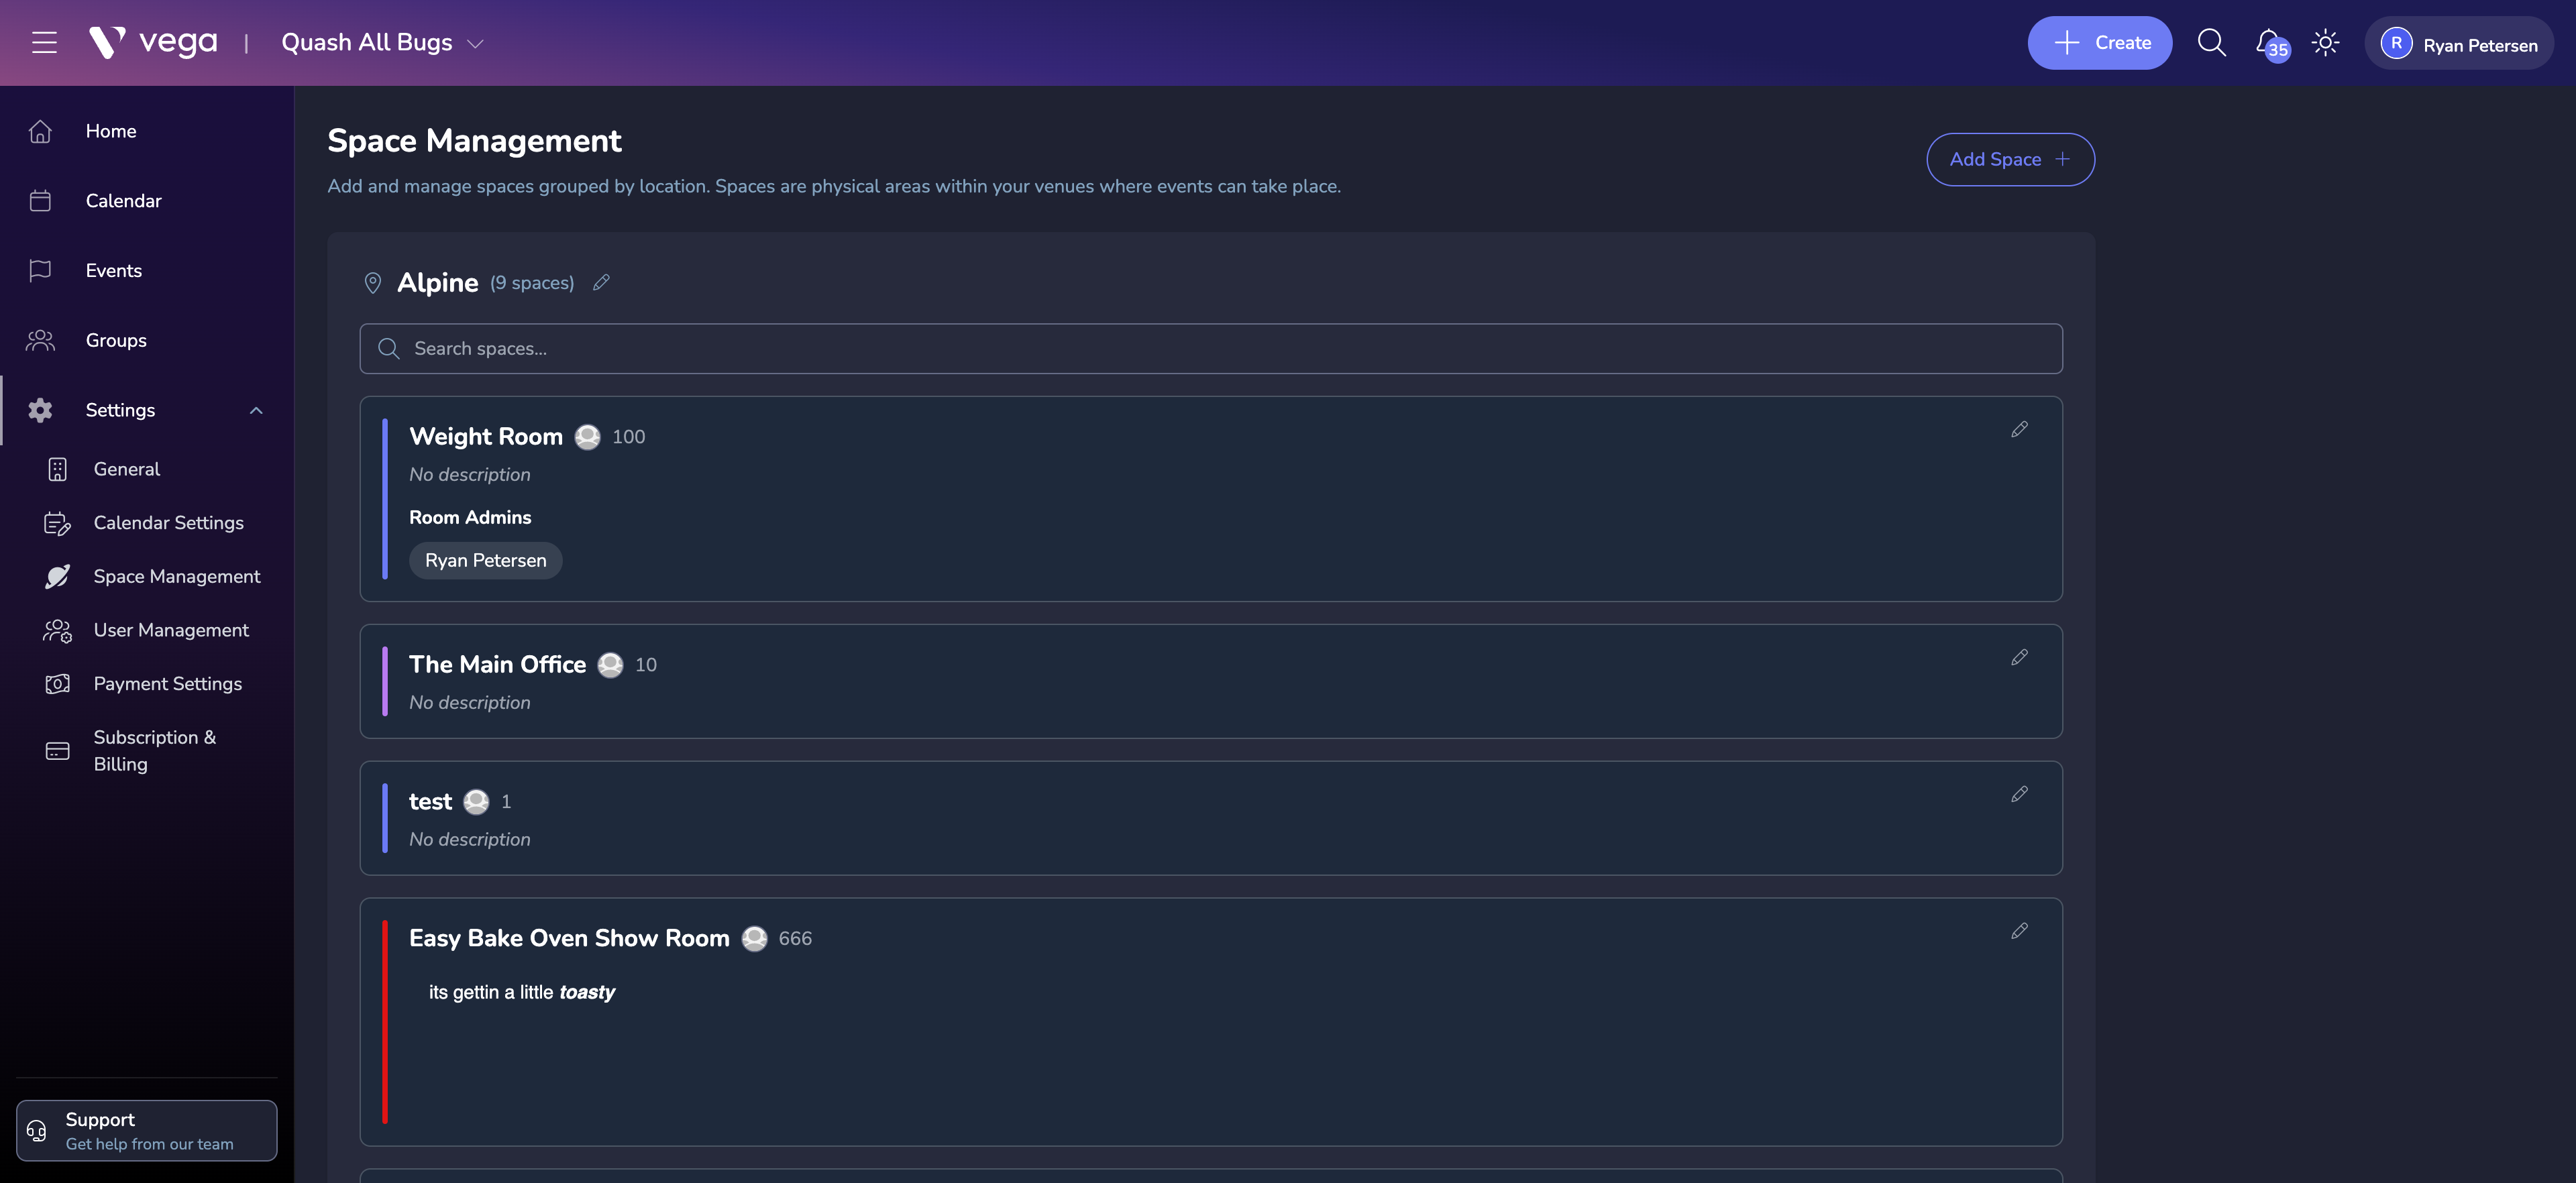
- If you haven’t created a location yet, click New Location in the left panel and give it a name (e.g., “Downtown Campus”).
- Select the location, then click Add Space.
- Fill in the space details:
- Name – e.g., “Main Ballroom”, “Conference Room B”
- Address – the physical address (used for maps and directions)
- Capacity – maximum number of attendees the space can hold
- Description – additional details such as accessibility features or parking info
Assigning Spaces to Events
When creating or editing an event:
- Go to the Details tab.
- Select a space from the Venue dropdown.
- The space’s address and details are automatically pulled into the event page.
Editing Spaces
Edit a space at any time from the Spaces list. Changes apply to all future events using that space.
Deleting a Space
To remove a space you no longer need, open the space and go to Settings. Click Delete Space and confirm.
⚠️ Warning
Deleting a space cannot be undone. All events scheduled in that space will need to be reassigned to a different space.
Tips
- Keeping a well-maintained spaces library eliminates repetitive data entry.
- Include practical attendee details in the description, such as parking, public transit options, and wheelchair accessibility.
- Use capacity limits to prevent overselling – Vega will warn you if ticket quantities exceed the space capacity.