Register a Card Reader
Set up a Stripe card reader for in-person ticket sales in Vega: device setup, pairing, location whitelisting, cellular costs, and the POS PIN.
Card readers let you take payment for tickets at the door. This page covers the full setup, from unboxing the device to your first in-person sale.
ℹ️ Private preview
Before You Start
- Your organization is connected to Stripe. See Connect Stripe to Vega.
- In-person sales are enabled for your organization by Vega.
- The staff member registering the reader has the Manage Card Readers permission.
- Anyone who will sell on the reader has the Sell Tickets In Person permission.
Both permissions are assigned per role under Settings > Roles. They are separate on purpose: selling on a reader only needs Sell Tickets In Person, while Manage Card Readers covers pairing and unpairing the hardware itself.
Step 1: Set Up the Device
- Power on the reader.
- Supply your WiFi details when prompted. A brand new device will then go through two rounds of updates, which can take several minutes. Let it finish.
- When the updates are done, the reader displays a pairing code: three words joined by hyphens, such as
quick-brown-fox.
If the reader is already past this screen, swipe right from the left edge of the home screen and tap Settings to display the pairing code again.
⚠️ Pairing codes are single-use
Cellular-capable readers such as the Stripe Reader S710 may not prompt for WiFi at all, since they can connect over cellular on their own.
Step 2: Register the Reader in Vega
Go to Settings > Terminals in the admin sidebar and click Register terminal.
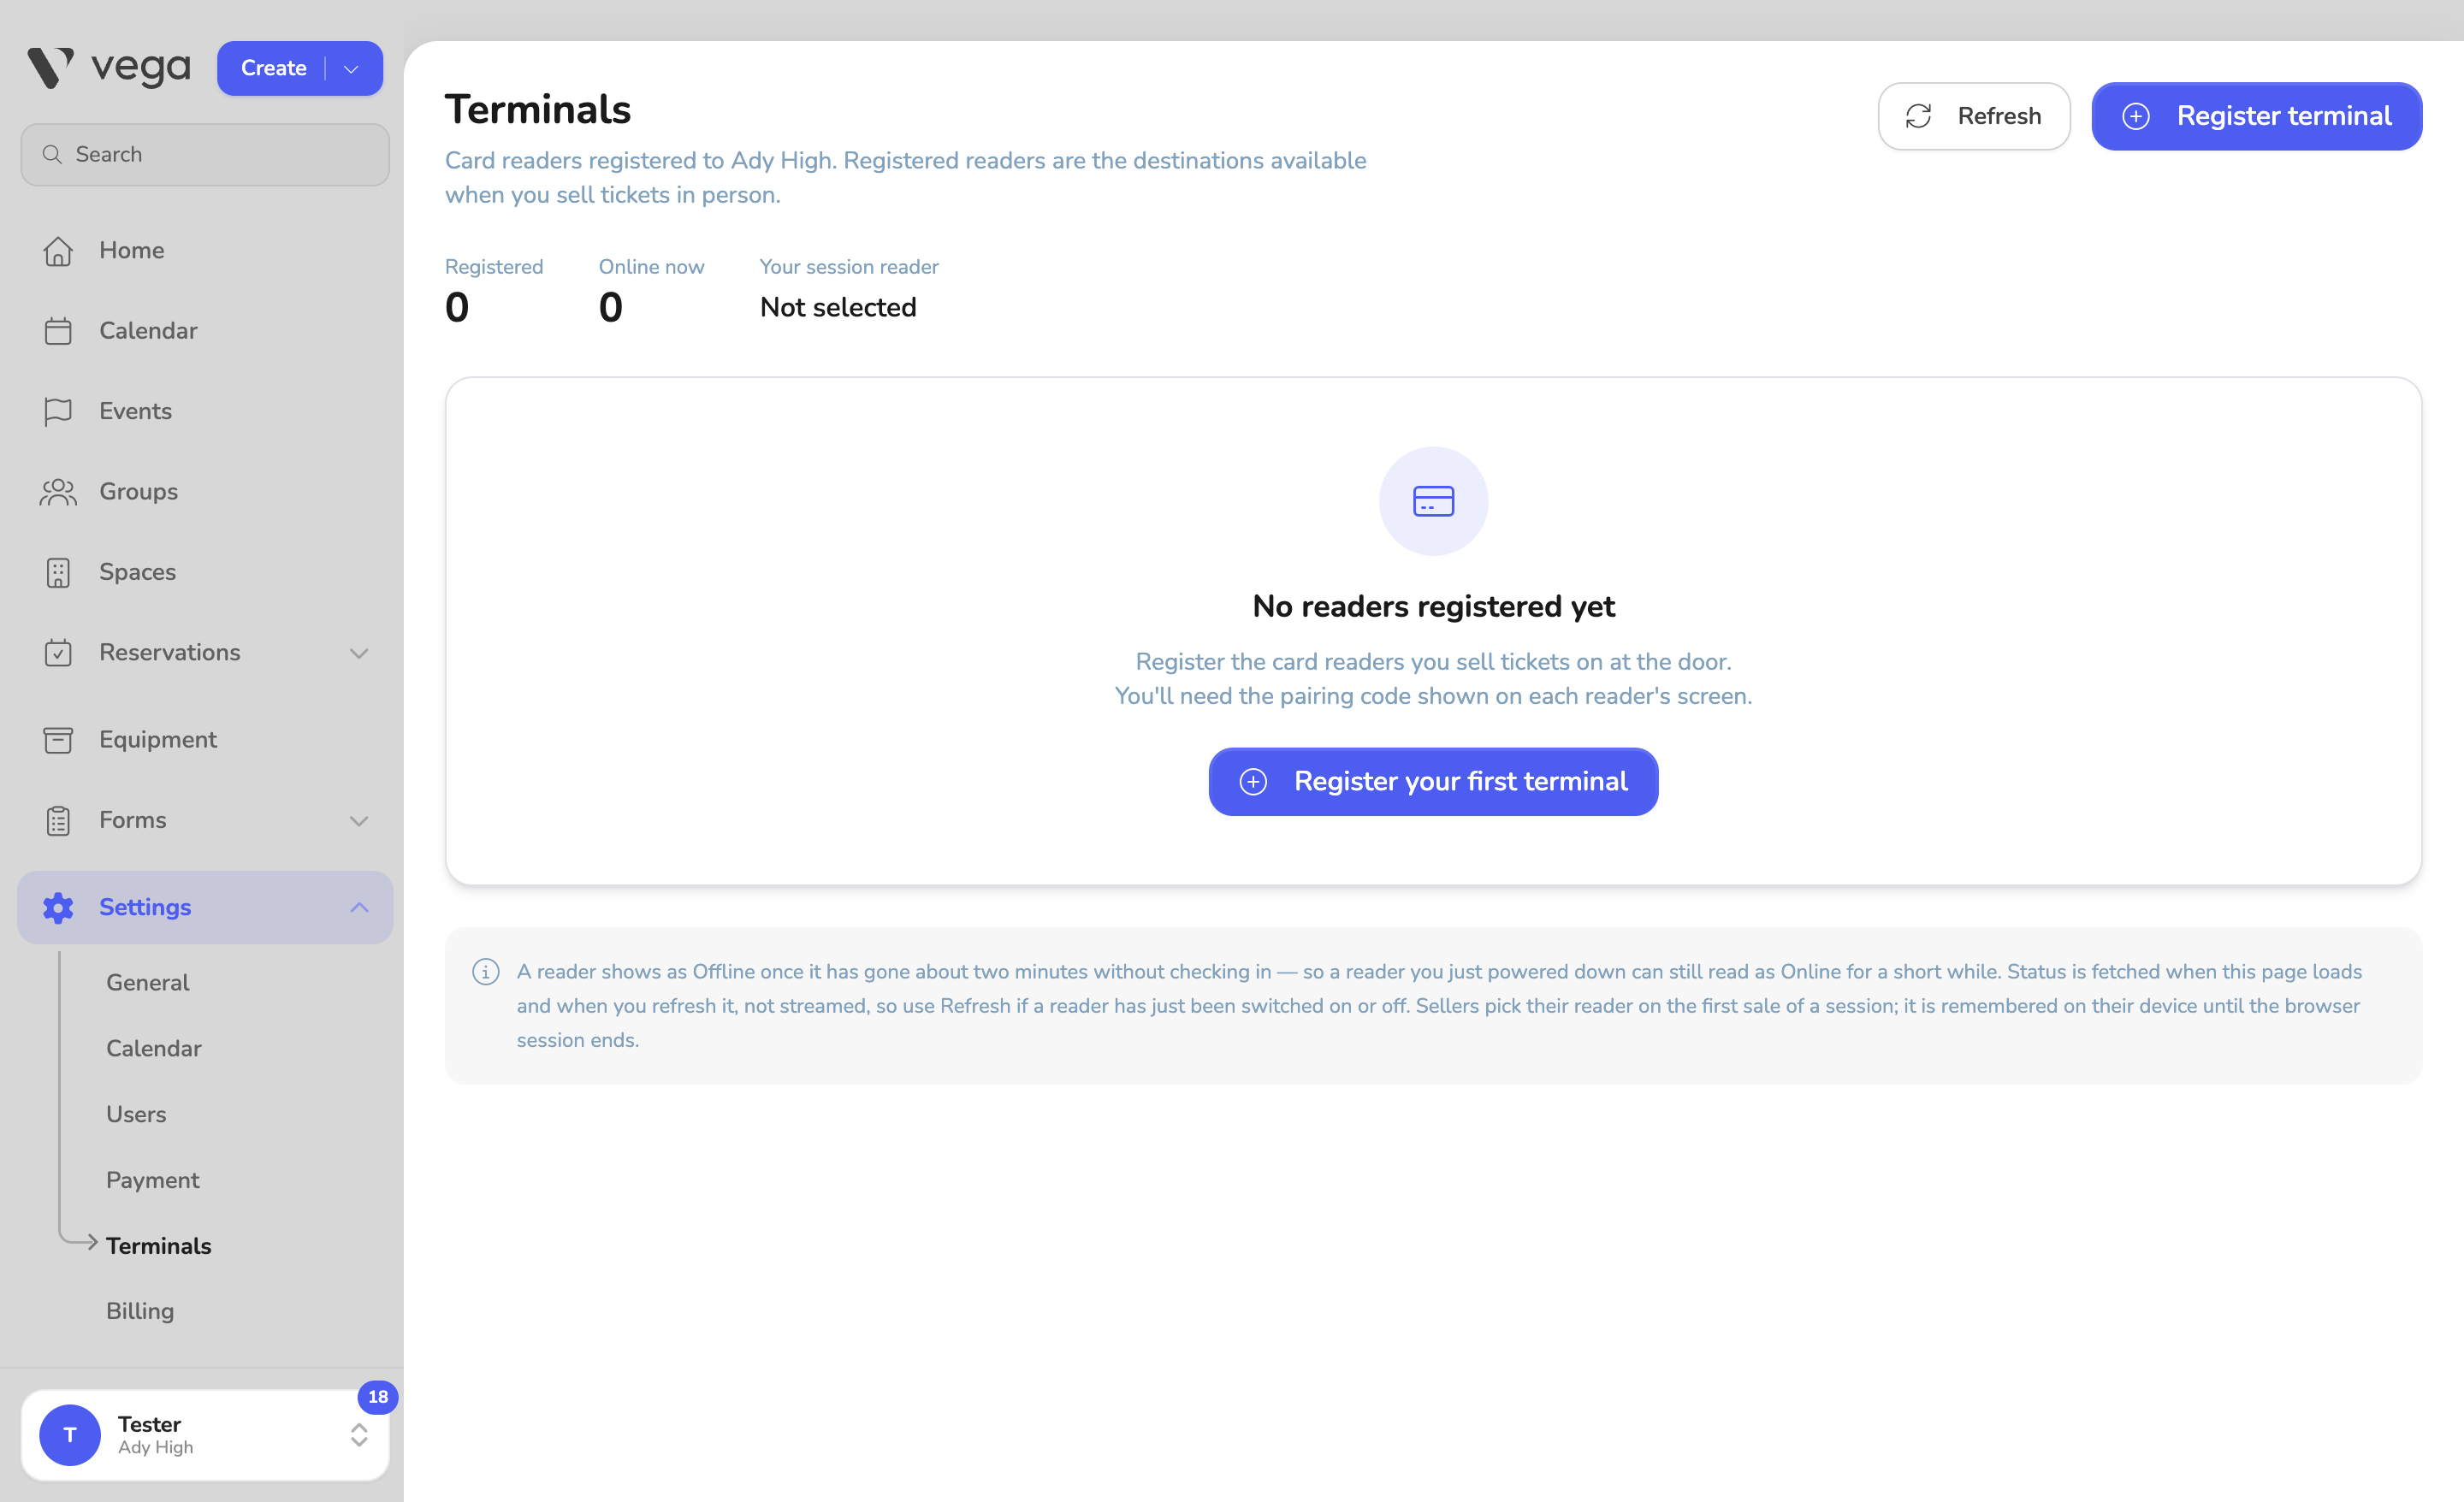
Fill in the panel:
- Pairing code - the three words shown on the reader screen.
- Nickname - how sellers will identify this reader when taking payment. Name it after where it lives, for example “Main gym entrance”.
- Reader location - pick an existing location if your organization already has one. Keep readers at the same site on the same location. Choose Register at a new address only when the reader genuinely lives somewhere else.
- Suite, unit, or building - optional, and shown once a new address is confirmed. Address search rarely captures this, so add it here if the reader needs it.
- Enable cellular for this location - see Cellular Connectivity and Costs below before checking this.
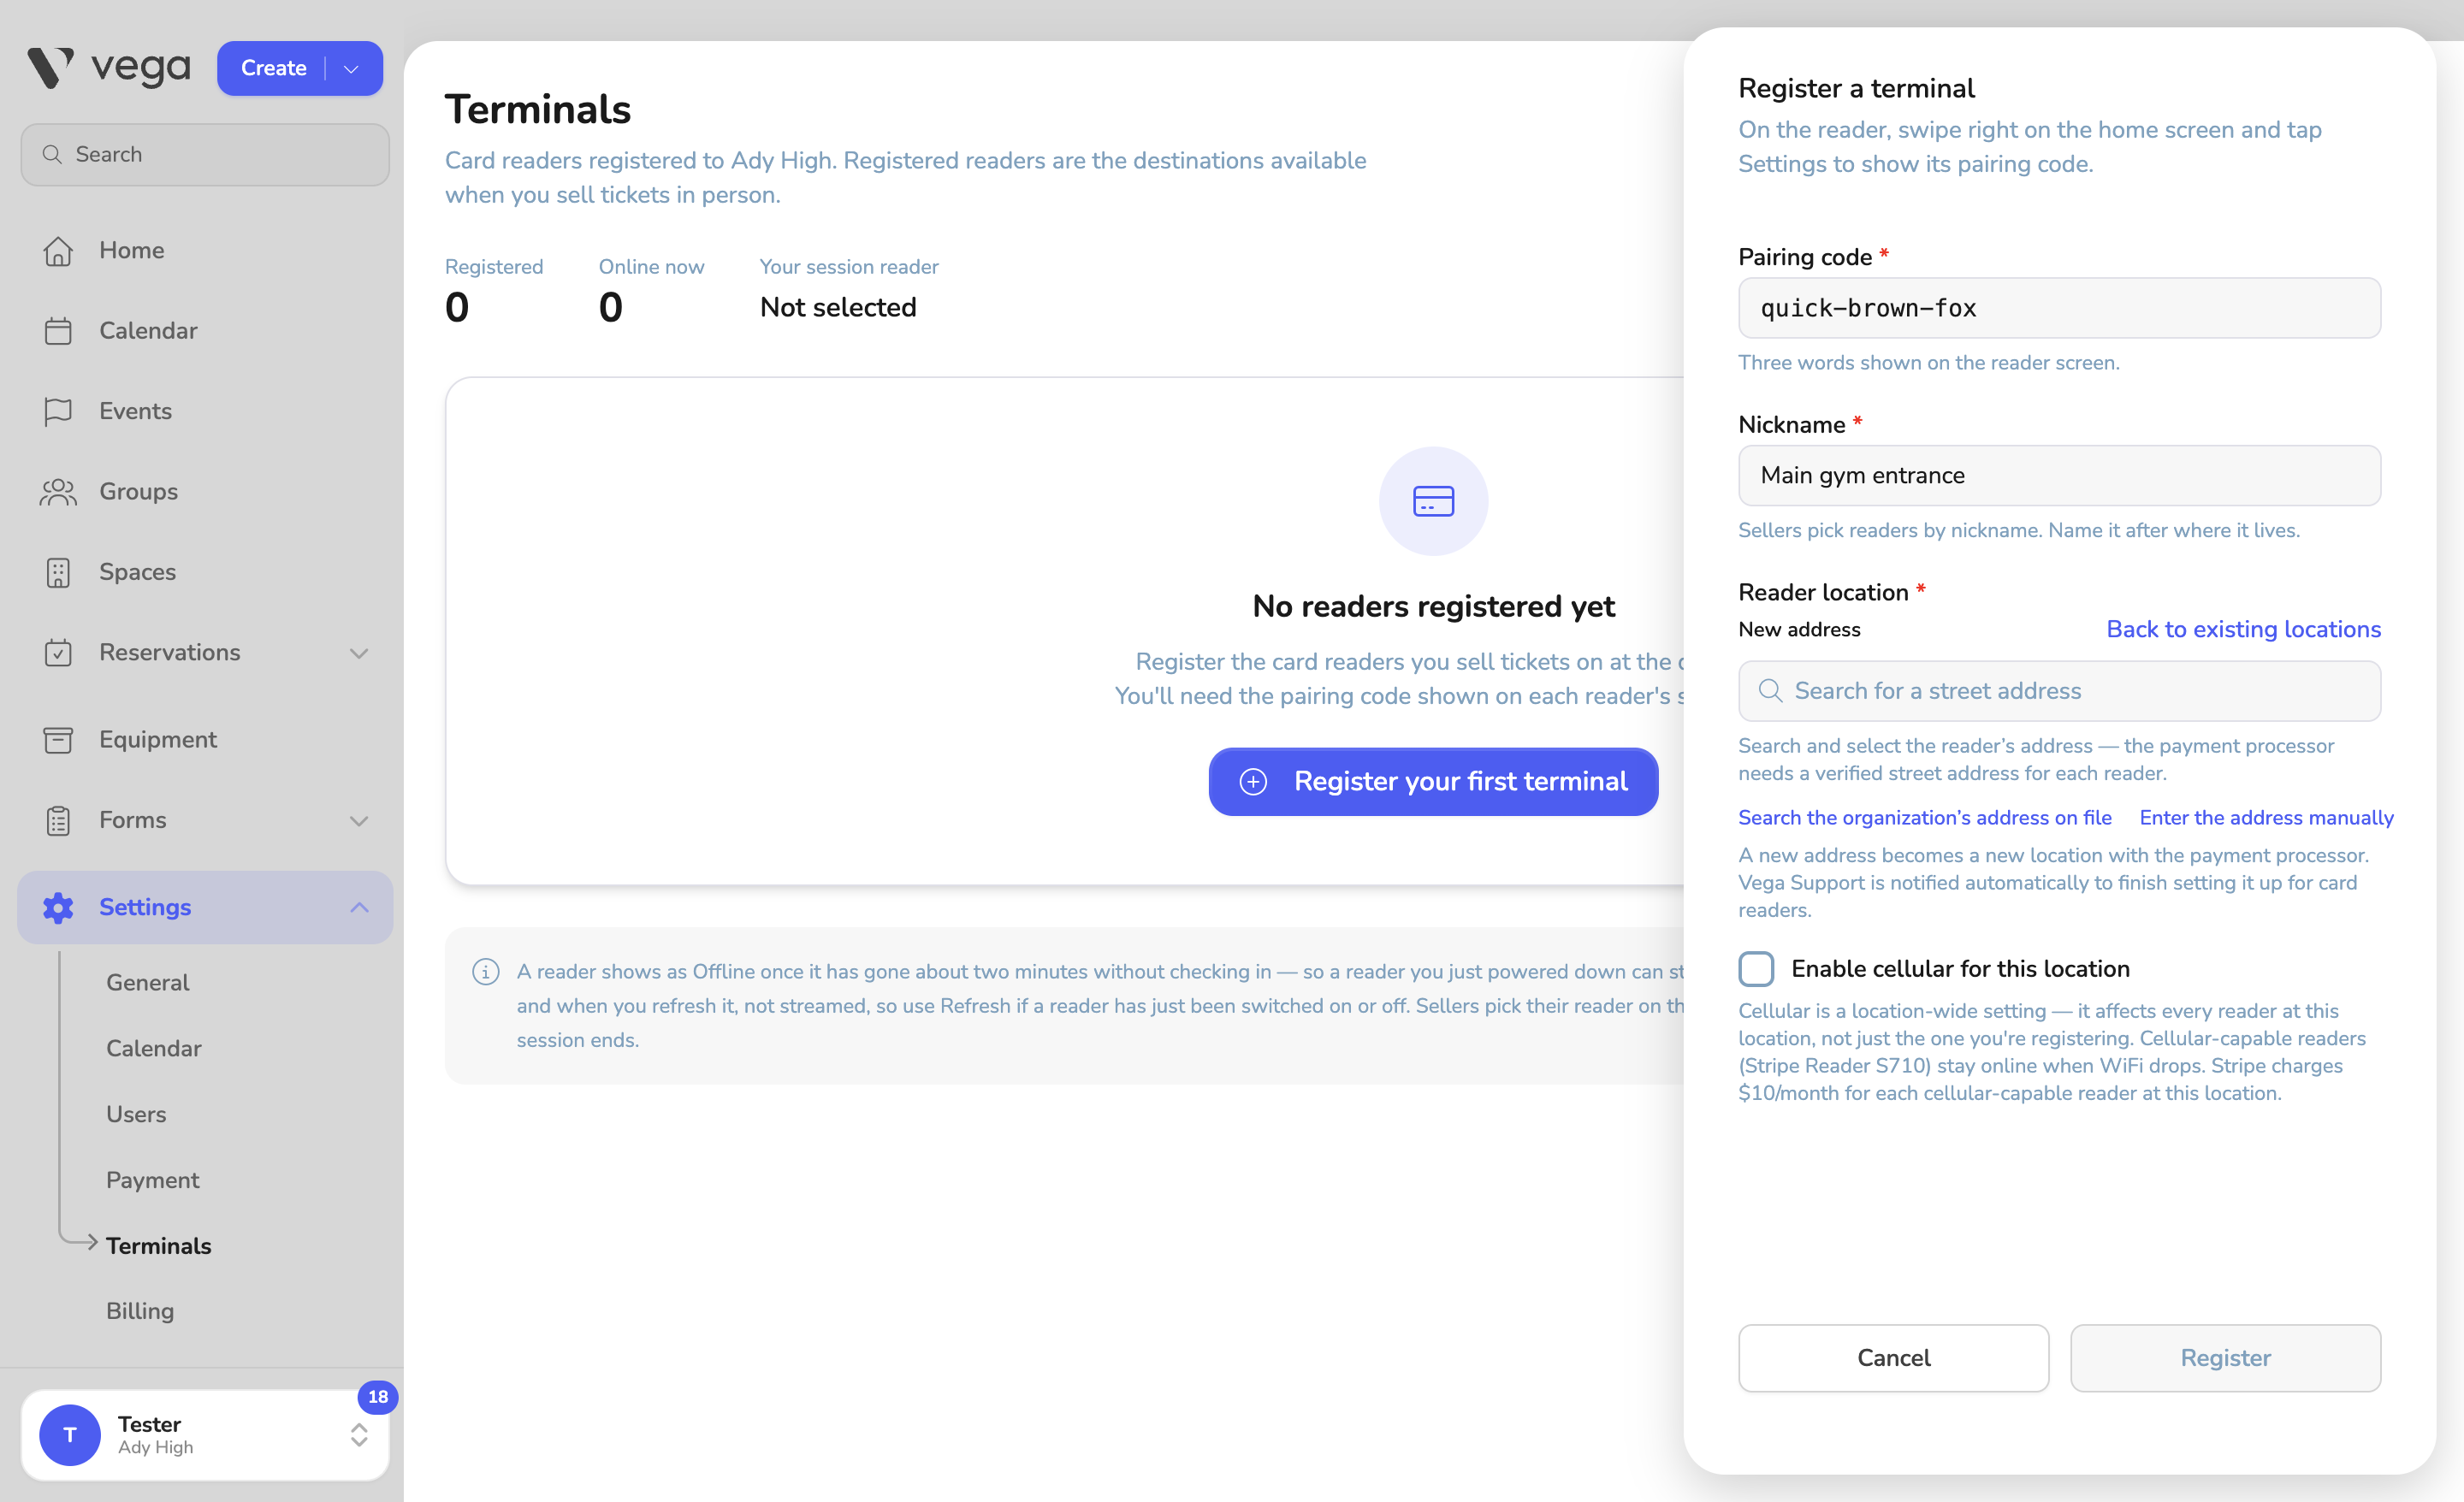
When entering a new address you can search for it, use Search the organization’s address on file as a starting point, or Enter the address manually. The payment processor needs a verified street address for each reader, so confirm the result is the address where the reader will actually live rather than accepting the first suggestion.
Click Register. The reader appears in the fleet table with its nickname, serial number, and status.
Step 3: Wait for the Location to Be Whitelisted
Registering at a new address creates a new location with Stripe. Before Stripe will deploy the Vega terminal app to readers at that location, Vega has to whitelist it.
- Vega Support is notified automatically when a new location is created, and support monitors these notifications closely.
- If you are on a deadline, contact Vega Support directly and the location can be whitelisted immediately.
Once the location is whitelisted, the reader installs the terminal app on its own. This can take up to 30 minutes. Restarting the device forces the install to happen sooner.
Readers registered to a location that is already whitelisted skip this step entirely, which is another reason to reuse an existing location where you can.
Step 4: Set a POS PIN on the Reader
The first time a staff member signs in on the reader, they are required to set a POS PIN. The PIN is personal to that user and is what unlocks the reader for them afterwards.
- A PIN is 4 to 8 digits.
- After 5 failed attempts, the account is locked out of the reader for 5 minutes.
- The PIN is stored hashed. Nobody at Vega can look it up, so a forgotten PIN has to be reset rather than recovered.
Once the PIN is set and the user has the Sell Tickets In Person permission, the reader is ready to sell.
Cellular Connectivity and Costs
Cellular keeps a reader online when venue WiFi drops. It is worth enabling for outdoor gates, remote fields, and any location where the network is unreliable. Read this before you turn it on.
⚠️ Cellular is paid, location-wide, and permanent
- Stripe charges $10 per month for each cellular-capable reader at a cellular-enabled location.
- It applies to the whole location, not the single reader you are registering. Every cellular-capable reader registered at that location, now or in the future, is covered and billed.
- Once cellular is enabled for a location, it cannot be disabled. If you later want a location without it, you will need a separate location.
Other things worth knowing:
- Only cellular-capable hardware uses it. Today that is the Stripe Reader S710. Enabling cellular at a location with no S710 readers has no effect and no cost until one is registered there.
- WiFi stays primary. Cellular is the automatic fallback, so the reader only uses it when WiFi is unavailable.
- Locations that already have cellular show a Cellular badge in the location picker, and the checkbox appears checked and locked when you select one. That reflects the standing setting, not a new charge for this registration.
Managing Your Fleet
The Settings > Terminals page shows every reader registered to your organization:
- Registered and Online now counts at the top, plus the reader tied to your current selling session.
- Refresh re-checks live status. Anyone who can see the fleet can refresh it, since a stale status matters most to the person deciding which reader to charge on.
- The row menu lets a staff member with Manage Card Readers unpair a reader. Unpairing does not affect completed sales.
A reader shows as Offline once it has gone about two minutes without checking in, so a reader you just powered down can still read as Online for a short while. Status is fetched when the page loads and when you refresh it, not streamed live.
Sellers pick their reader on the first sale of a session, and it is remembered on their device until the browser session ends.
Troubleshooting
The Terminals page is not in the sidebar. In-person sales are in private preview and have to be enabled for your organization by Vega. You also need the Sell Tickets In Person permission to see the page at all.
“Register terminal” is missing. You can see the fleet but lack the Manage Card Readers permission. Ask an admin to grant it under Settings > Roles.
The pairing code is rejected. Codes are single-use and expire. Generate a fresh one on the reader: swipe right from the left edge of the home screen and tap Settings.
The reader never installs the terminal app. Its location is most likely not whitelisted yet. Give it up to 30 minutes, restart the device to force the install, and contact Vega Support if it still has not appeared.
A seller cannot select the reader when selling. Confirm the reader shows as online on the Terminals page, and that the seller has the Sell Tickets In Person permission and has set their POS PIN on the device.