Connect Stripe to Vega
Connect Stripe to Vega for ticket sales: create a new Stripe account (recommended), copy details from an existing account, and finish Stripe verification.
Vega uses Stripe to process payments securely. Connecting a Stripe account is required before you can sell paid tickets. This page walks through the full connection flow, including the recommended way to set up a new account when your organization already has one with Stripe.
ℹ️ Create a new Stripe account for Vega
Before You Start
- You are signed in to Vega as an organization admin.
- If you do not already have a Stripe account, have your organization’s business details on hand: legal name and address, tax identification number (EIN or SSN for US organizations), and the bank account that should receive payouts. If you have an existing account, Stripe can reuse its details.
Step 1: Open Payment Settings
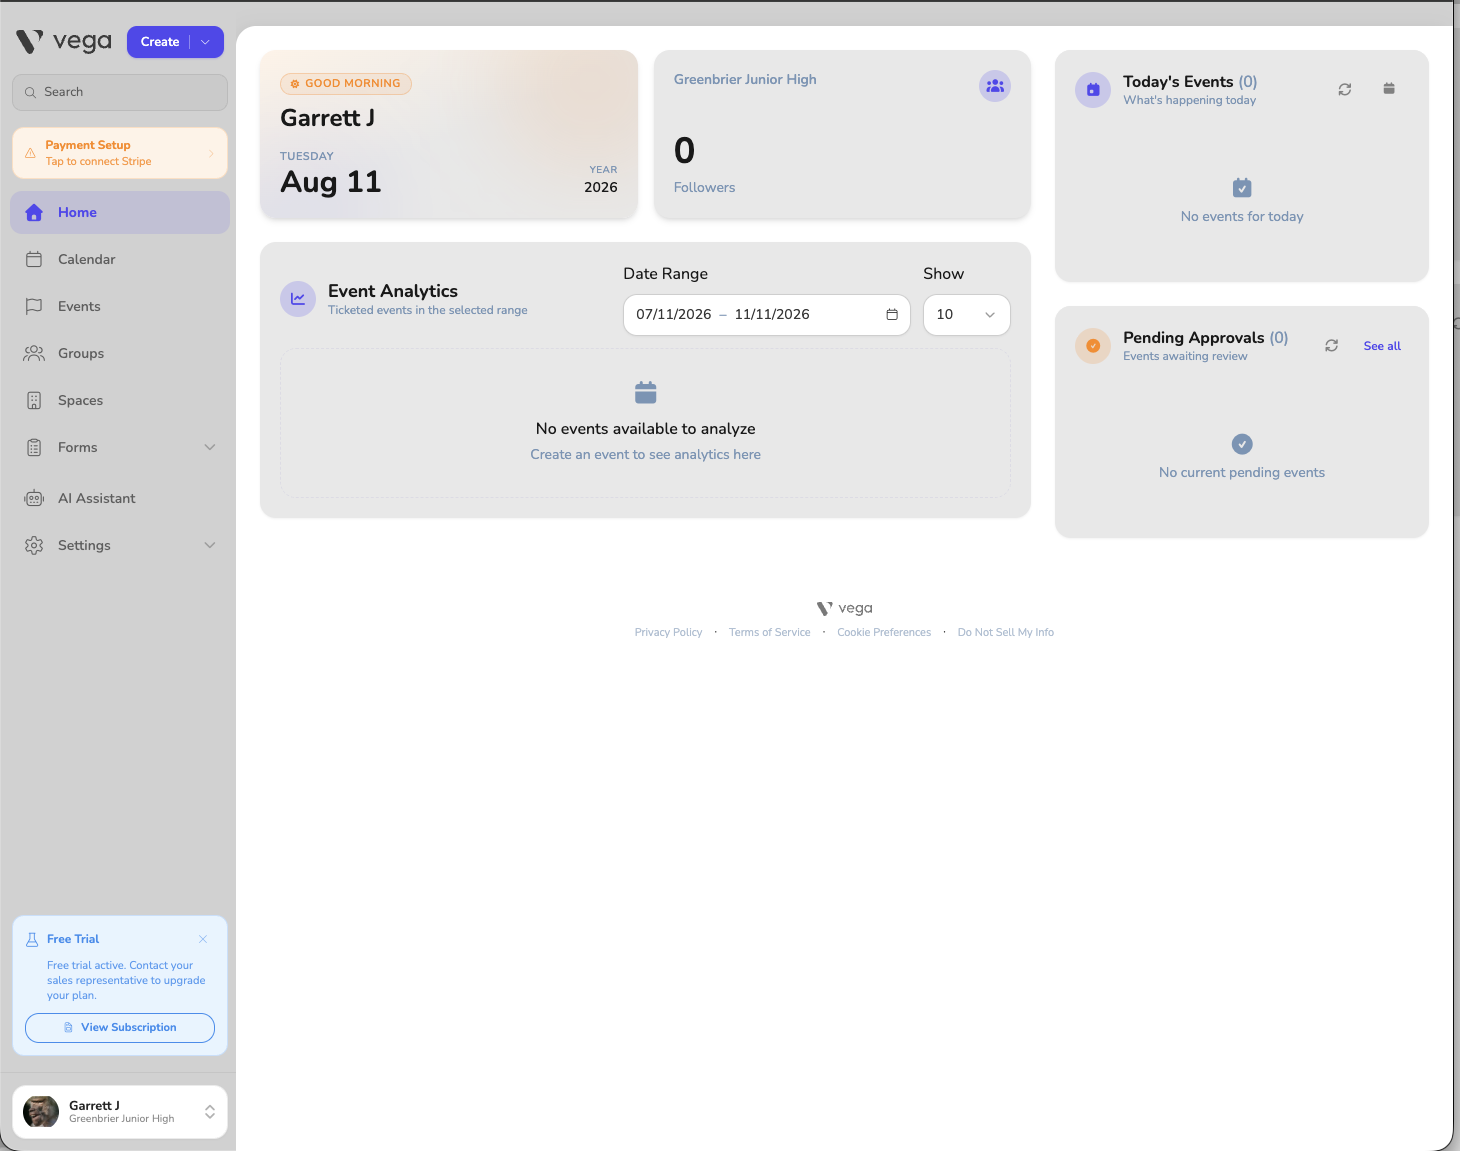
Until payments are set up, the admin sidebar shows a Payment Setup shortcut at the top. Click it, or go to Settings > Payment.
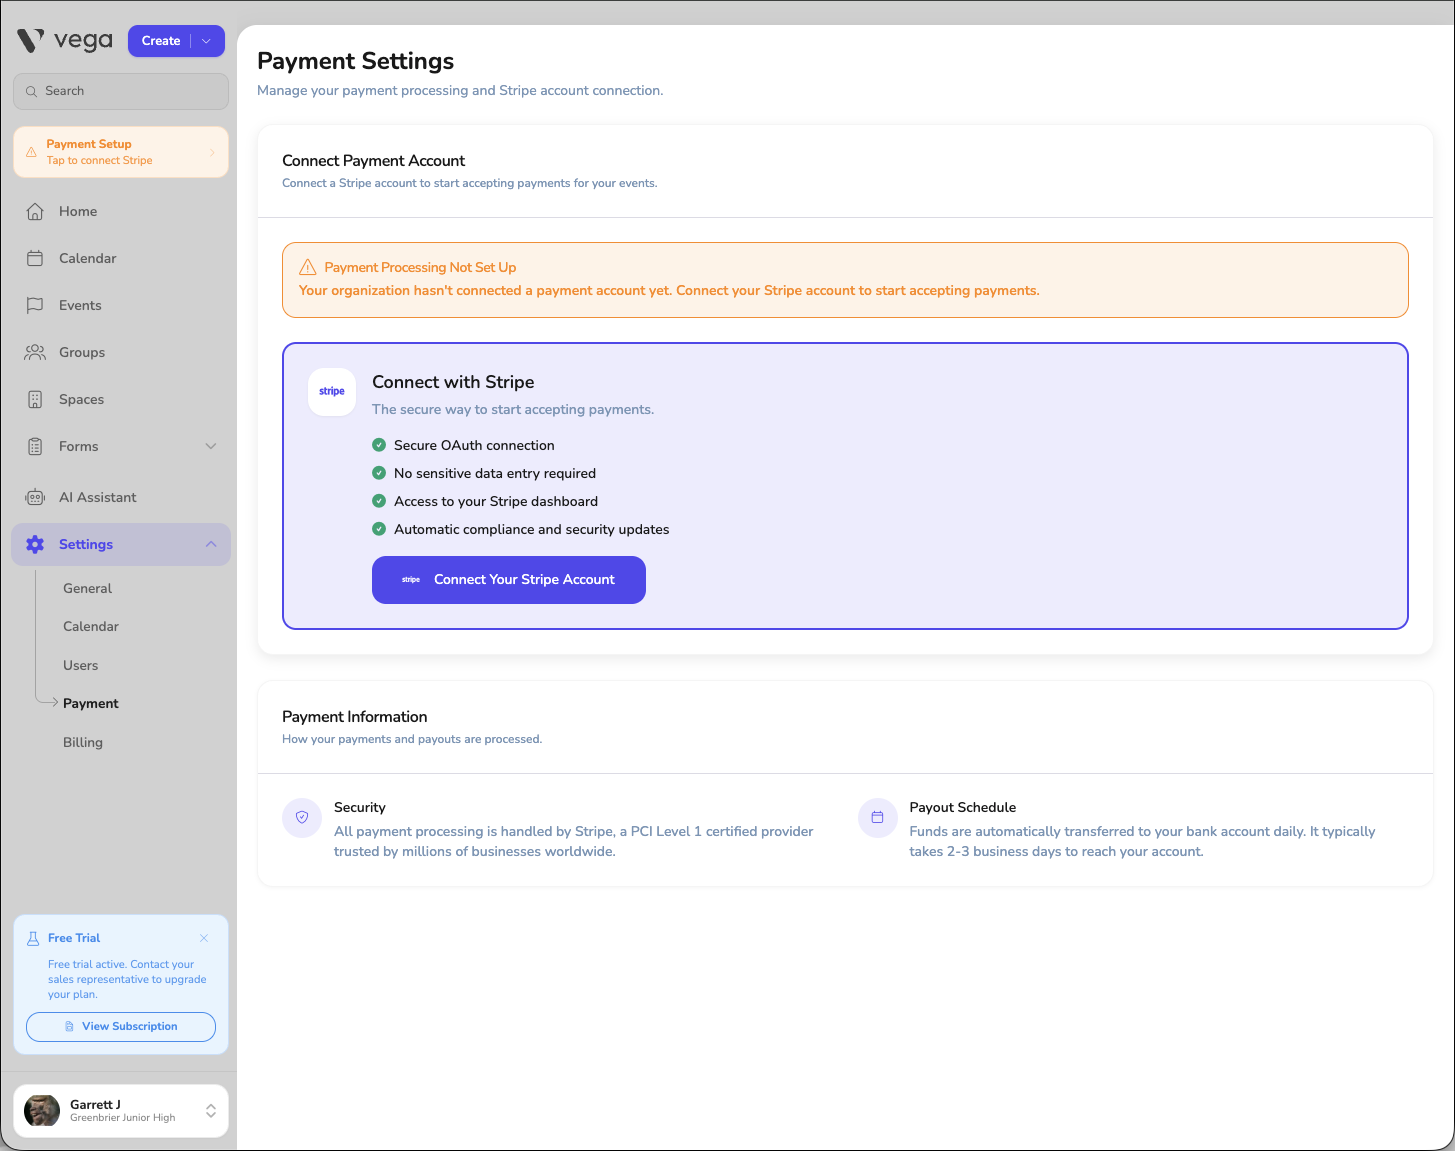
The Payment Settings page shows that payment processing is not set up yet. Click Connect Your Stripe Account.
Step 2: Sign In to Stripe
You are redirected to Stripe’s onboarding flow. Enter your email address — if it already belongs to a Stripe login, Stripe will ask you to sign in; otherwise you will create a Stripe login first.
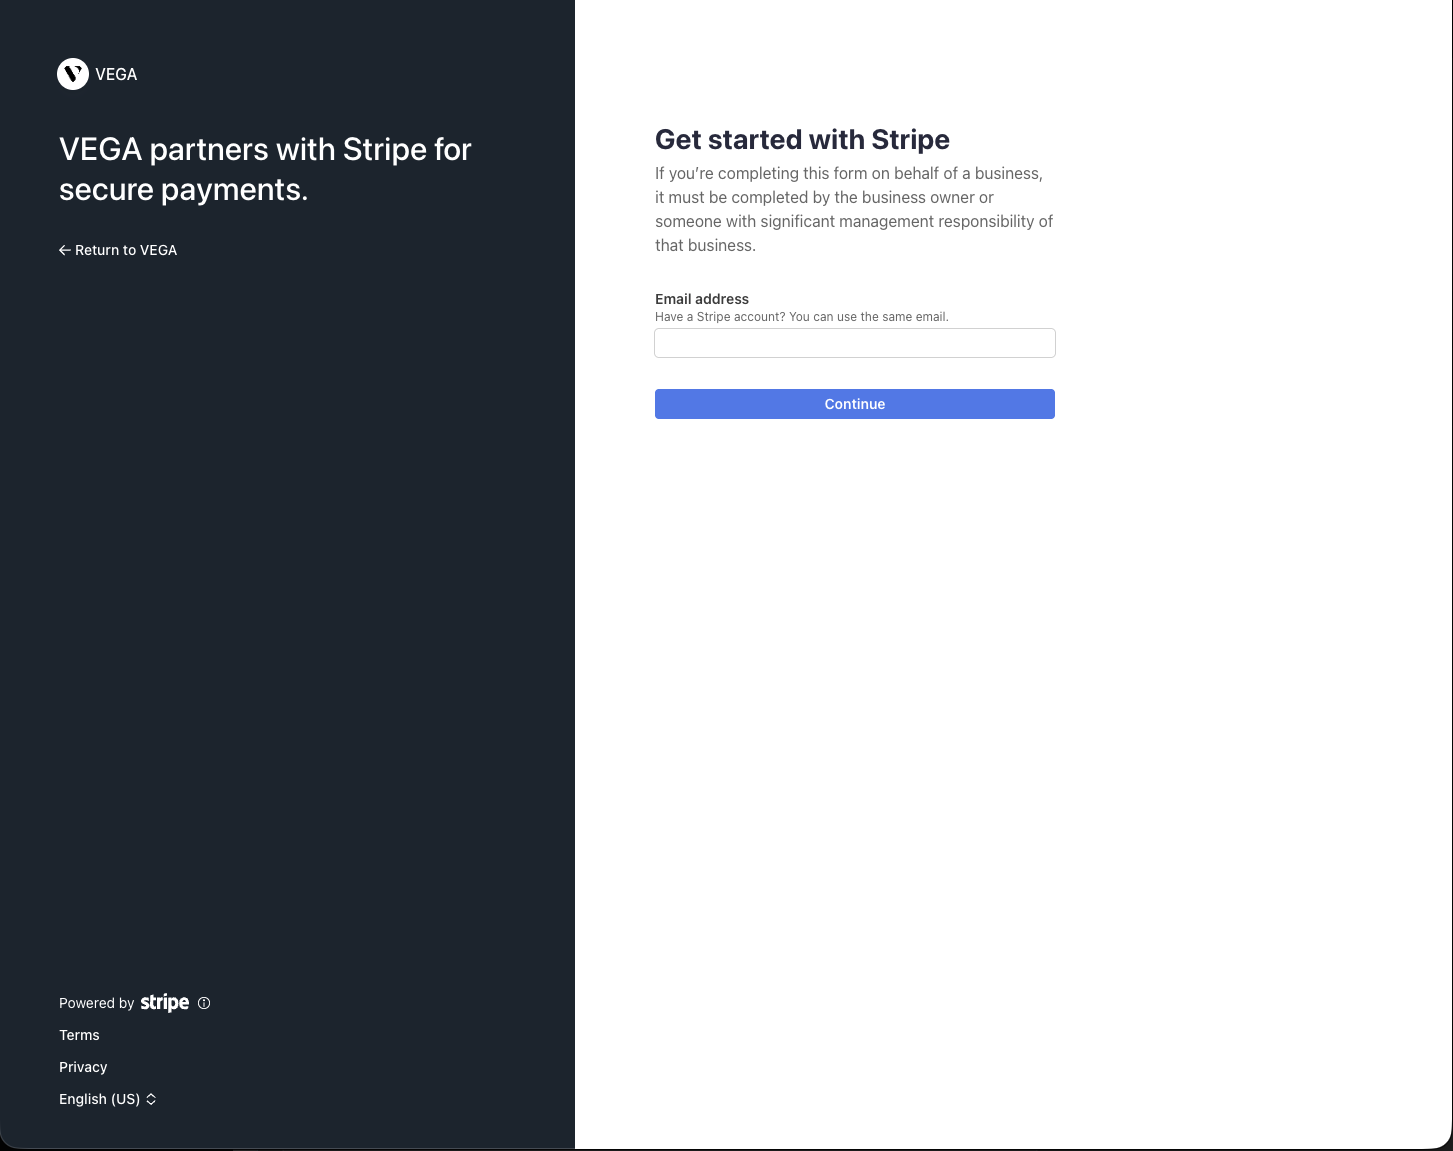
If you are already signed in to Stripe, you skip straight to choosing an account.
What happens next depends on whether your Stripe login already has an account.
Step 3A: You Are New to Stripe
If your login has no existing account, Stripe walks you through creating one, starting with your business location and type.
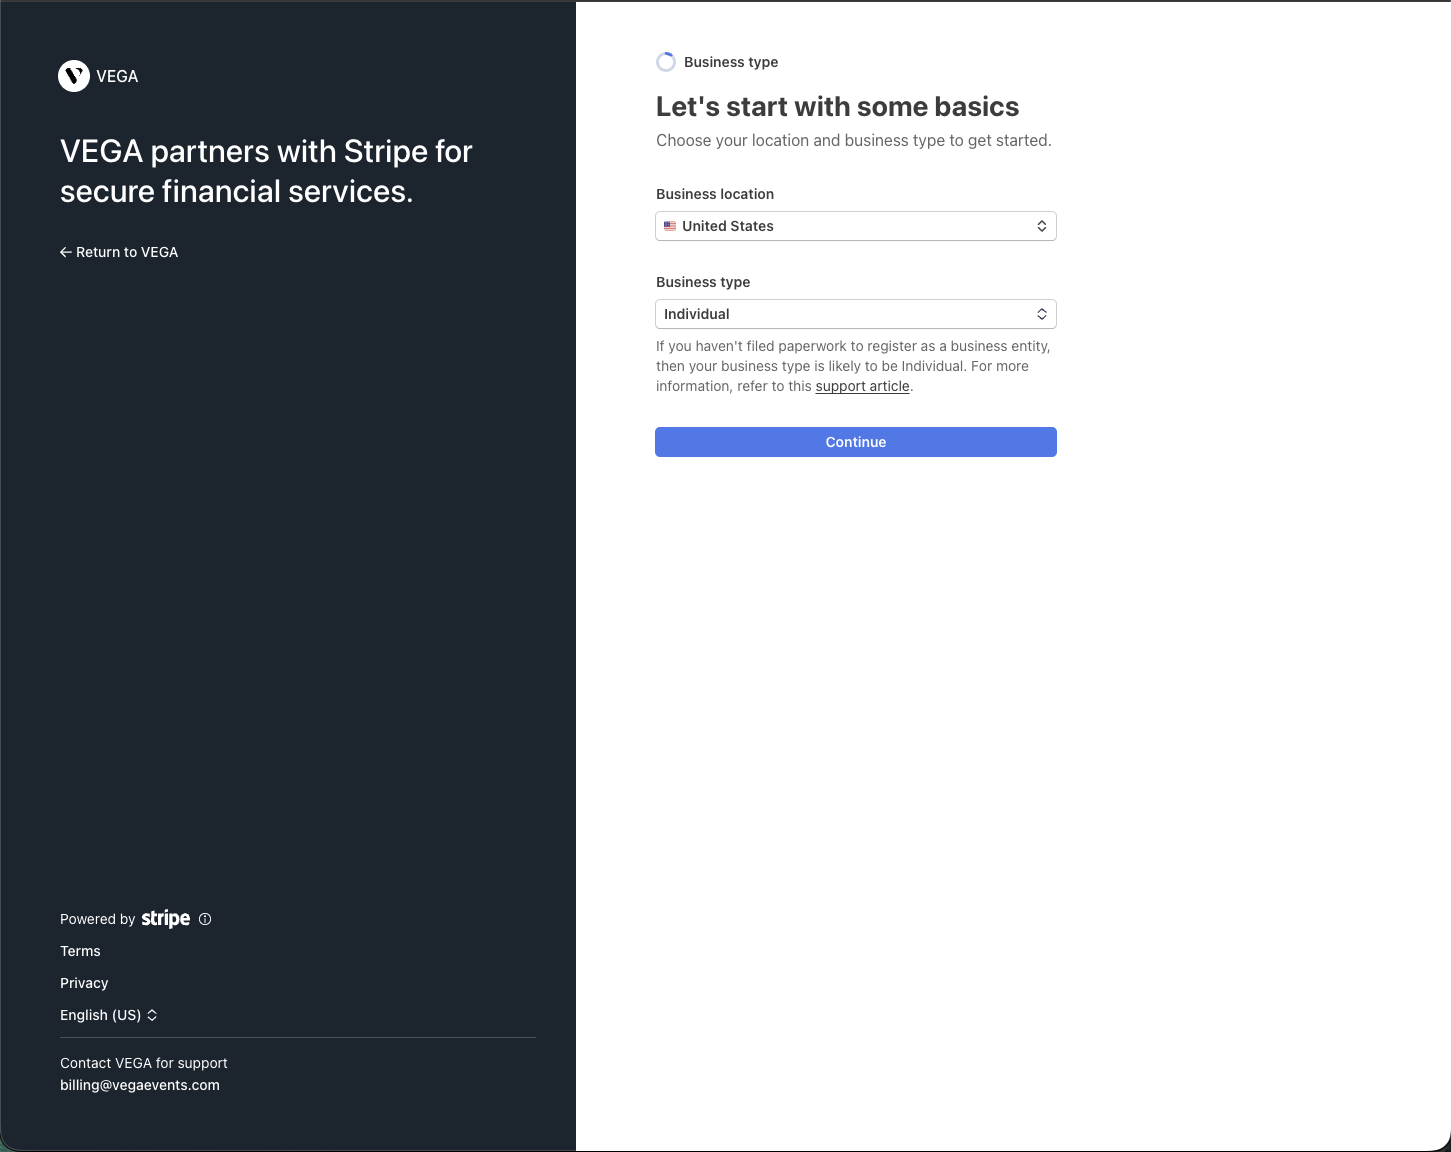
Work through the steps — business details, the people associated with the account, and the bank account for payouts. When you finish, Stripe returns you to Vega and connects your newly created account to your organization. Continue with Step 4.
Step 3B: You Already Have a Stripe Account
If your login already has one or more accounts, Stripe asks which one to connect:
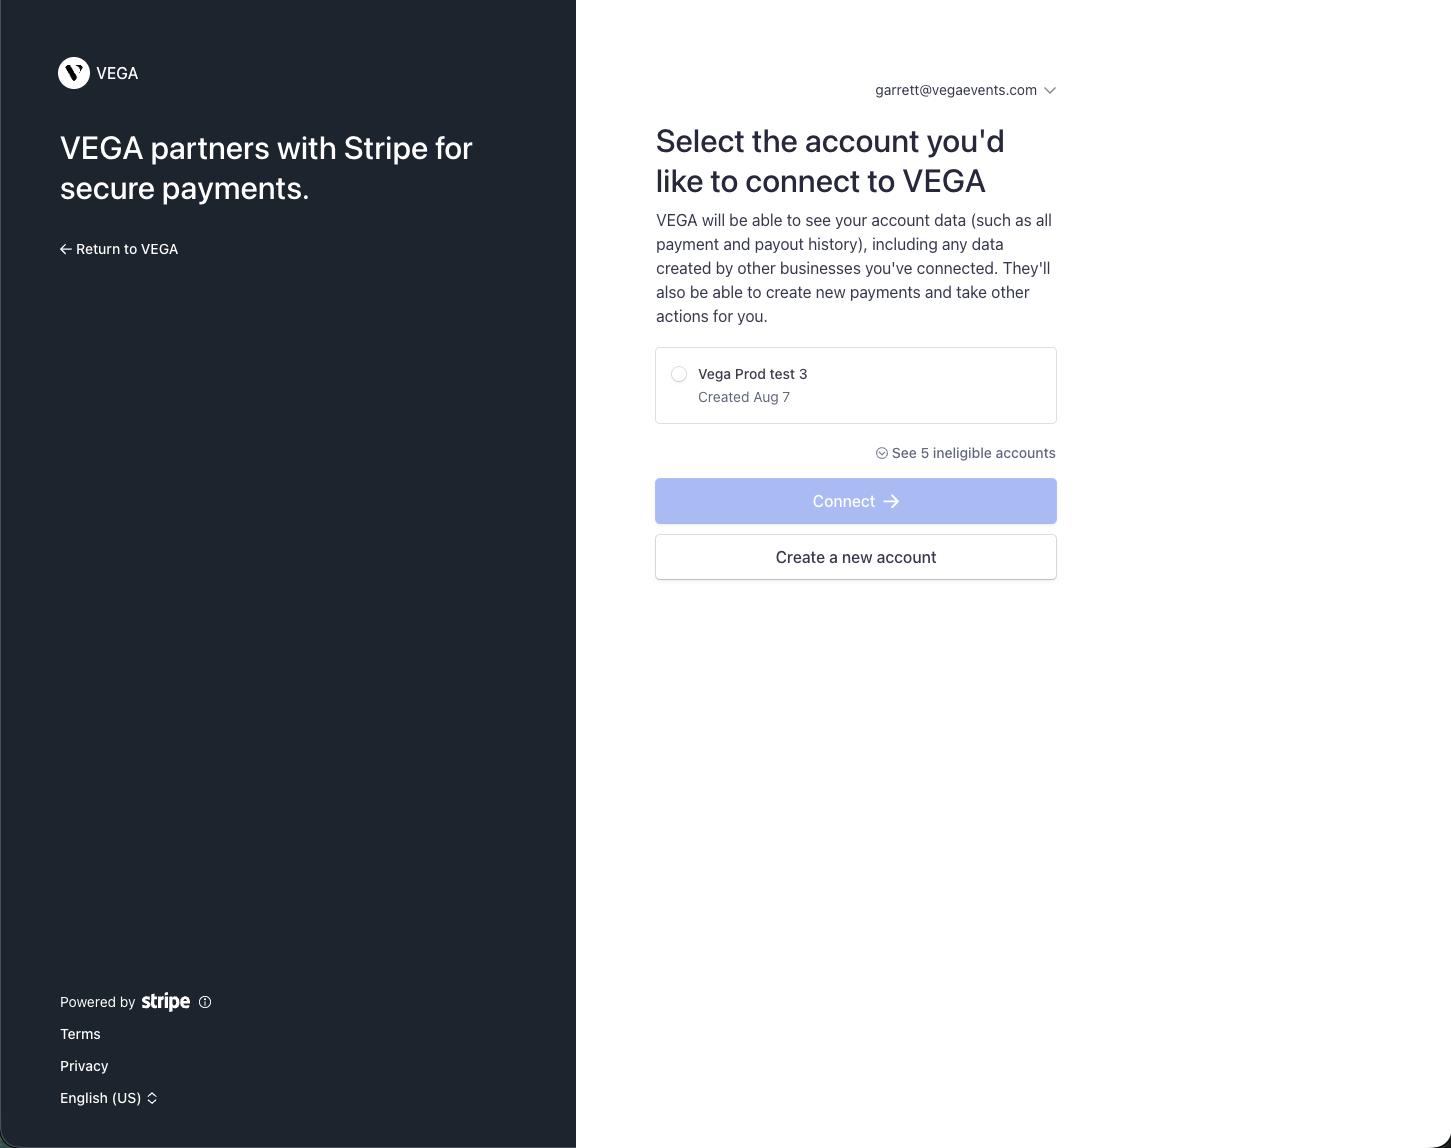
⚠️ Do not connect an existing account
Create a New Account from an Existing One
Click Create a new account instead of selecting one of your existing accounts.
Stripe offers to get you set up quickly by reusing details from an existing account. Select the account you want to copy from.
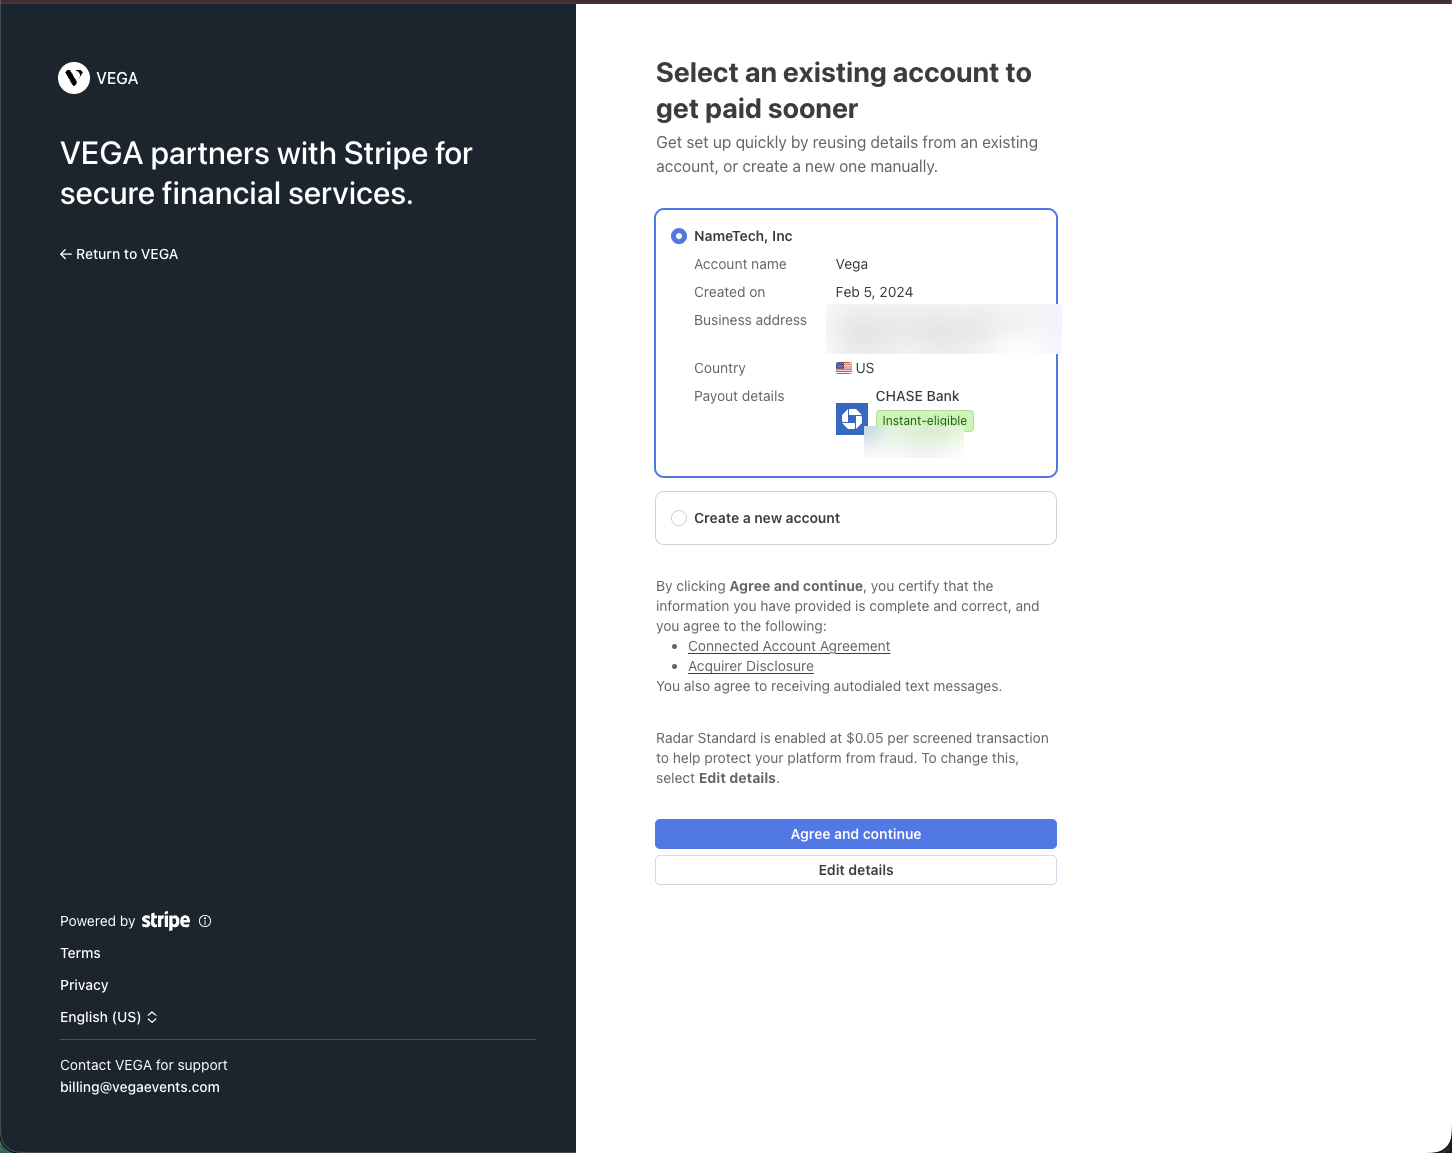
Do not click Agree and continue yet. Note the fine print: Radar Standard, Stripe’s advanced fraud protection, is enabled by default at $0.05 per screened transaction. Click Edit details so you can decide for yourself.
The first thing Stripe asks is which level of fraud protection you want: Standard ($0.05 per transaction, AI-based fraud detection) or Lite (free, essential protection for card payments and card testing).
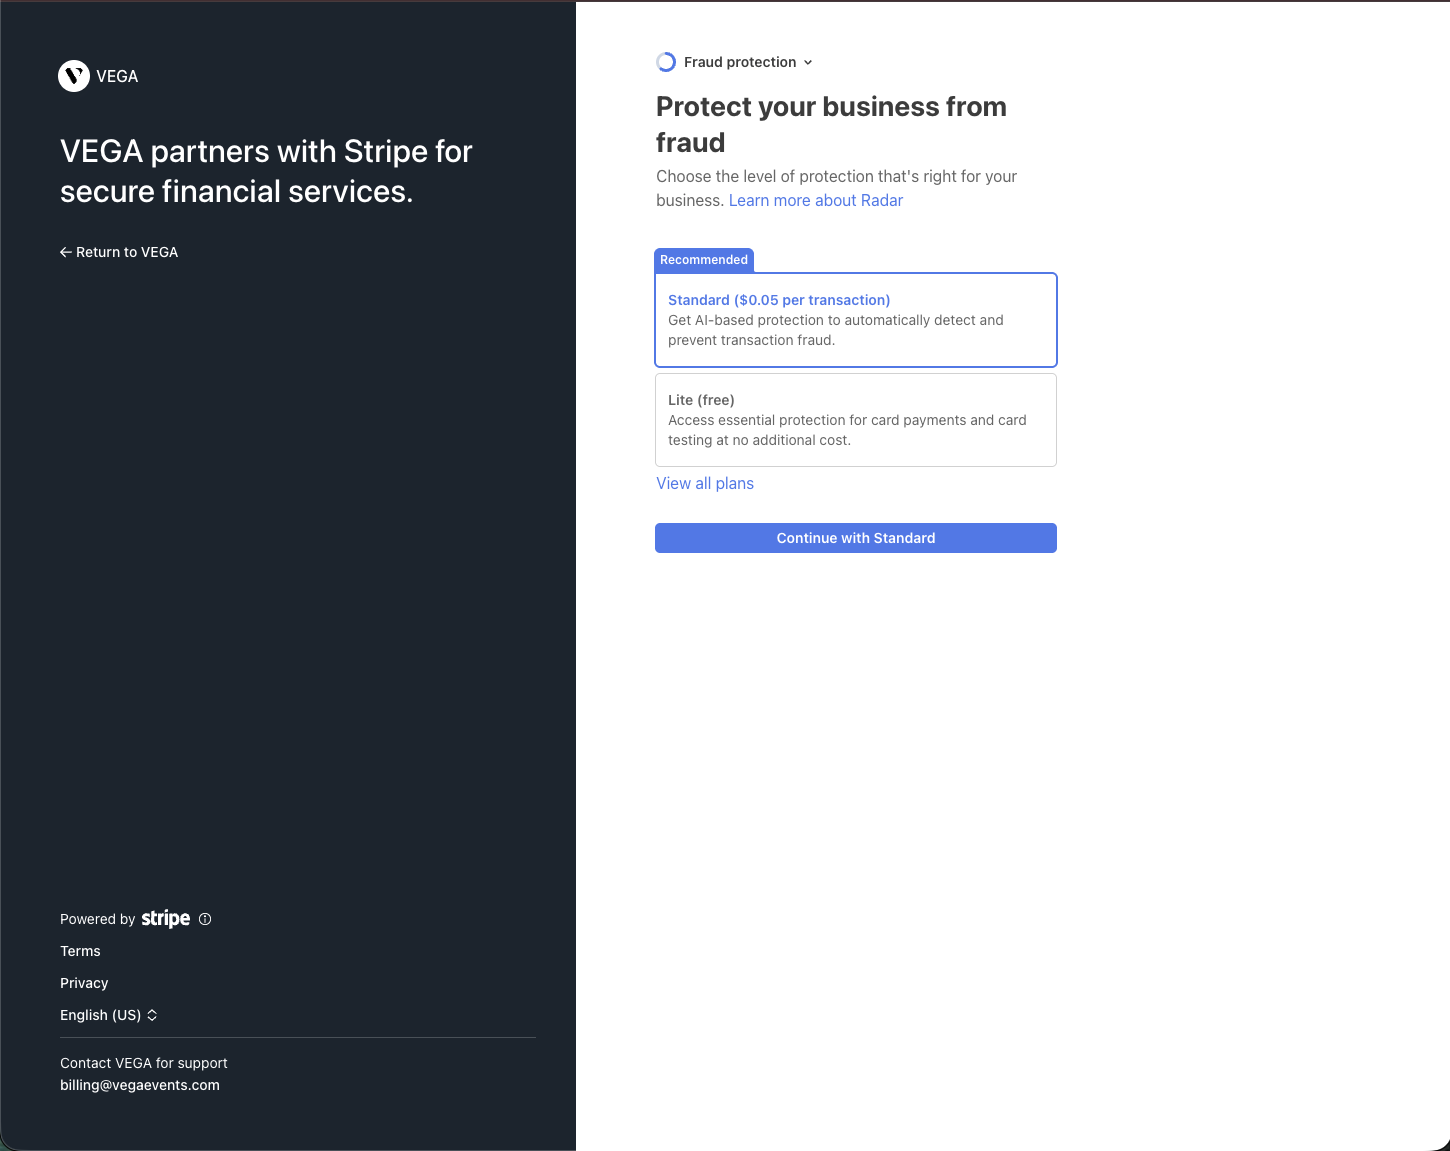
Review the remaining pages and update any details that should differ from the copied account, then click Agree and continue.
Step 4: Return to Vega
Stripe sends you back to Vega, where your new account is linked to your organization.
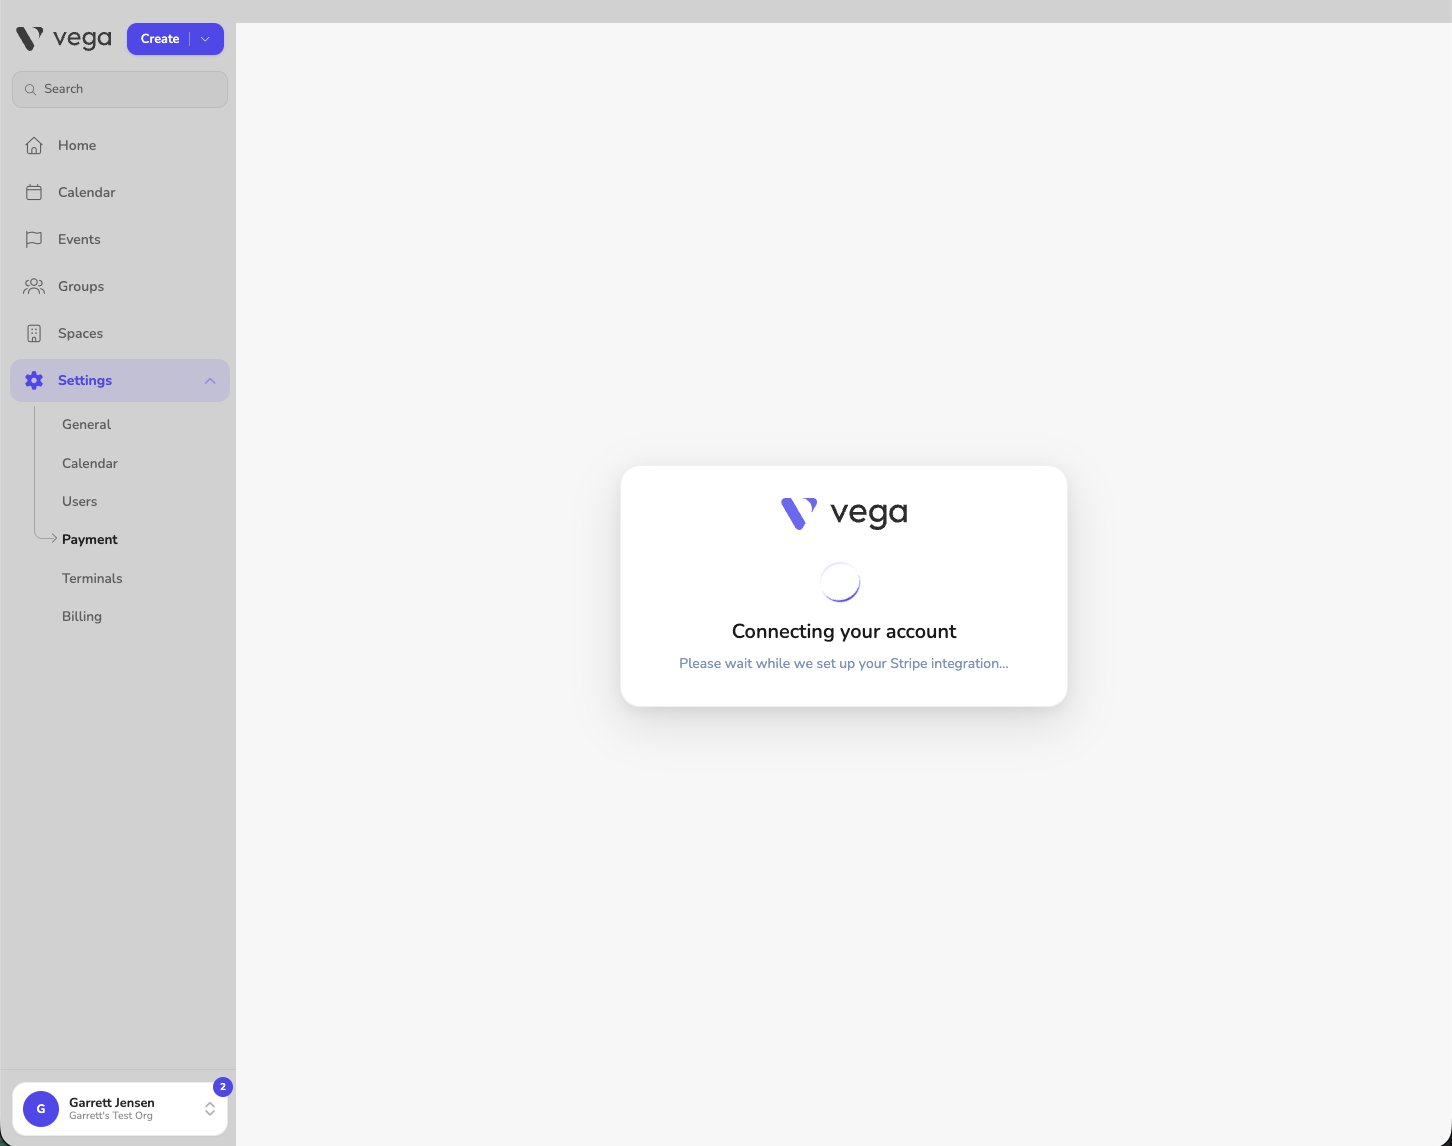
Give Stripe about 5 minutes after connecting to finish setting up the new account before you judge the status it reports in Vega.
Step 5: Complete Stripe Verification
If you created a brand-new account, or changed any details from the copy, Stripe will likely need to verify the account before it enables charges and payouts. While that is pending, Settings > Payment shows Account Partially Active, with Charges and Payouts disabled.
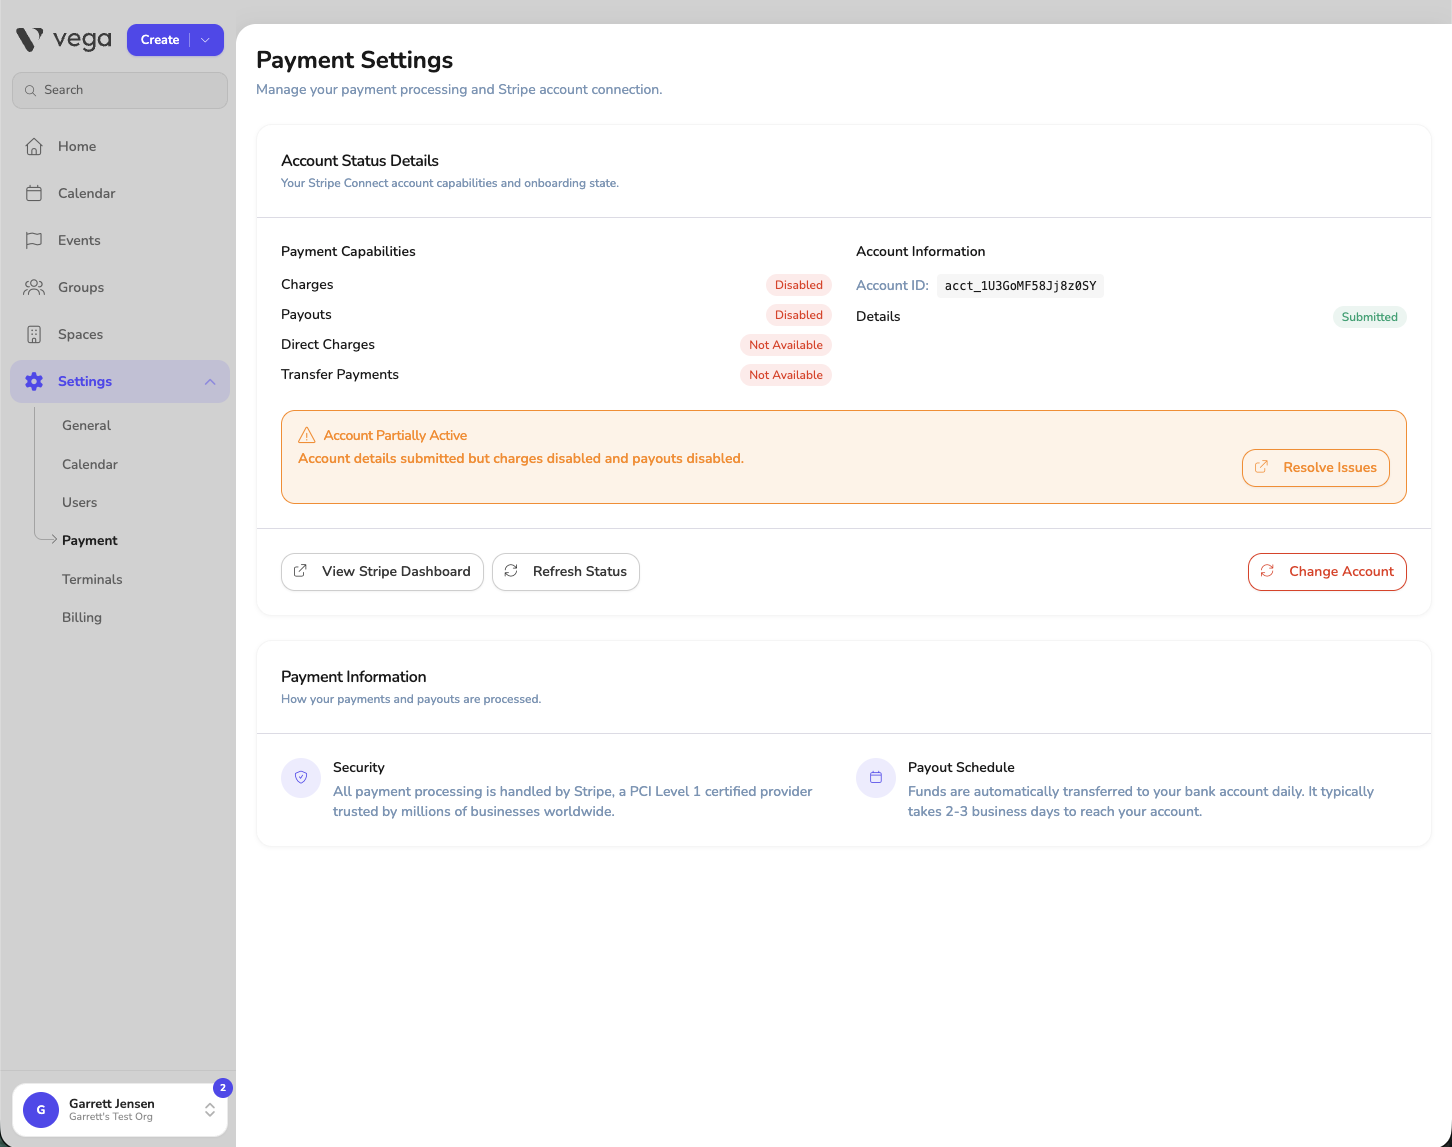
Click Resolve Issues to open your Stripe dashboard, where a banner shows the review status and anything Stripe still needs from you.
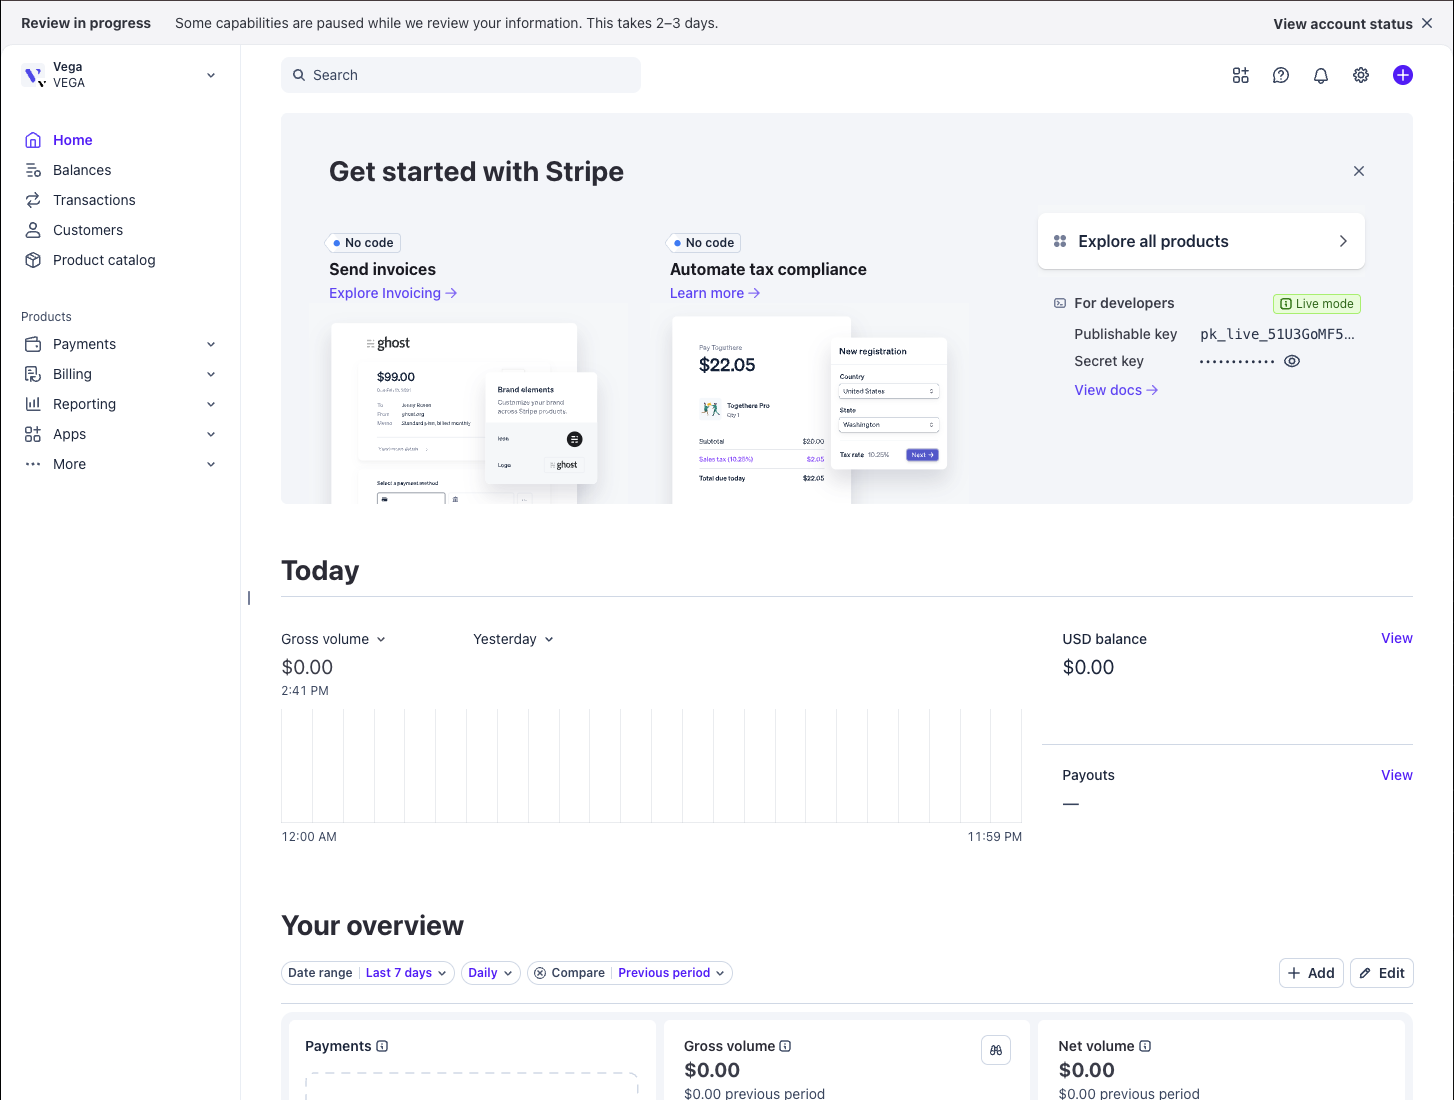
ℹ️ Watch your email
When Your Account Is Ready
Once Stripe finishes verification, Settings > Payment shows Account Fully Active, with all payment capabilities enabled. You are ready to sell paid tickets.
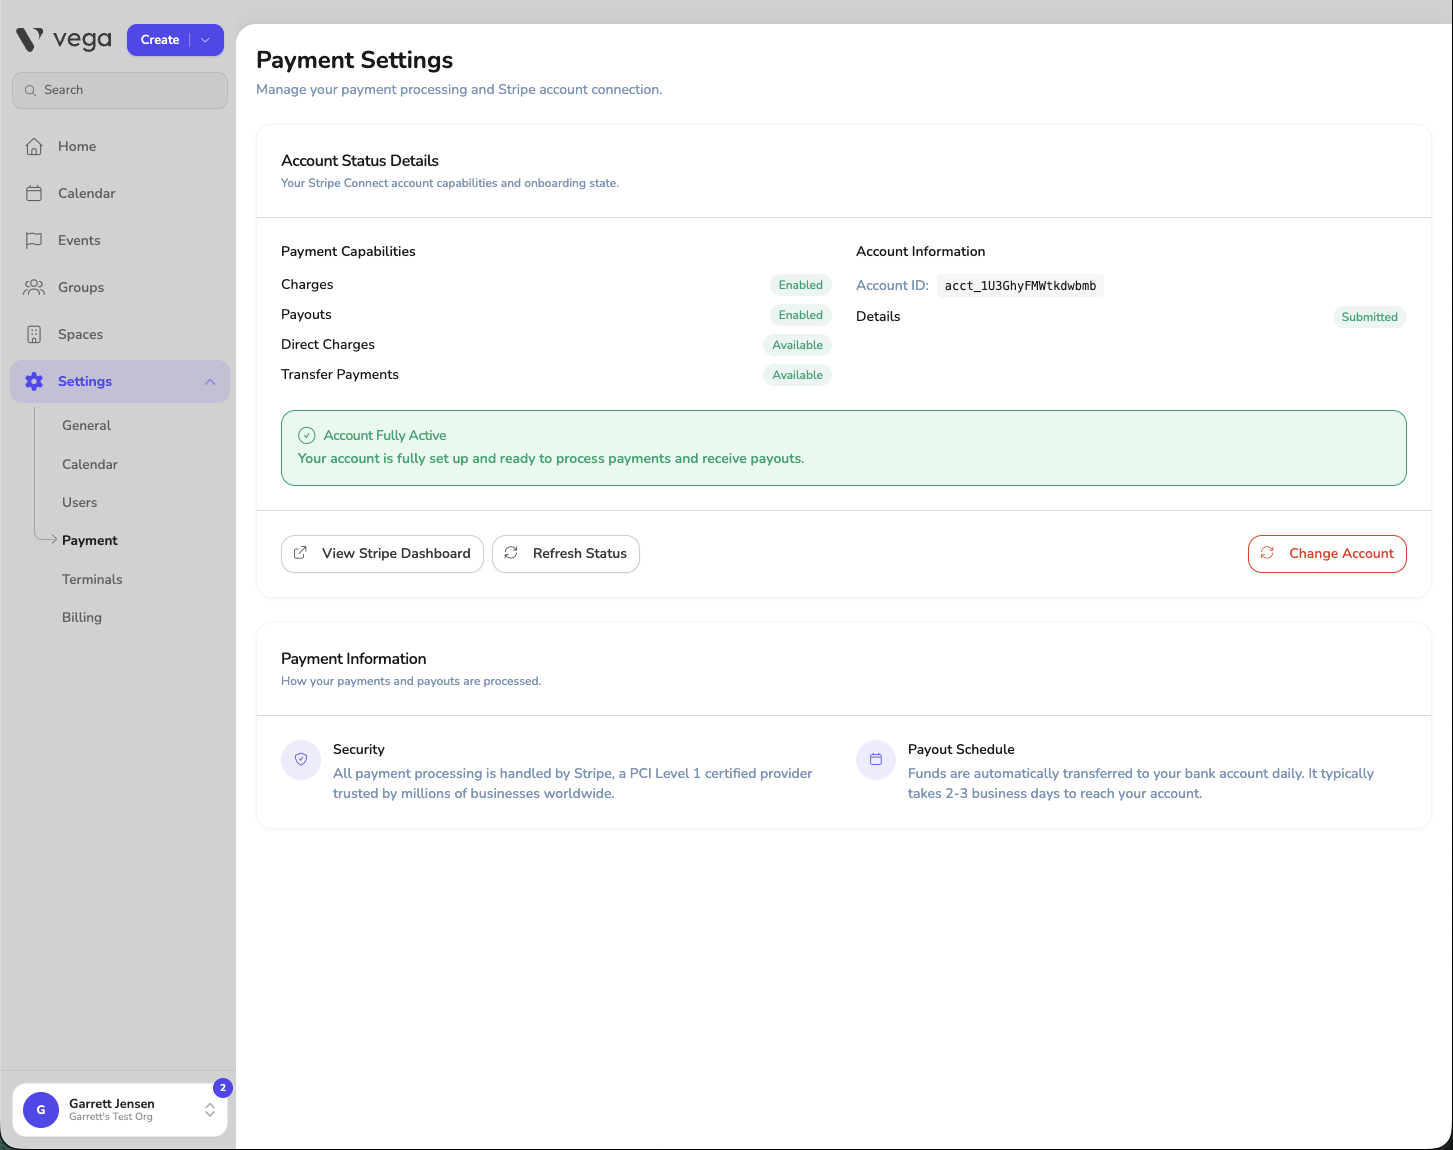
- Payment processing is enabled for all events under your organization.
- Payouts are transferred automatically to the bank account configured in your Stripe dashboard, and typically take 2 to 3 business days to arrive.
- View Stripe Dashboard takes you to Stripe for detailed transaction history, payouts, and disputes. Refresh Status re-checks your account state on demand.
Changing the Connected Account
To connect a different Stripe account, go to Settings > Payment and click Change Account. This runs the same connection flow described above — including the recommendation to create a new account rather than connect an existing one.
Troubleshooting
Charges or payouts still show Disabled right after connecting. Stripe needs a few minutes to finish setting up a new account. Wait about 5 minutes, click Refresh Status, and if the account is still partially active use Resolve Issues to see what Stripe is waiting on.
The review is taking longer than expected. A few days is normal for a new account. Check the email on the Stripe account for requests from Stripe — the review pauses until you provide anything it asks for.
You connected an existing account and capabilities show Not Available. This is the limitation described above: an existing account does not grant Vega the access it needs. Click Change Account on Settings > Payment and reconnect, this time creating a new account from the existing one.