Organization Onboarding
First-time Vega organization setup: logo, contact info, staff, roles, and community page basics for schools, teams, and event organizers.
When you first create an organization on Vega, you’ll be guided through a setup wizard to get everything configured.
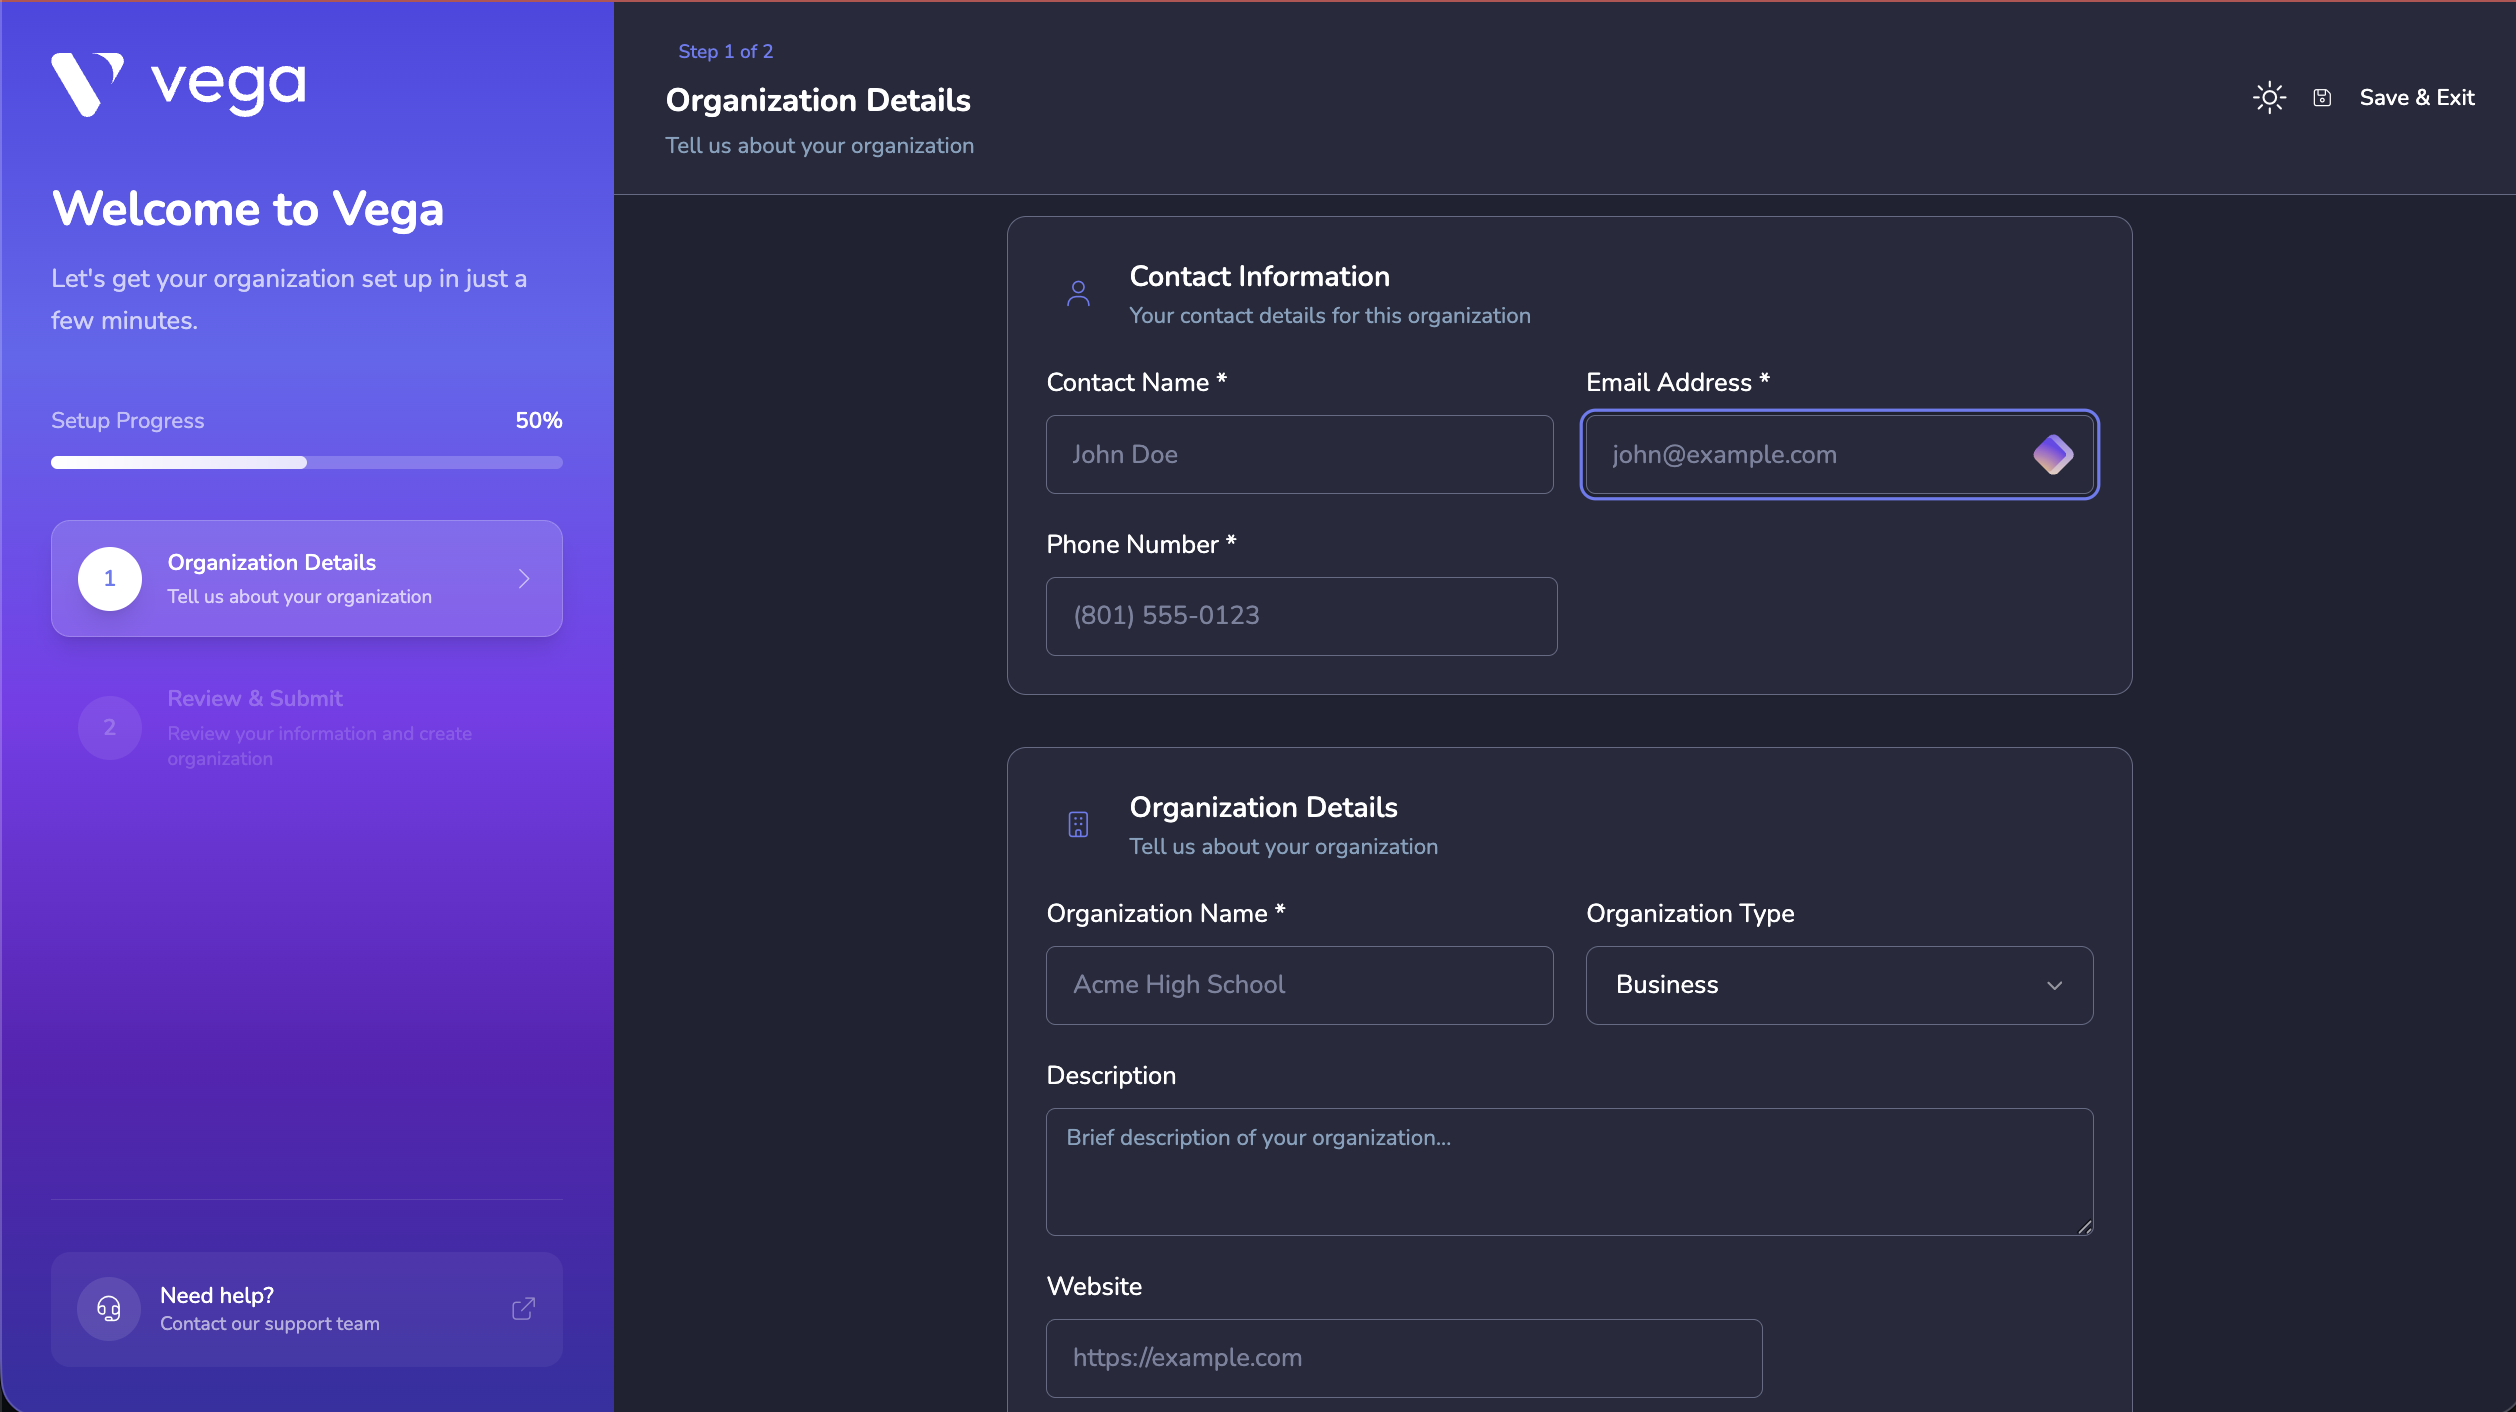
Onboarding Steps
1. Organization Details
- Name: Your organization’s display name
- Logo: Upload your organization’s logo (shown in the admin dashboard and on your community page)
- Wallpaper: A banner image for your organization
- Location: Your primary address (used for event defaults)
2. Tell Us About Your Org
- Description of your organization
- Year founded
- Staff count and student count (for school organizations)
3. Resources & Calendar
- Configure your event calendar preferences
- Add venue spaces where your events will take place
- Create groups for teams, clubs, or departments
4. Staff & Roles (Optional)
- Create custom roles with specific permissions
- Invite team members via email
- Assign roles to invited staff
ℹ️ Info
All of these settings can be changed later. The onboarding wizard just gets you started with the essentials.
5. Your Community Page (Not in the Wizard)
The setup wizard doesn’t configure your public Community Page; that’s a separate step under Settings > Public Page. It’s worth doing before you share your Vega link with anyone. See Making Your Community Page Look Professional for a full walkthrough of every setting, including your embed options.